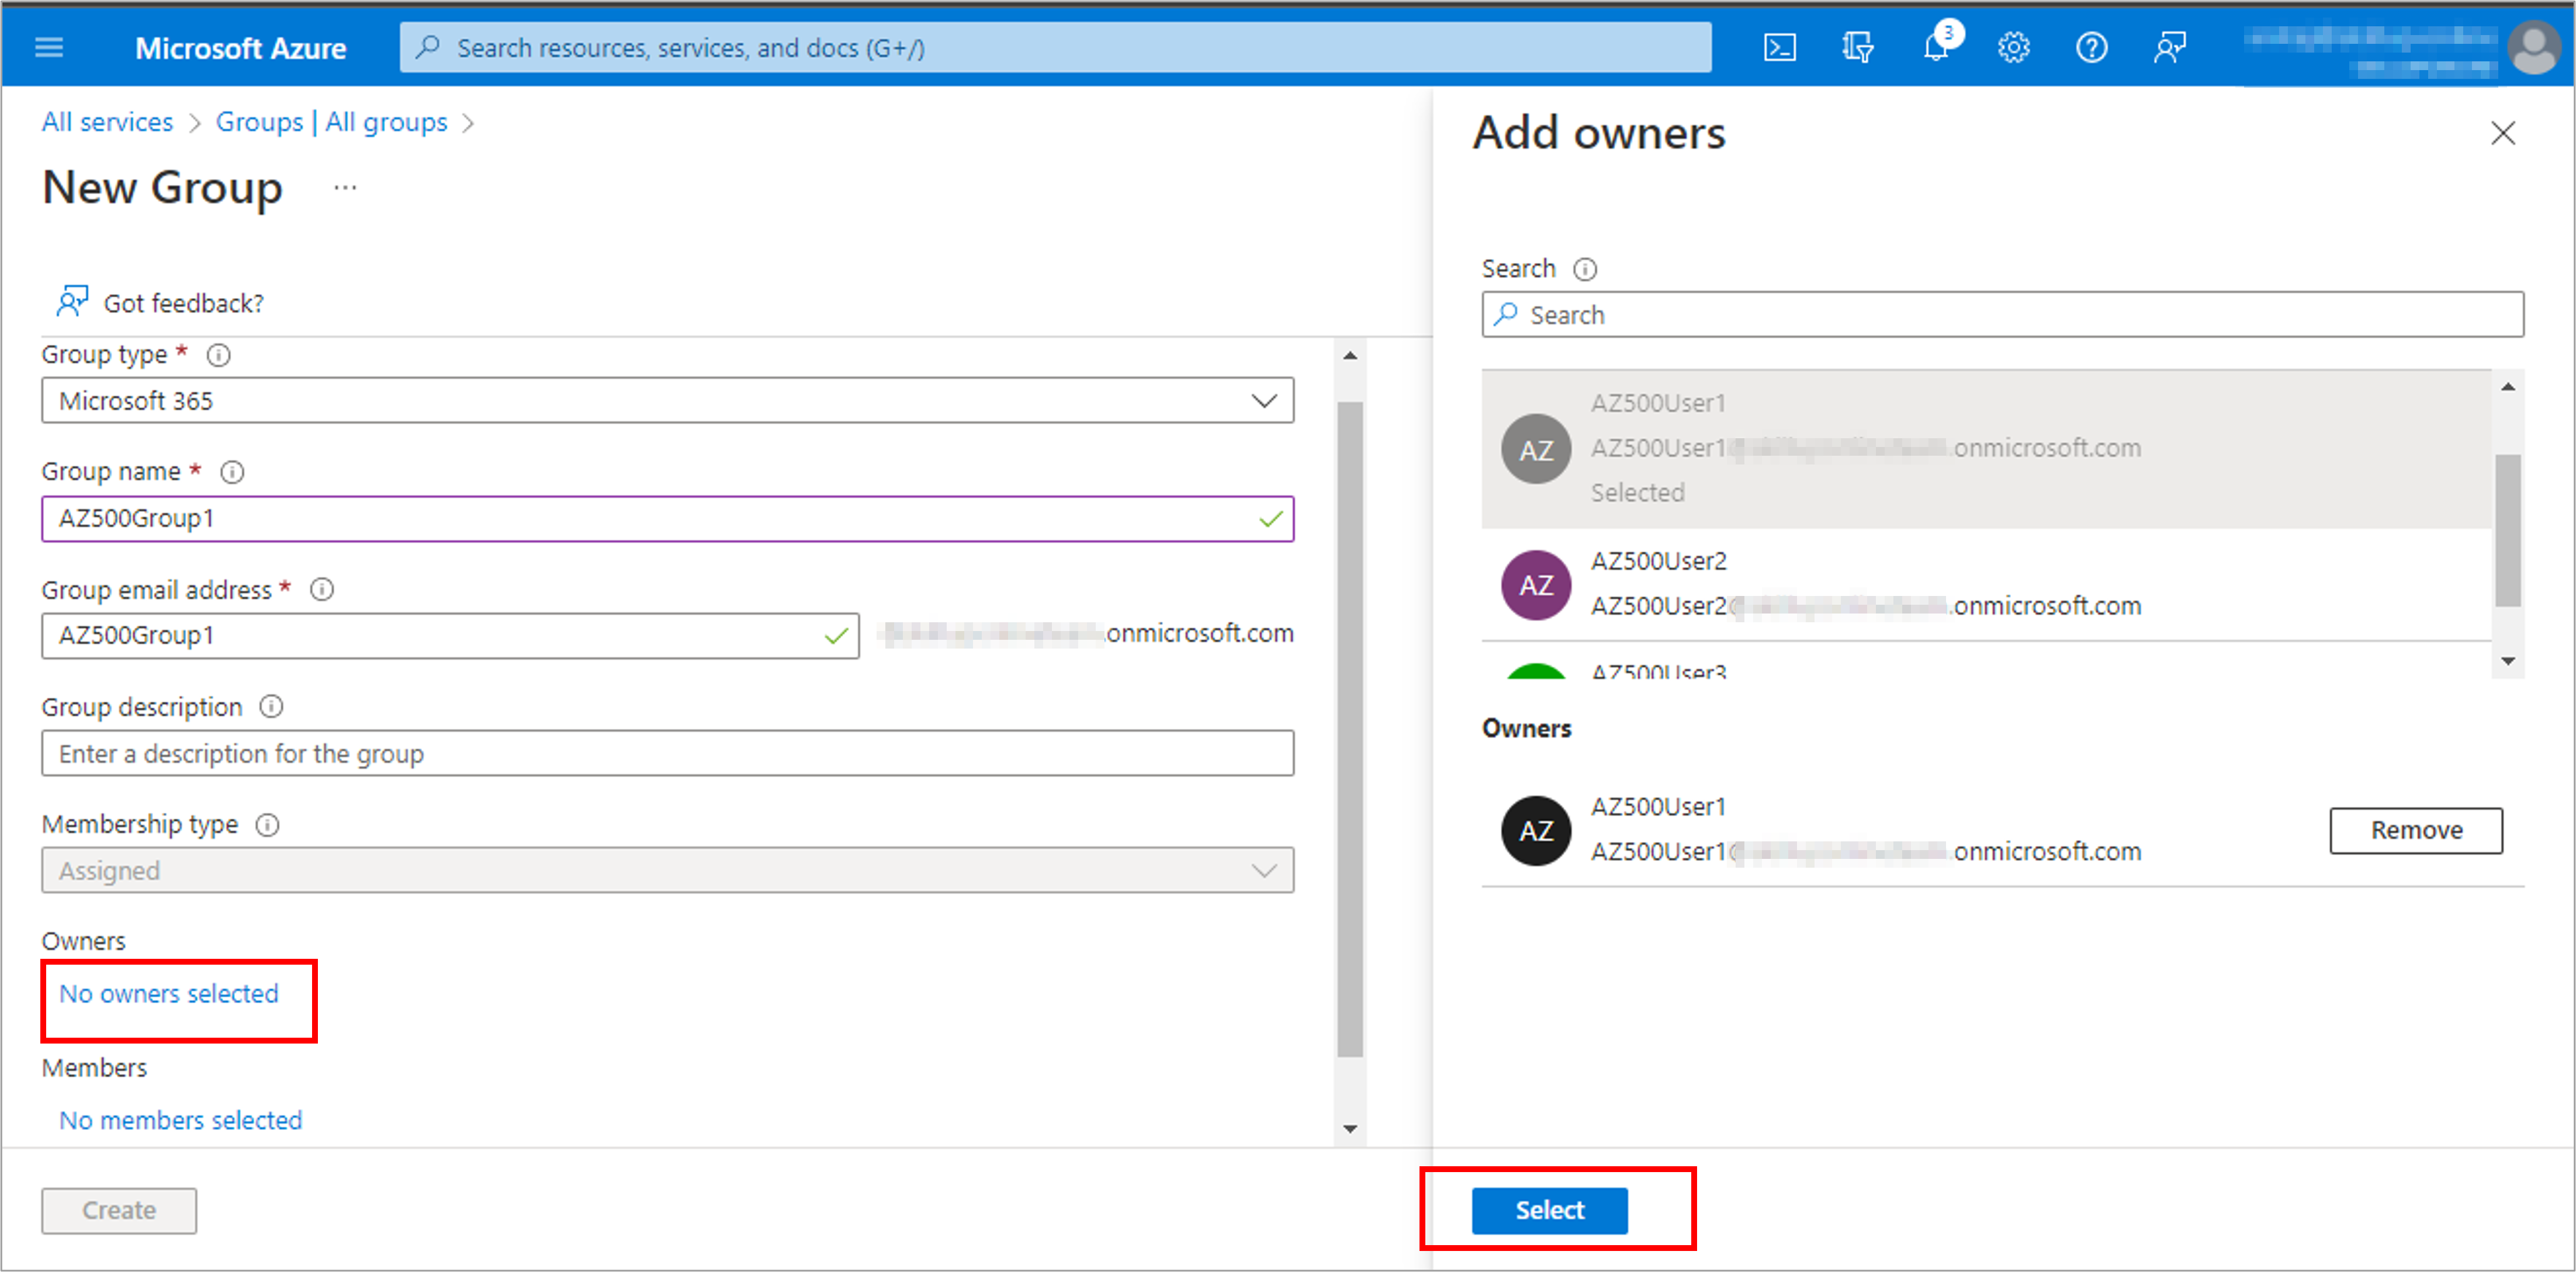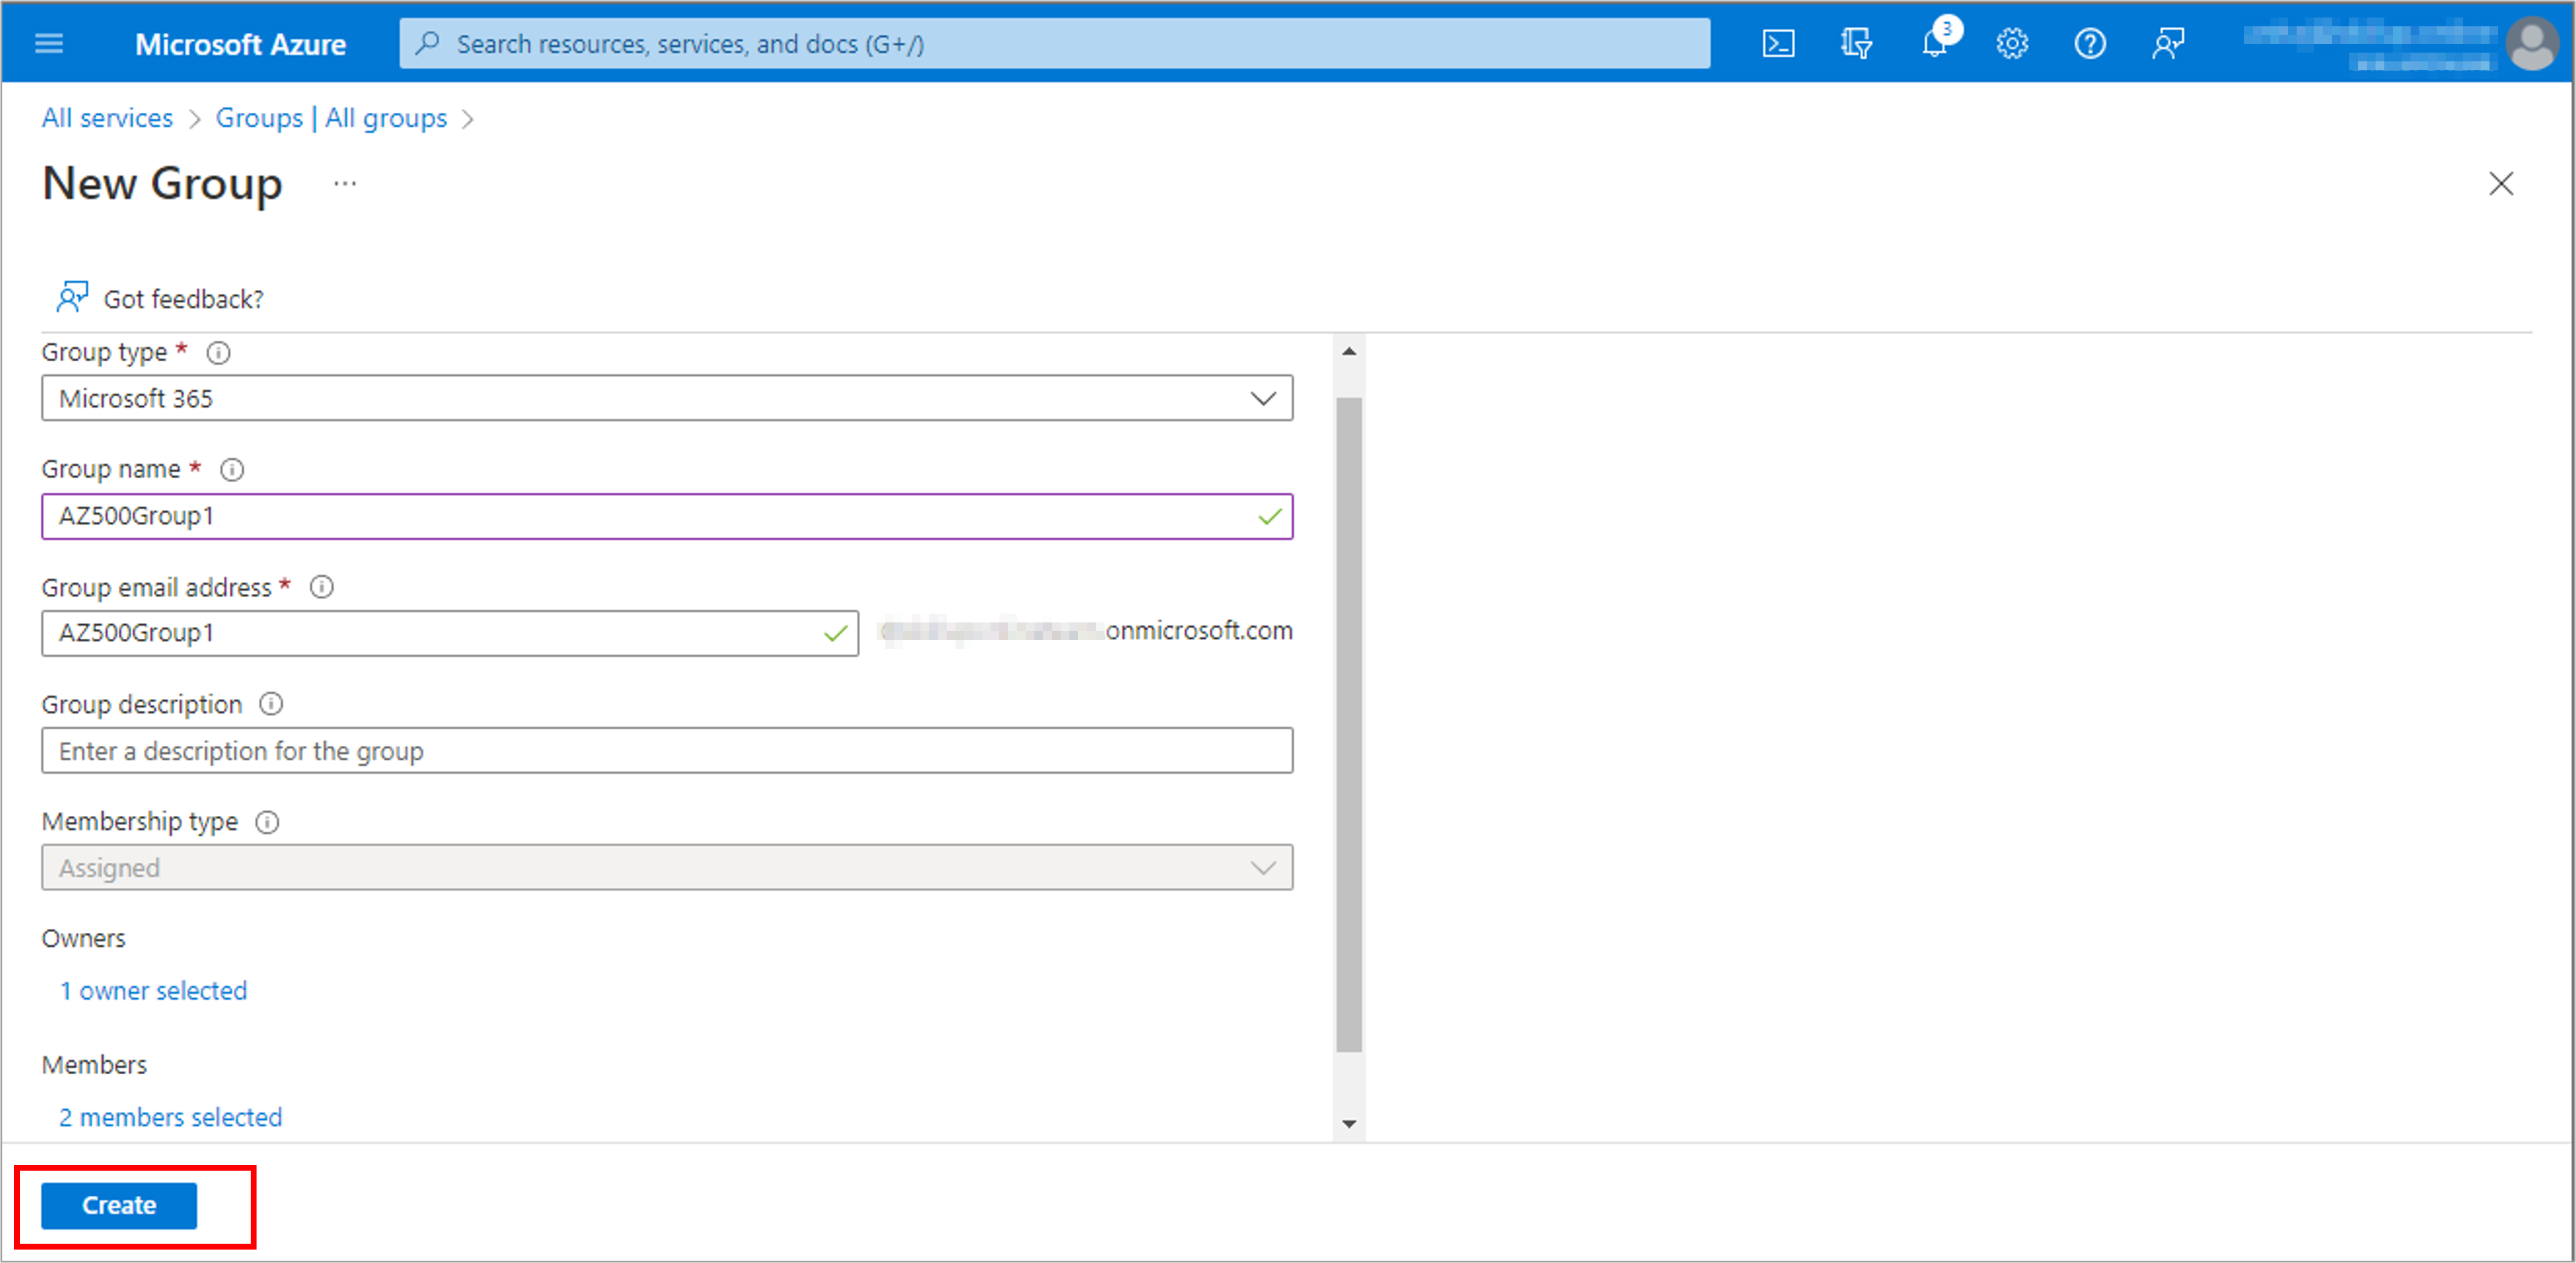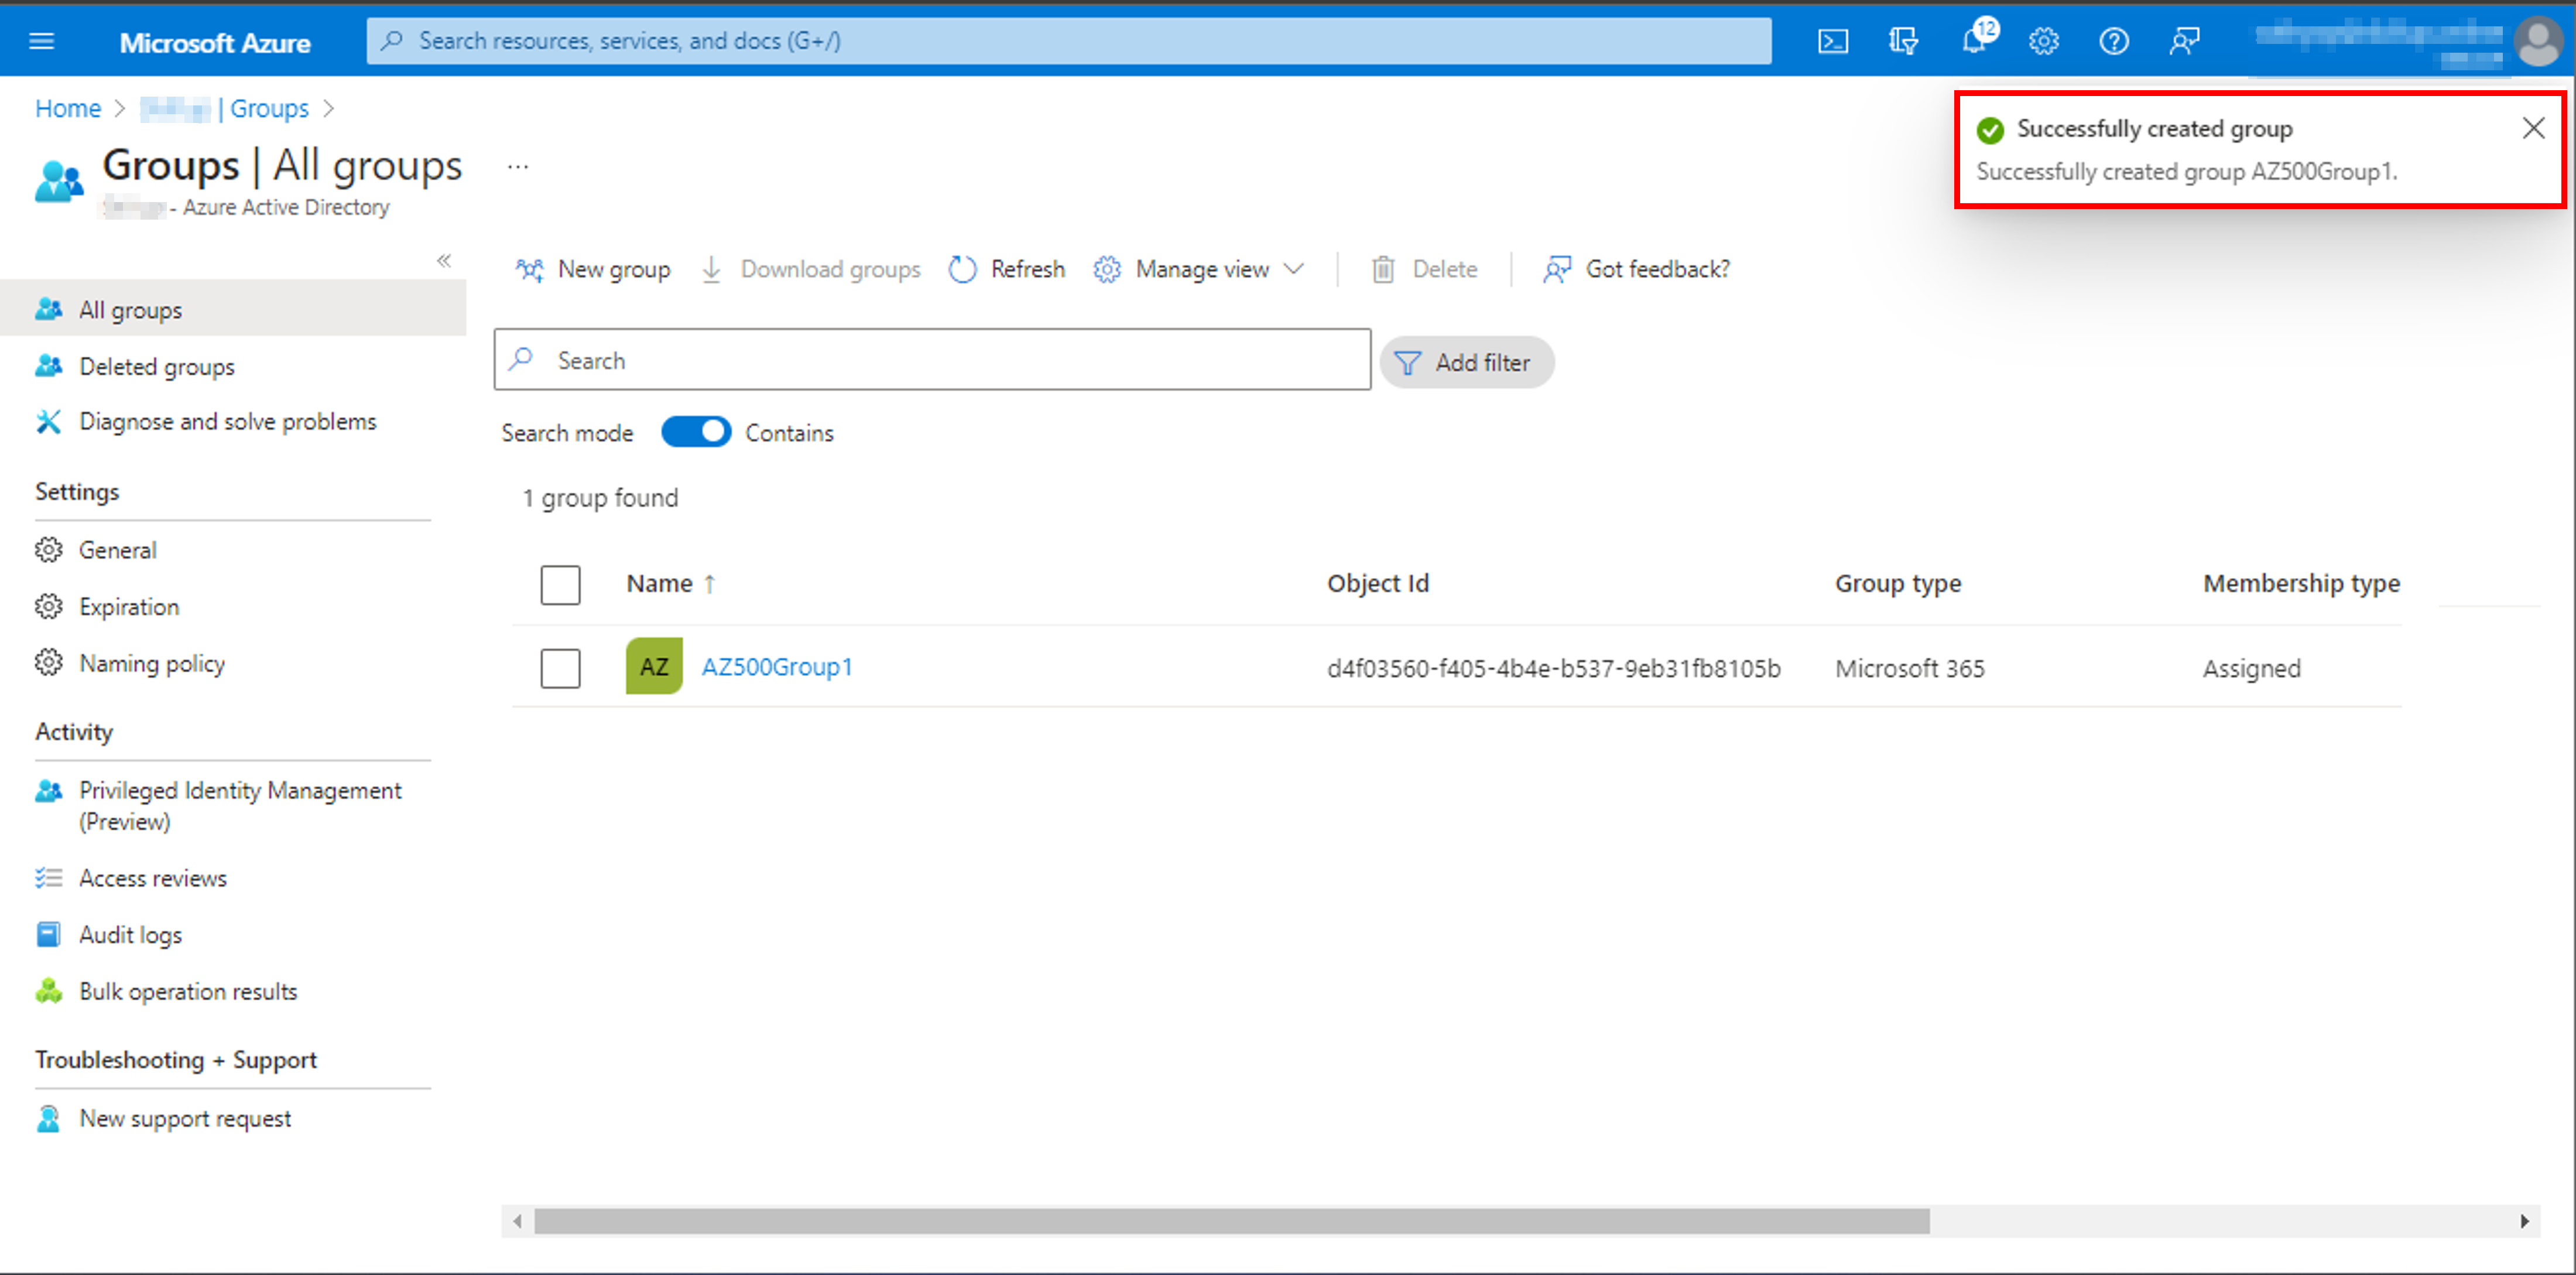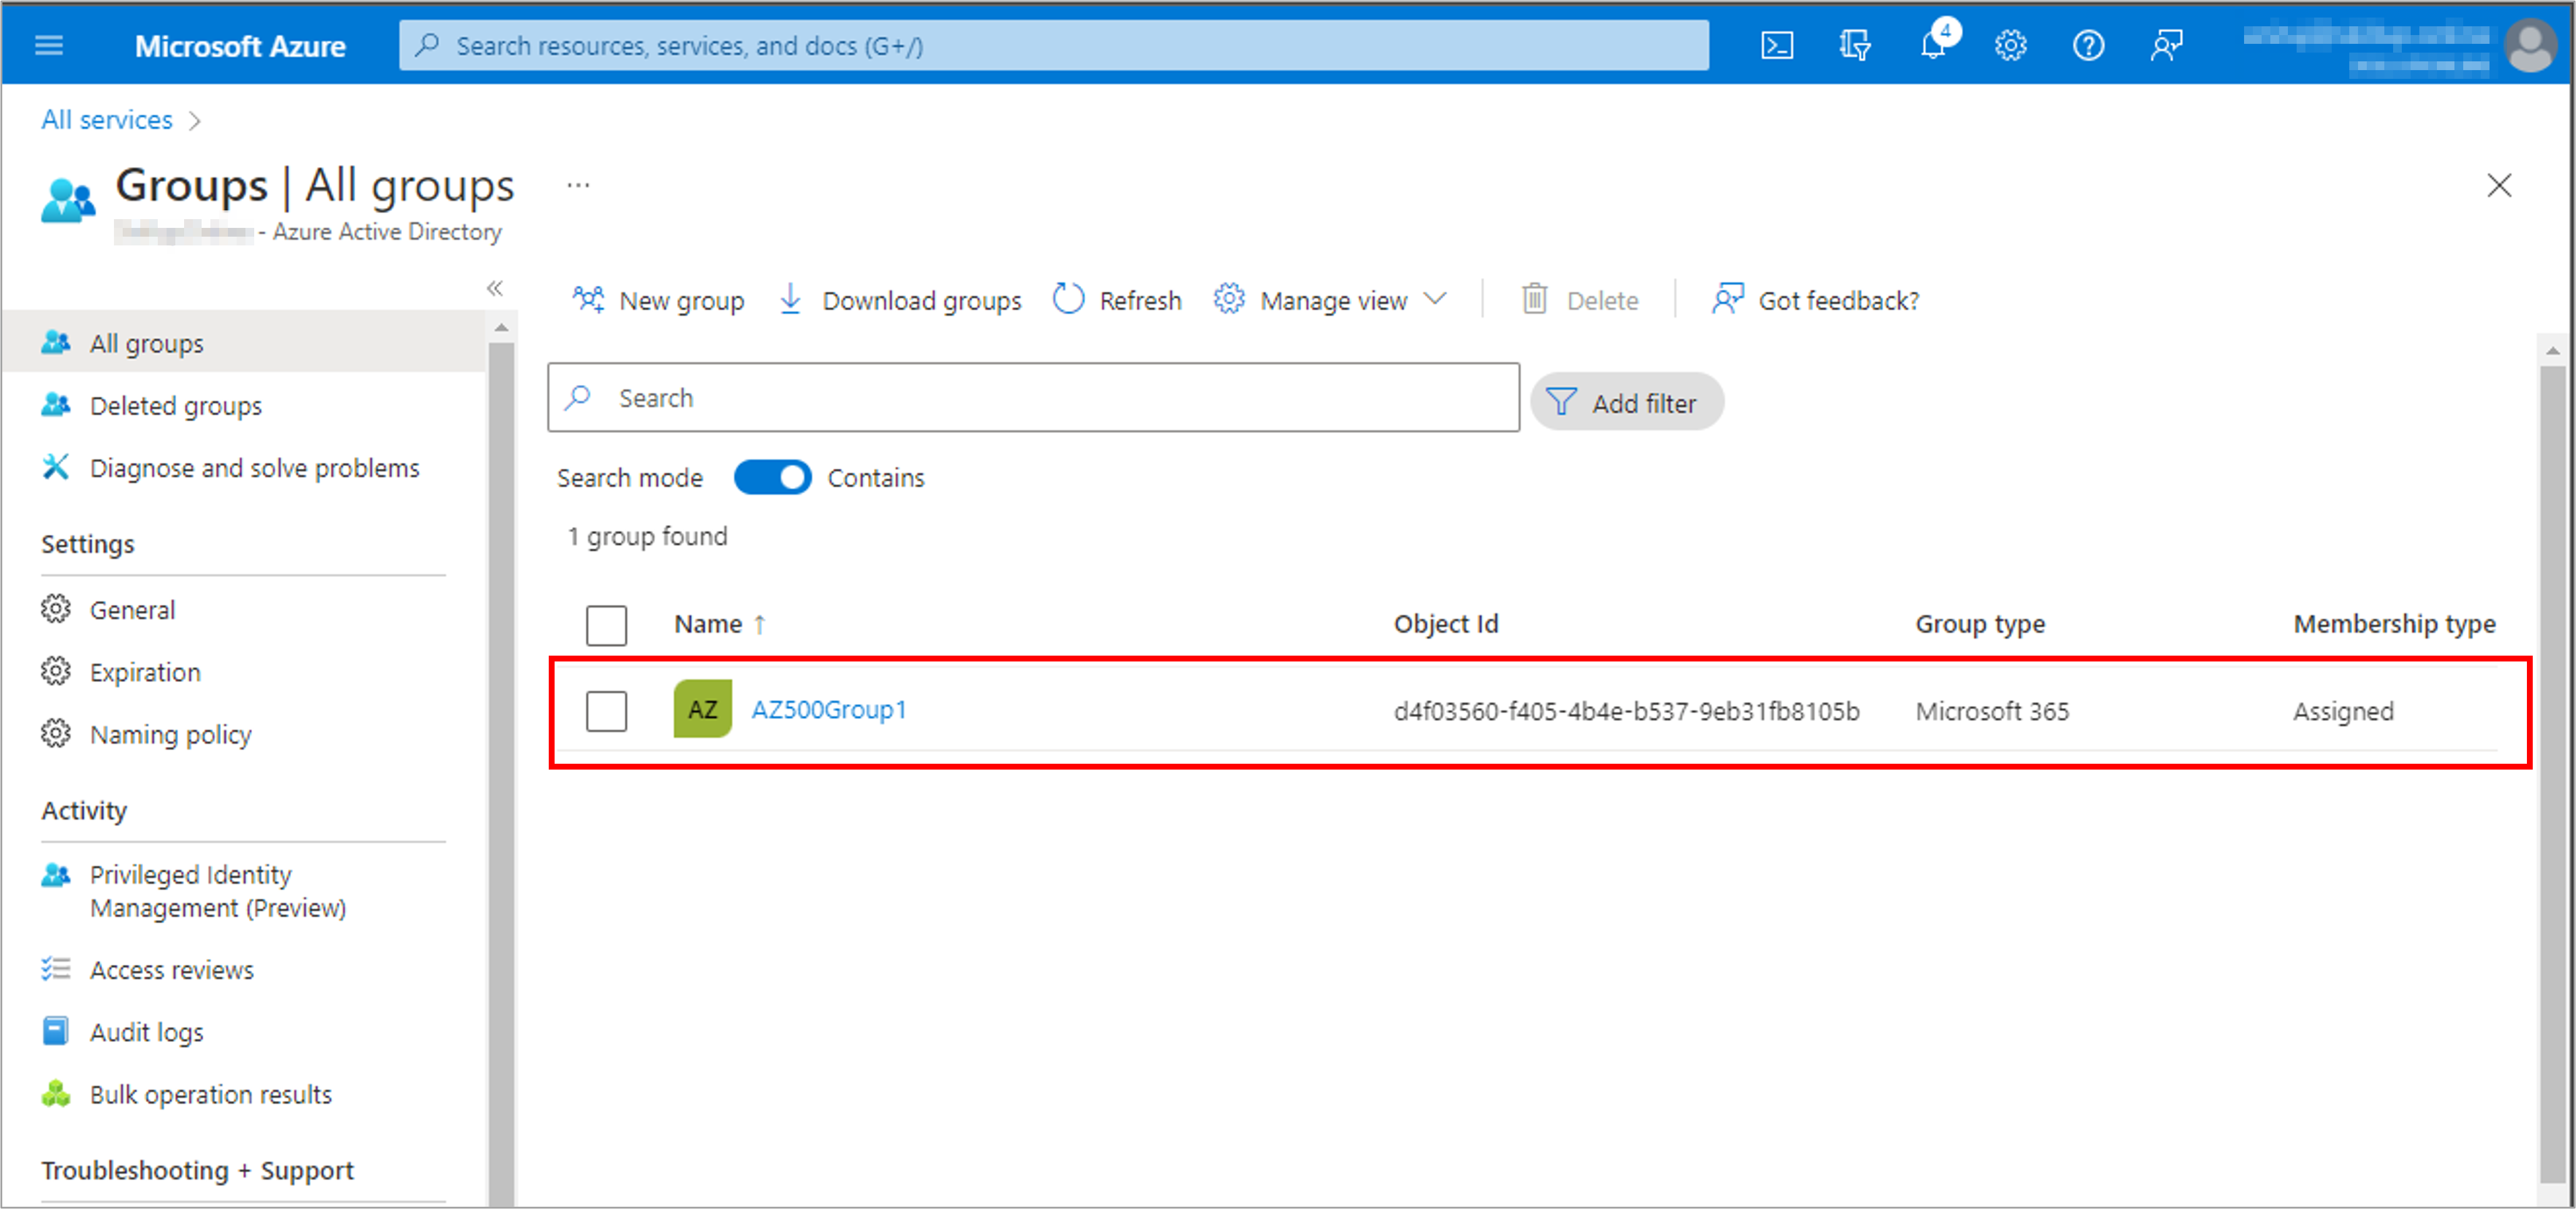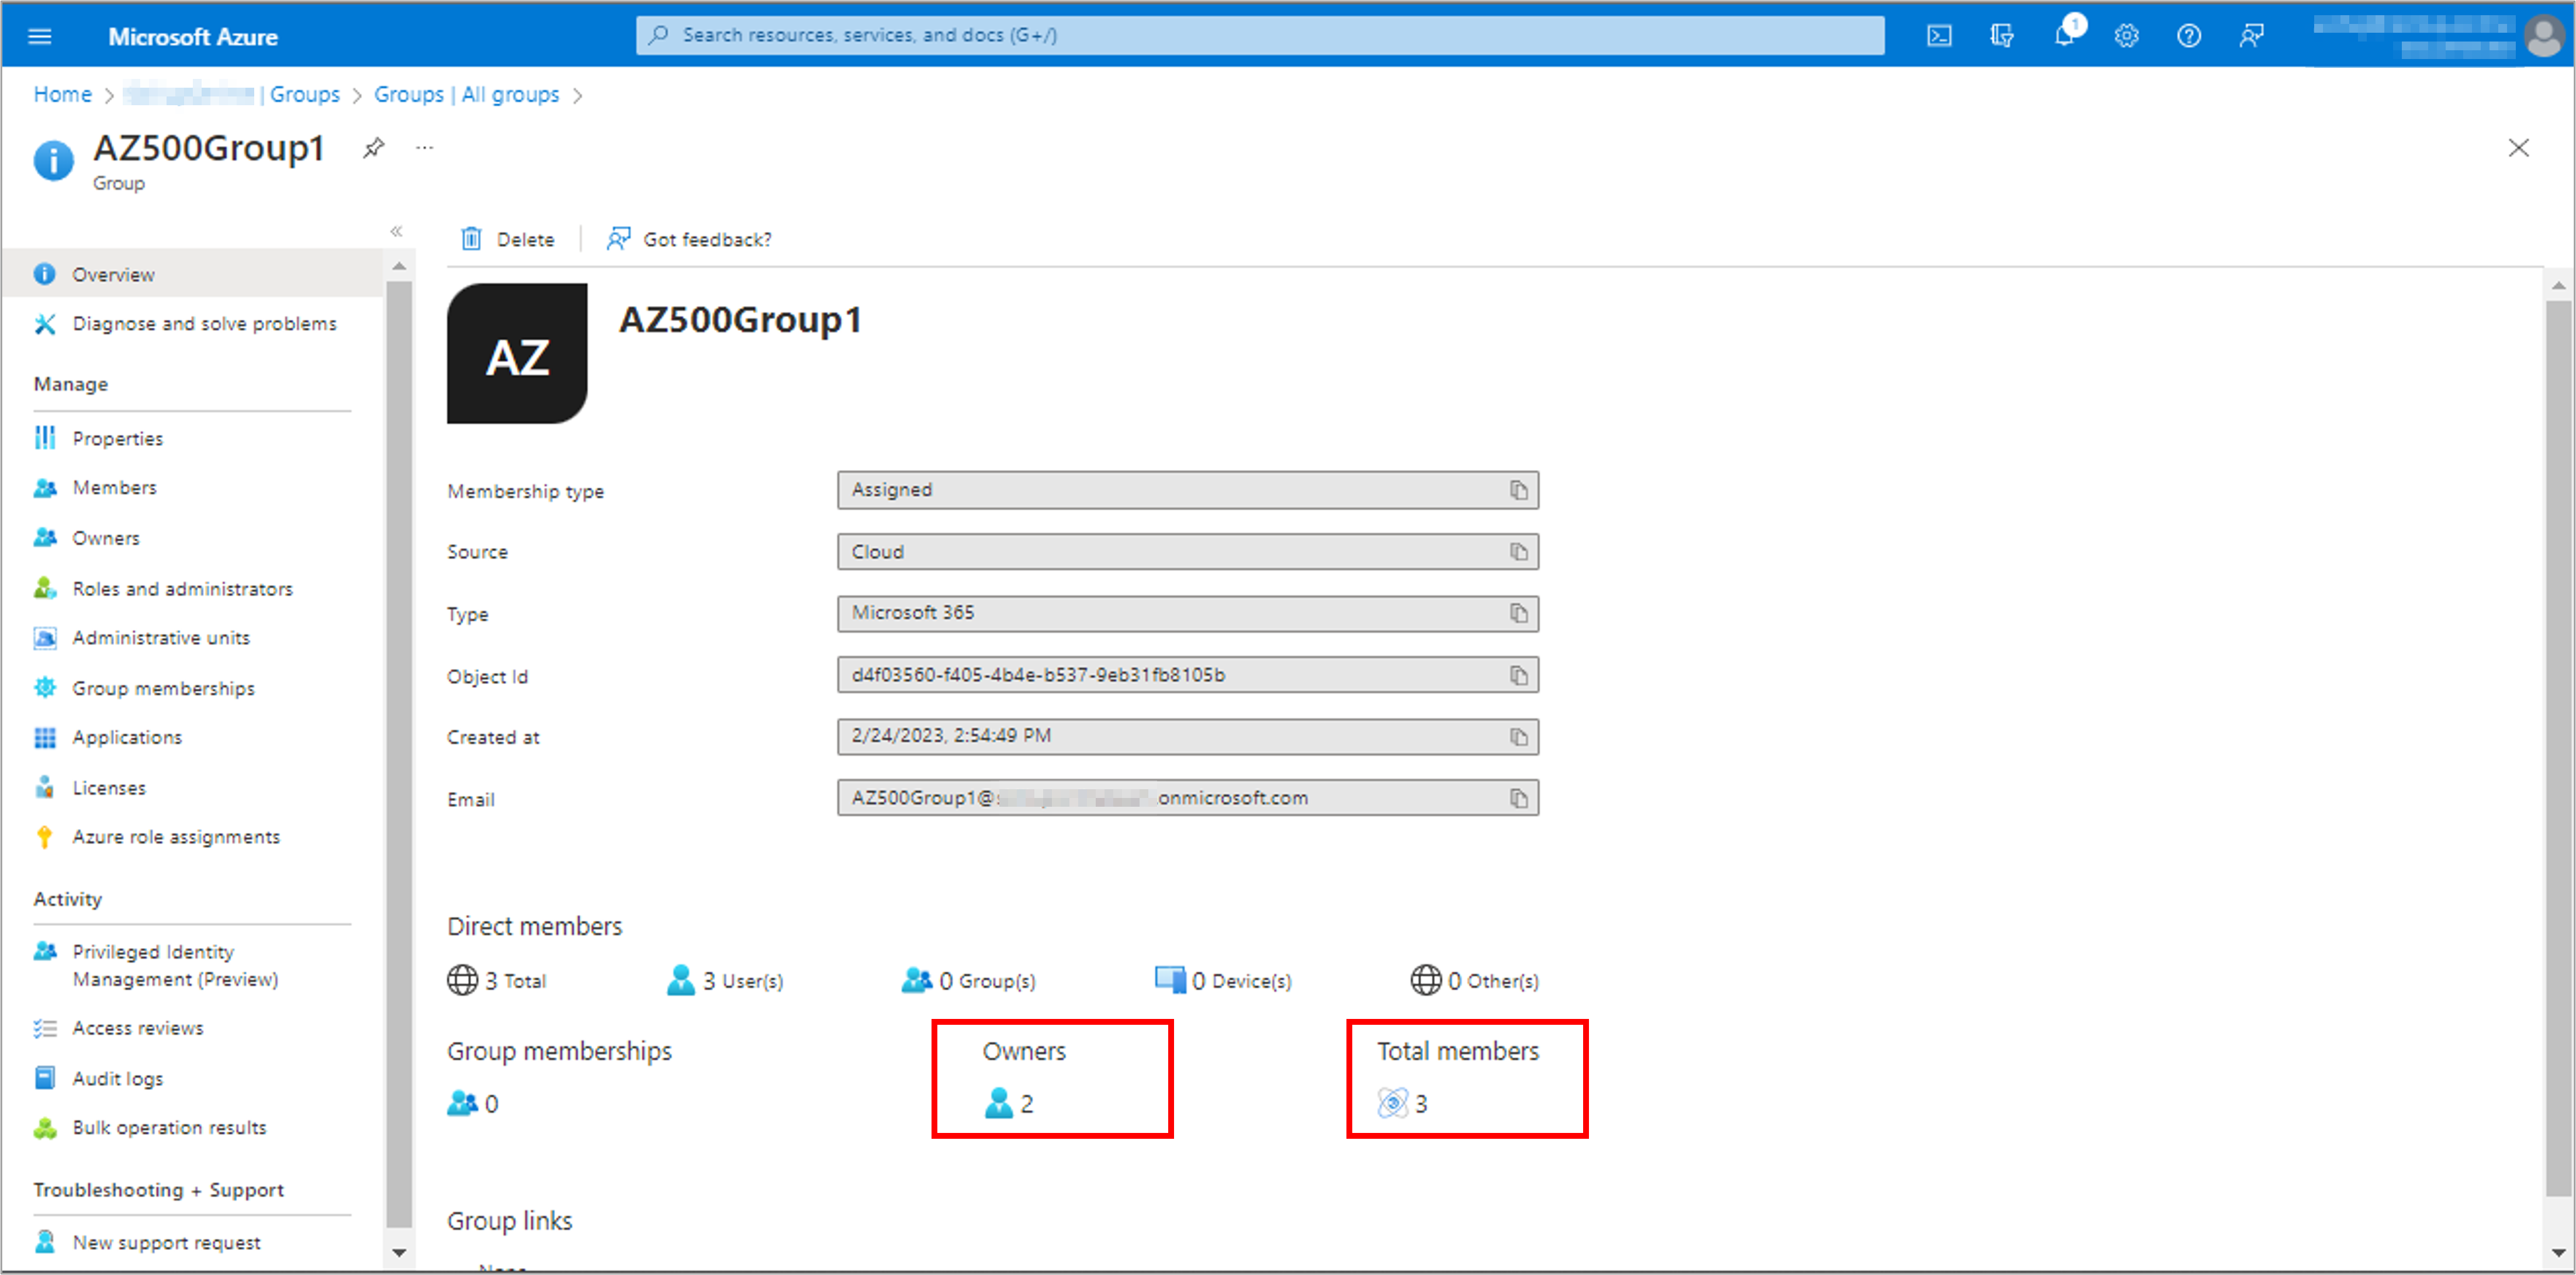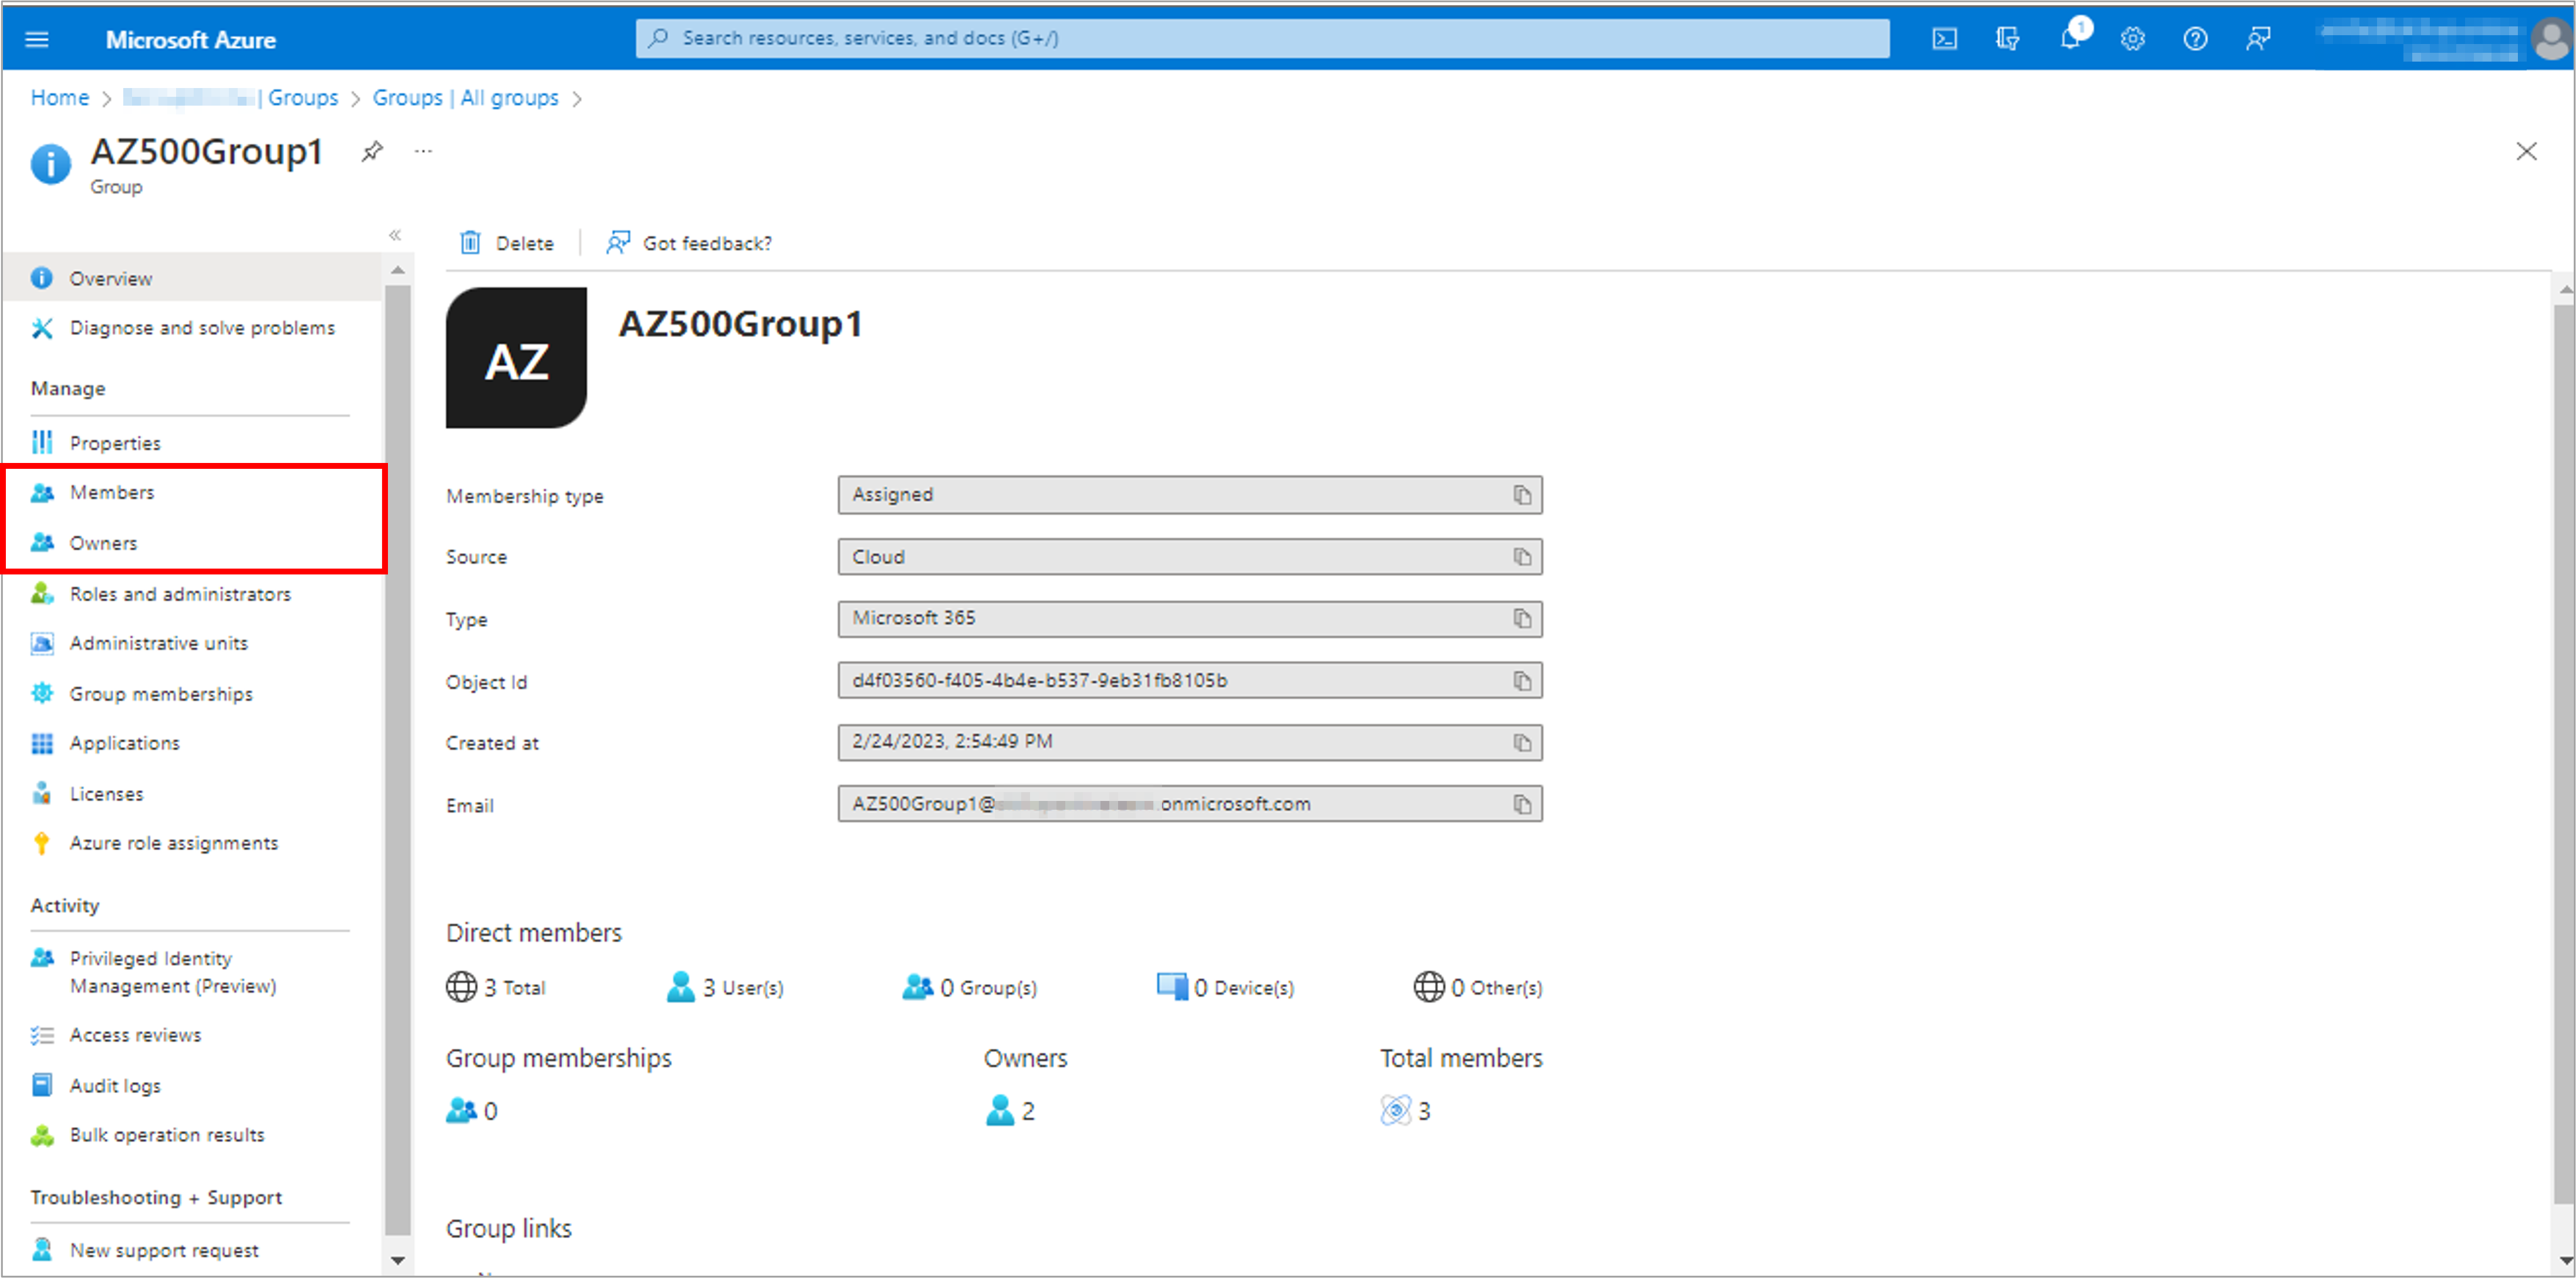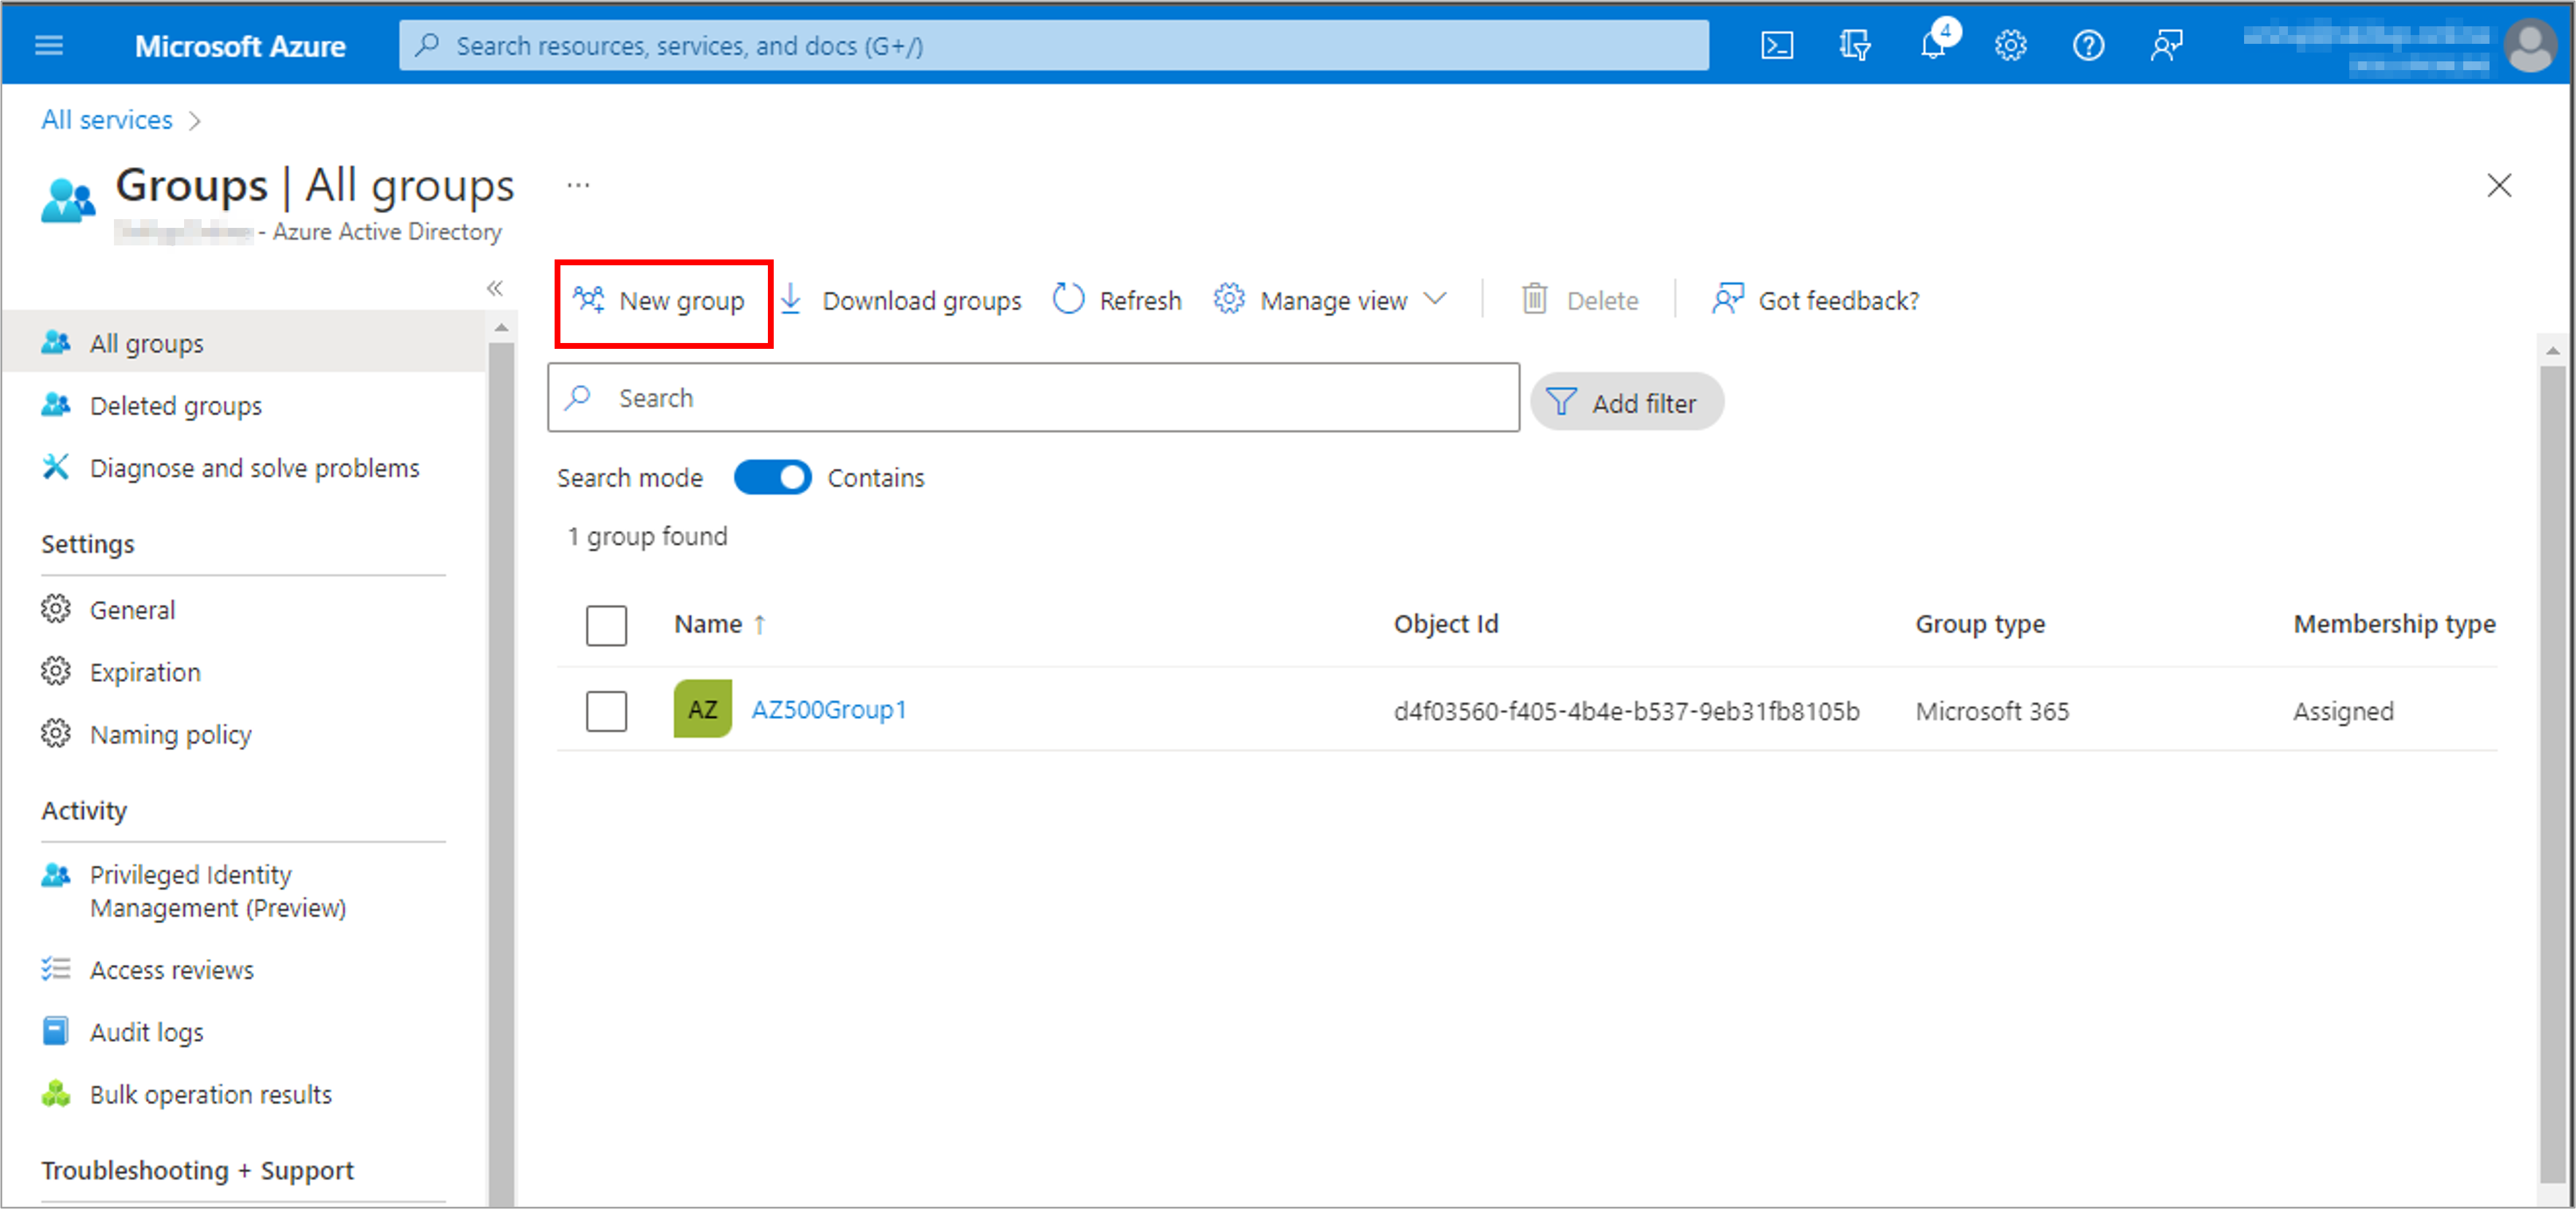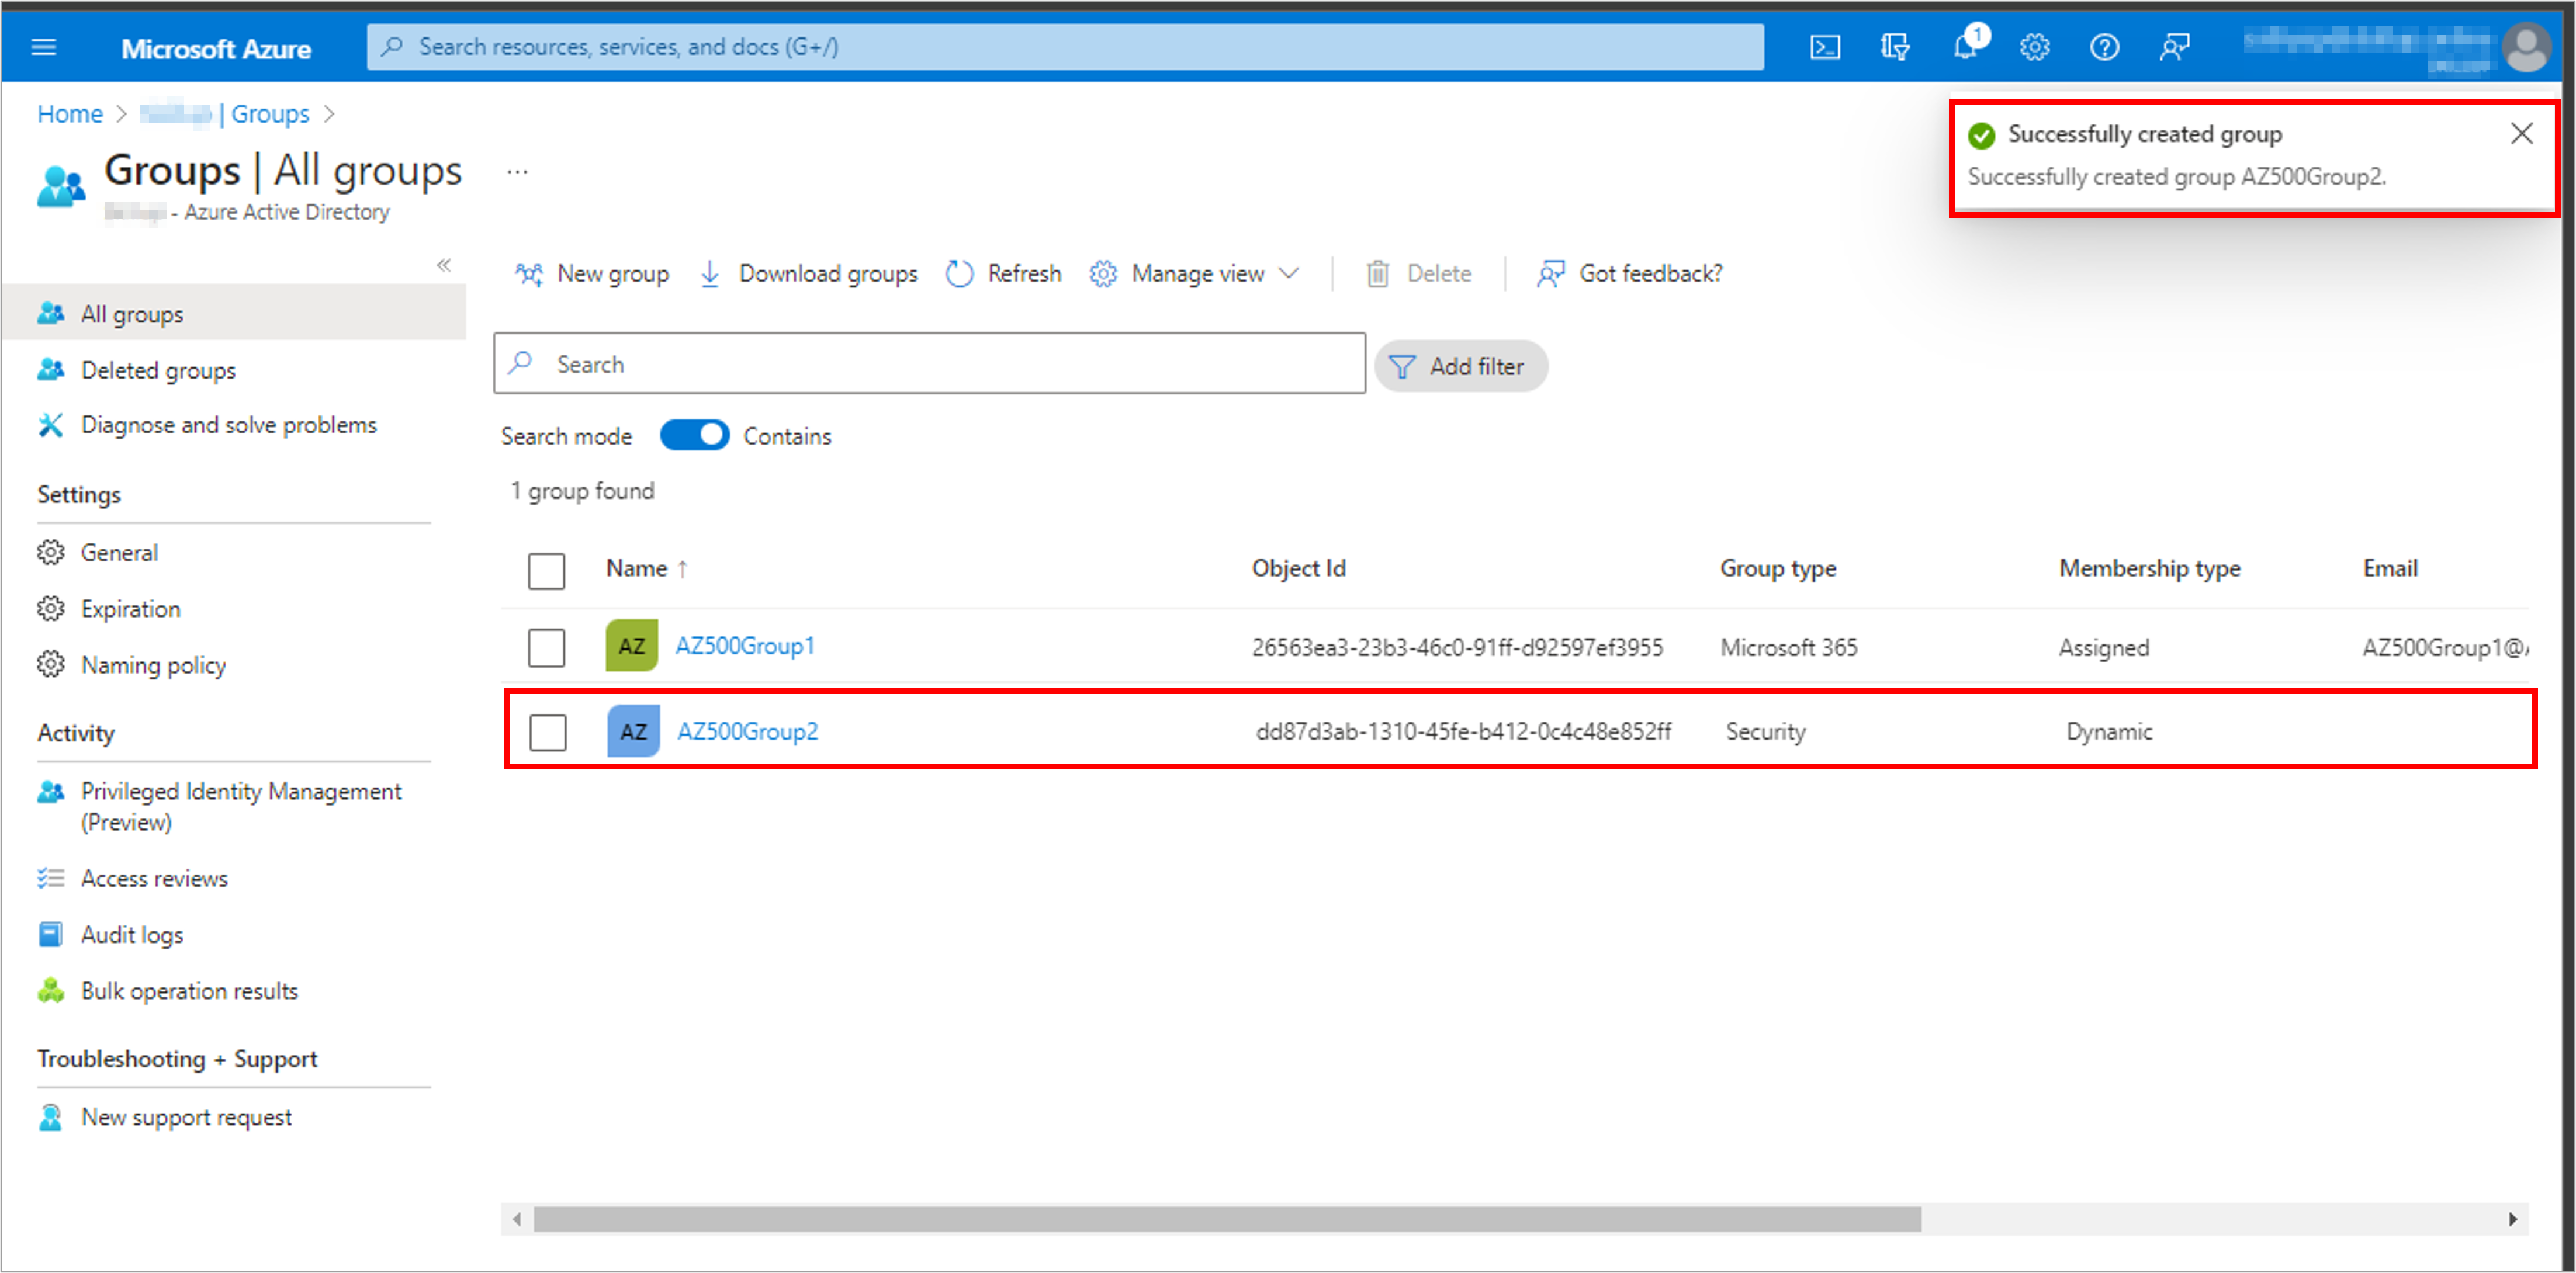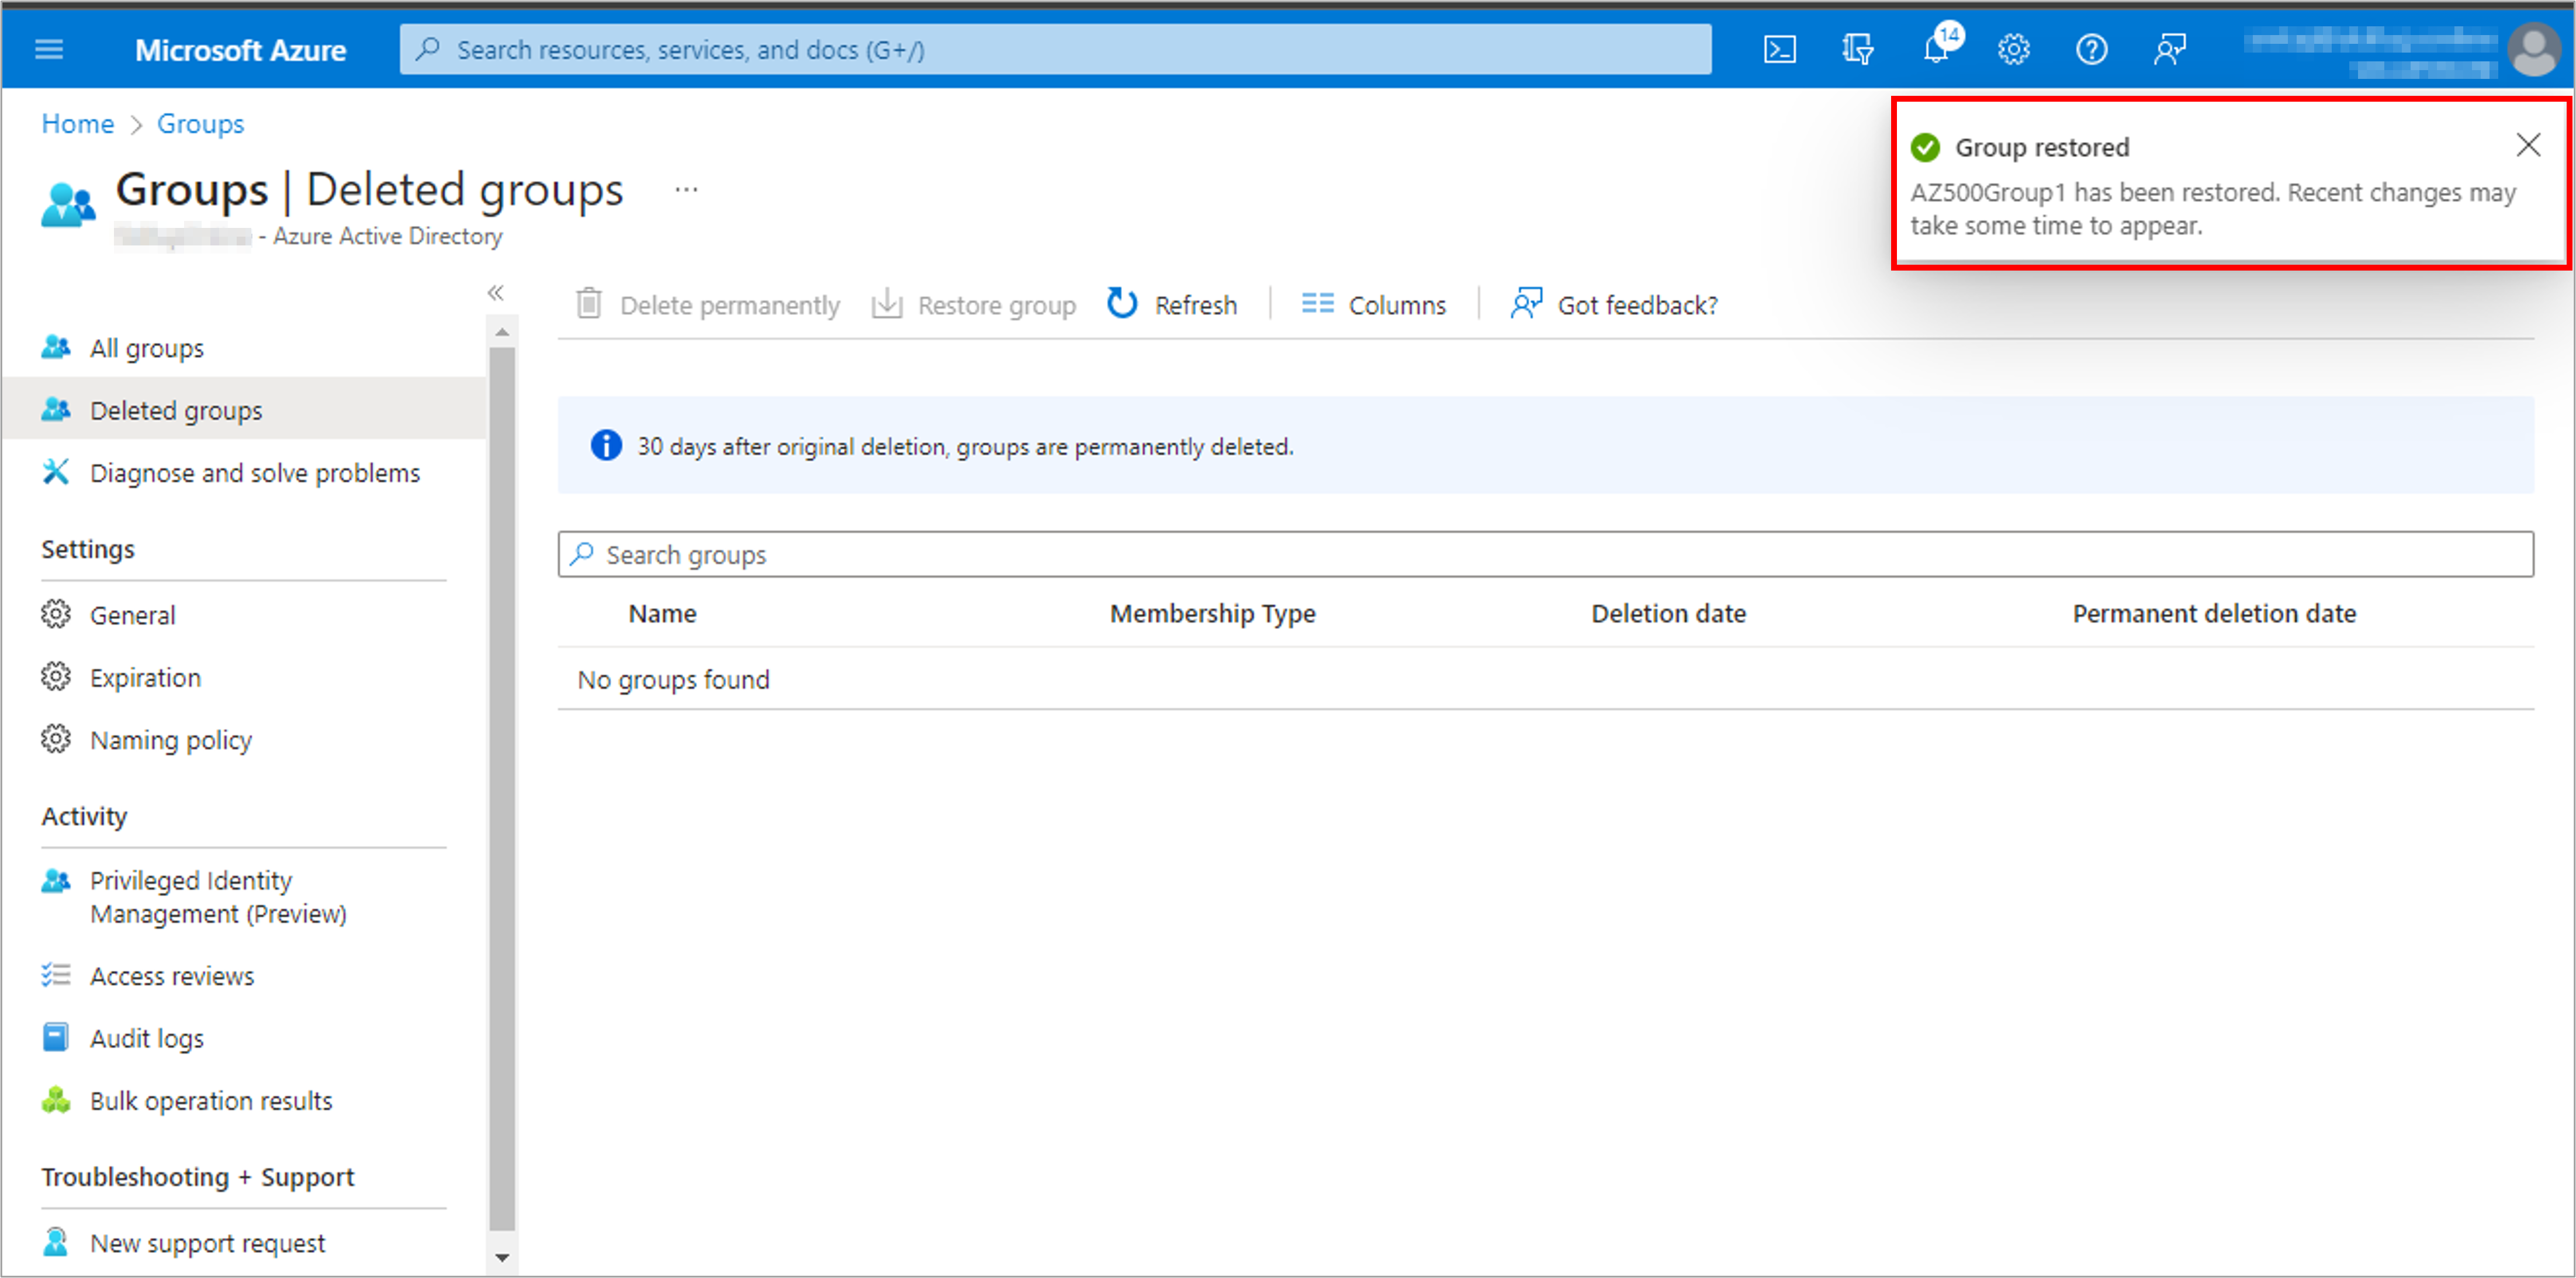
Create a user to test the process: AZ500User1 and Create a group, AZ500Group1
.
Task 3: Enable self-service password reset (SSPR)
1. Sign in to the Azure portal
with your login credentials.
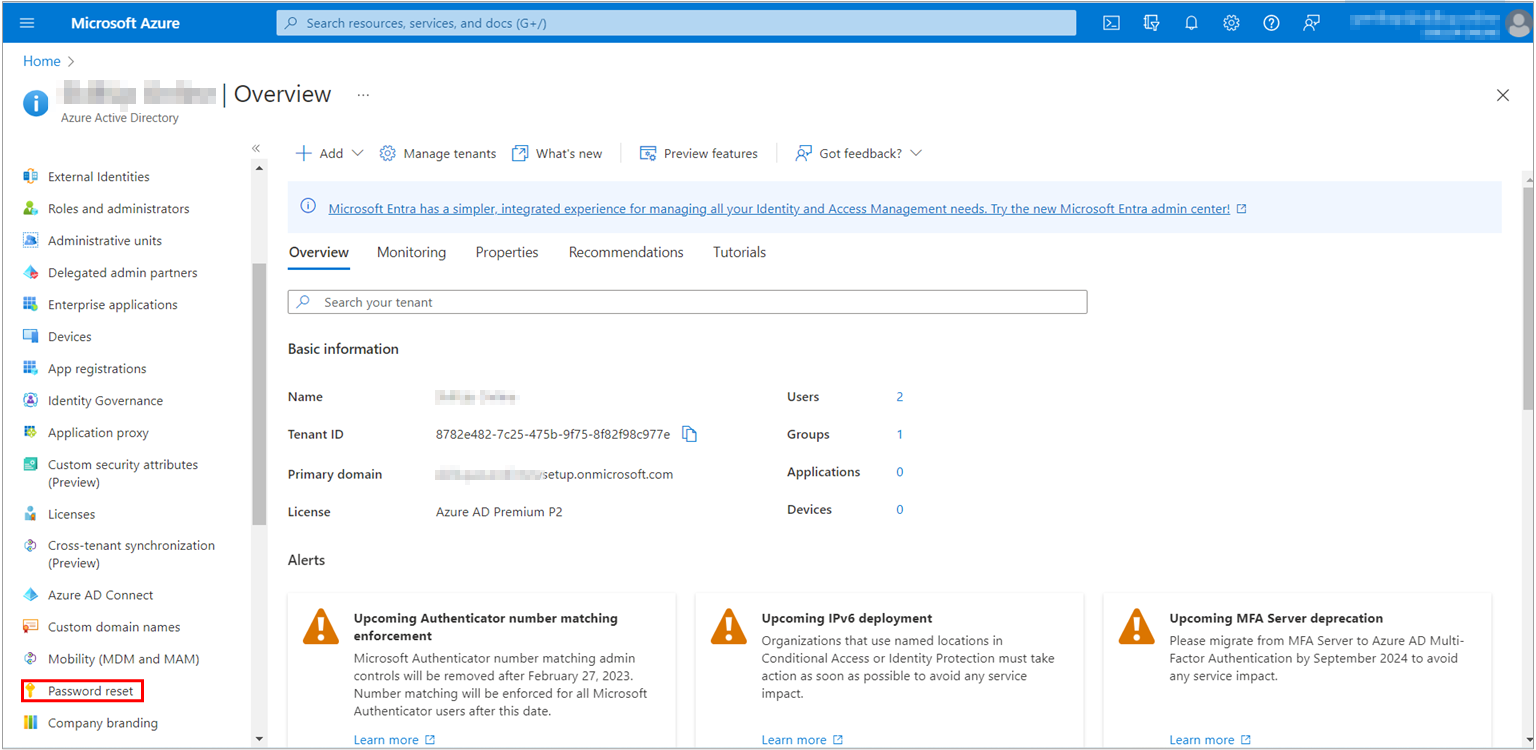
2. Search for and select Azure Active Directory.,
3. From the menu on the left side, select Password reset.
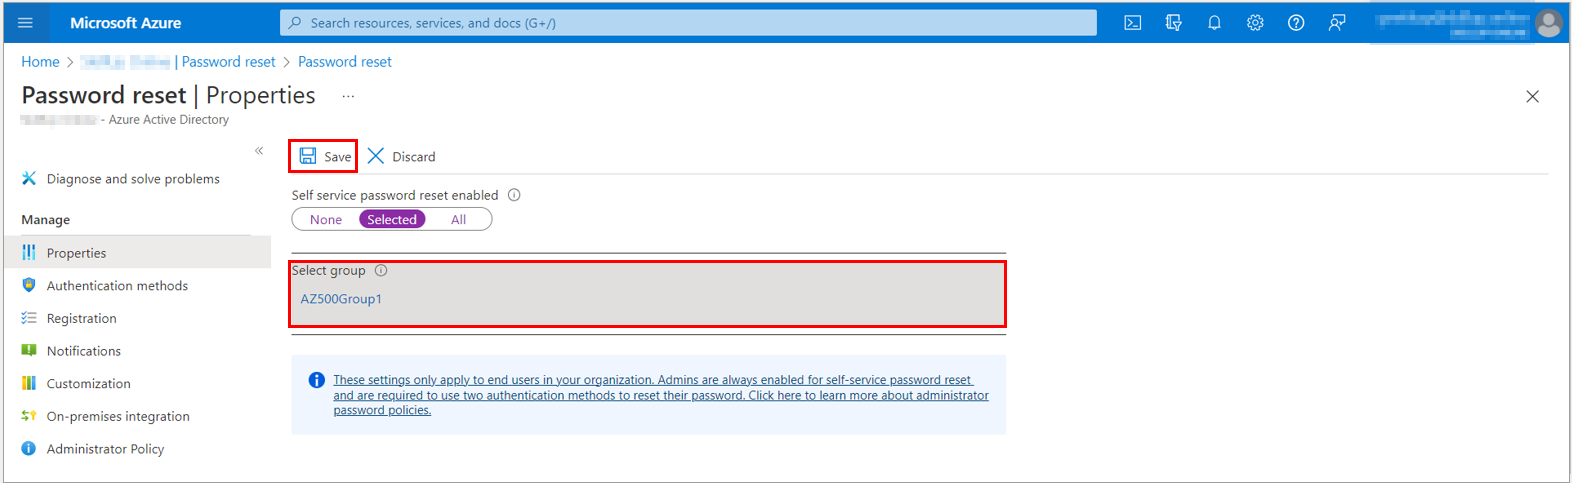
3. From the Properties page, under the Self service password reset enabled option, choose Selected.
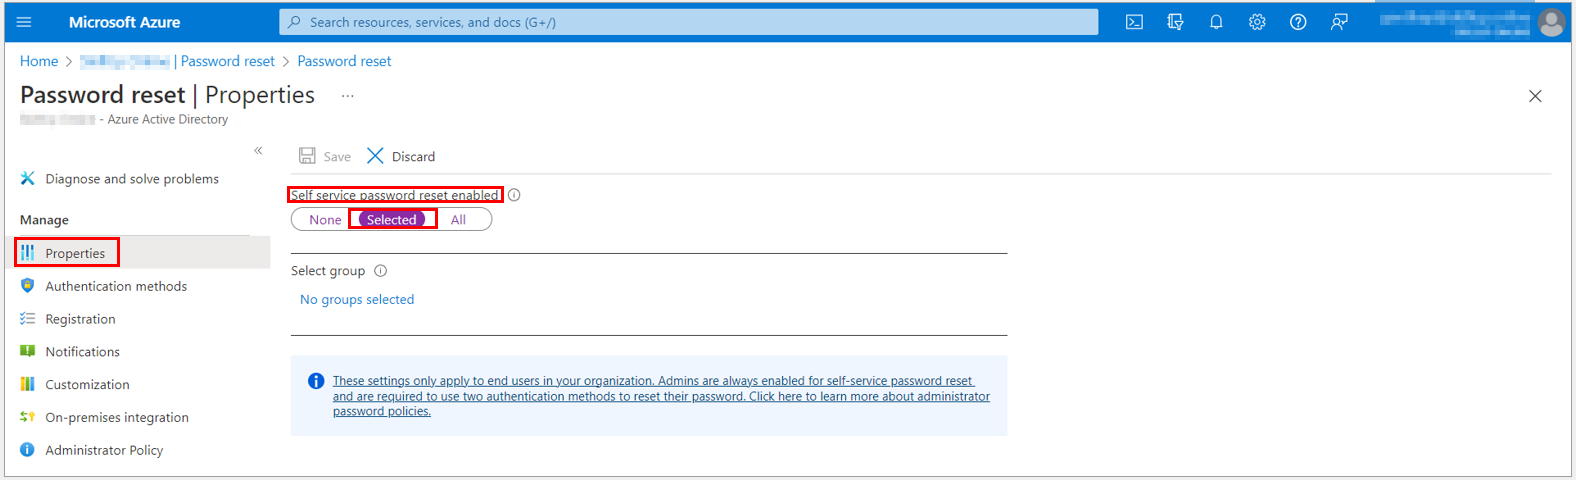
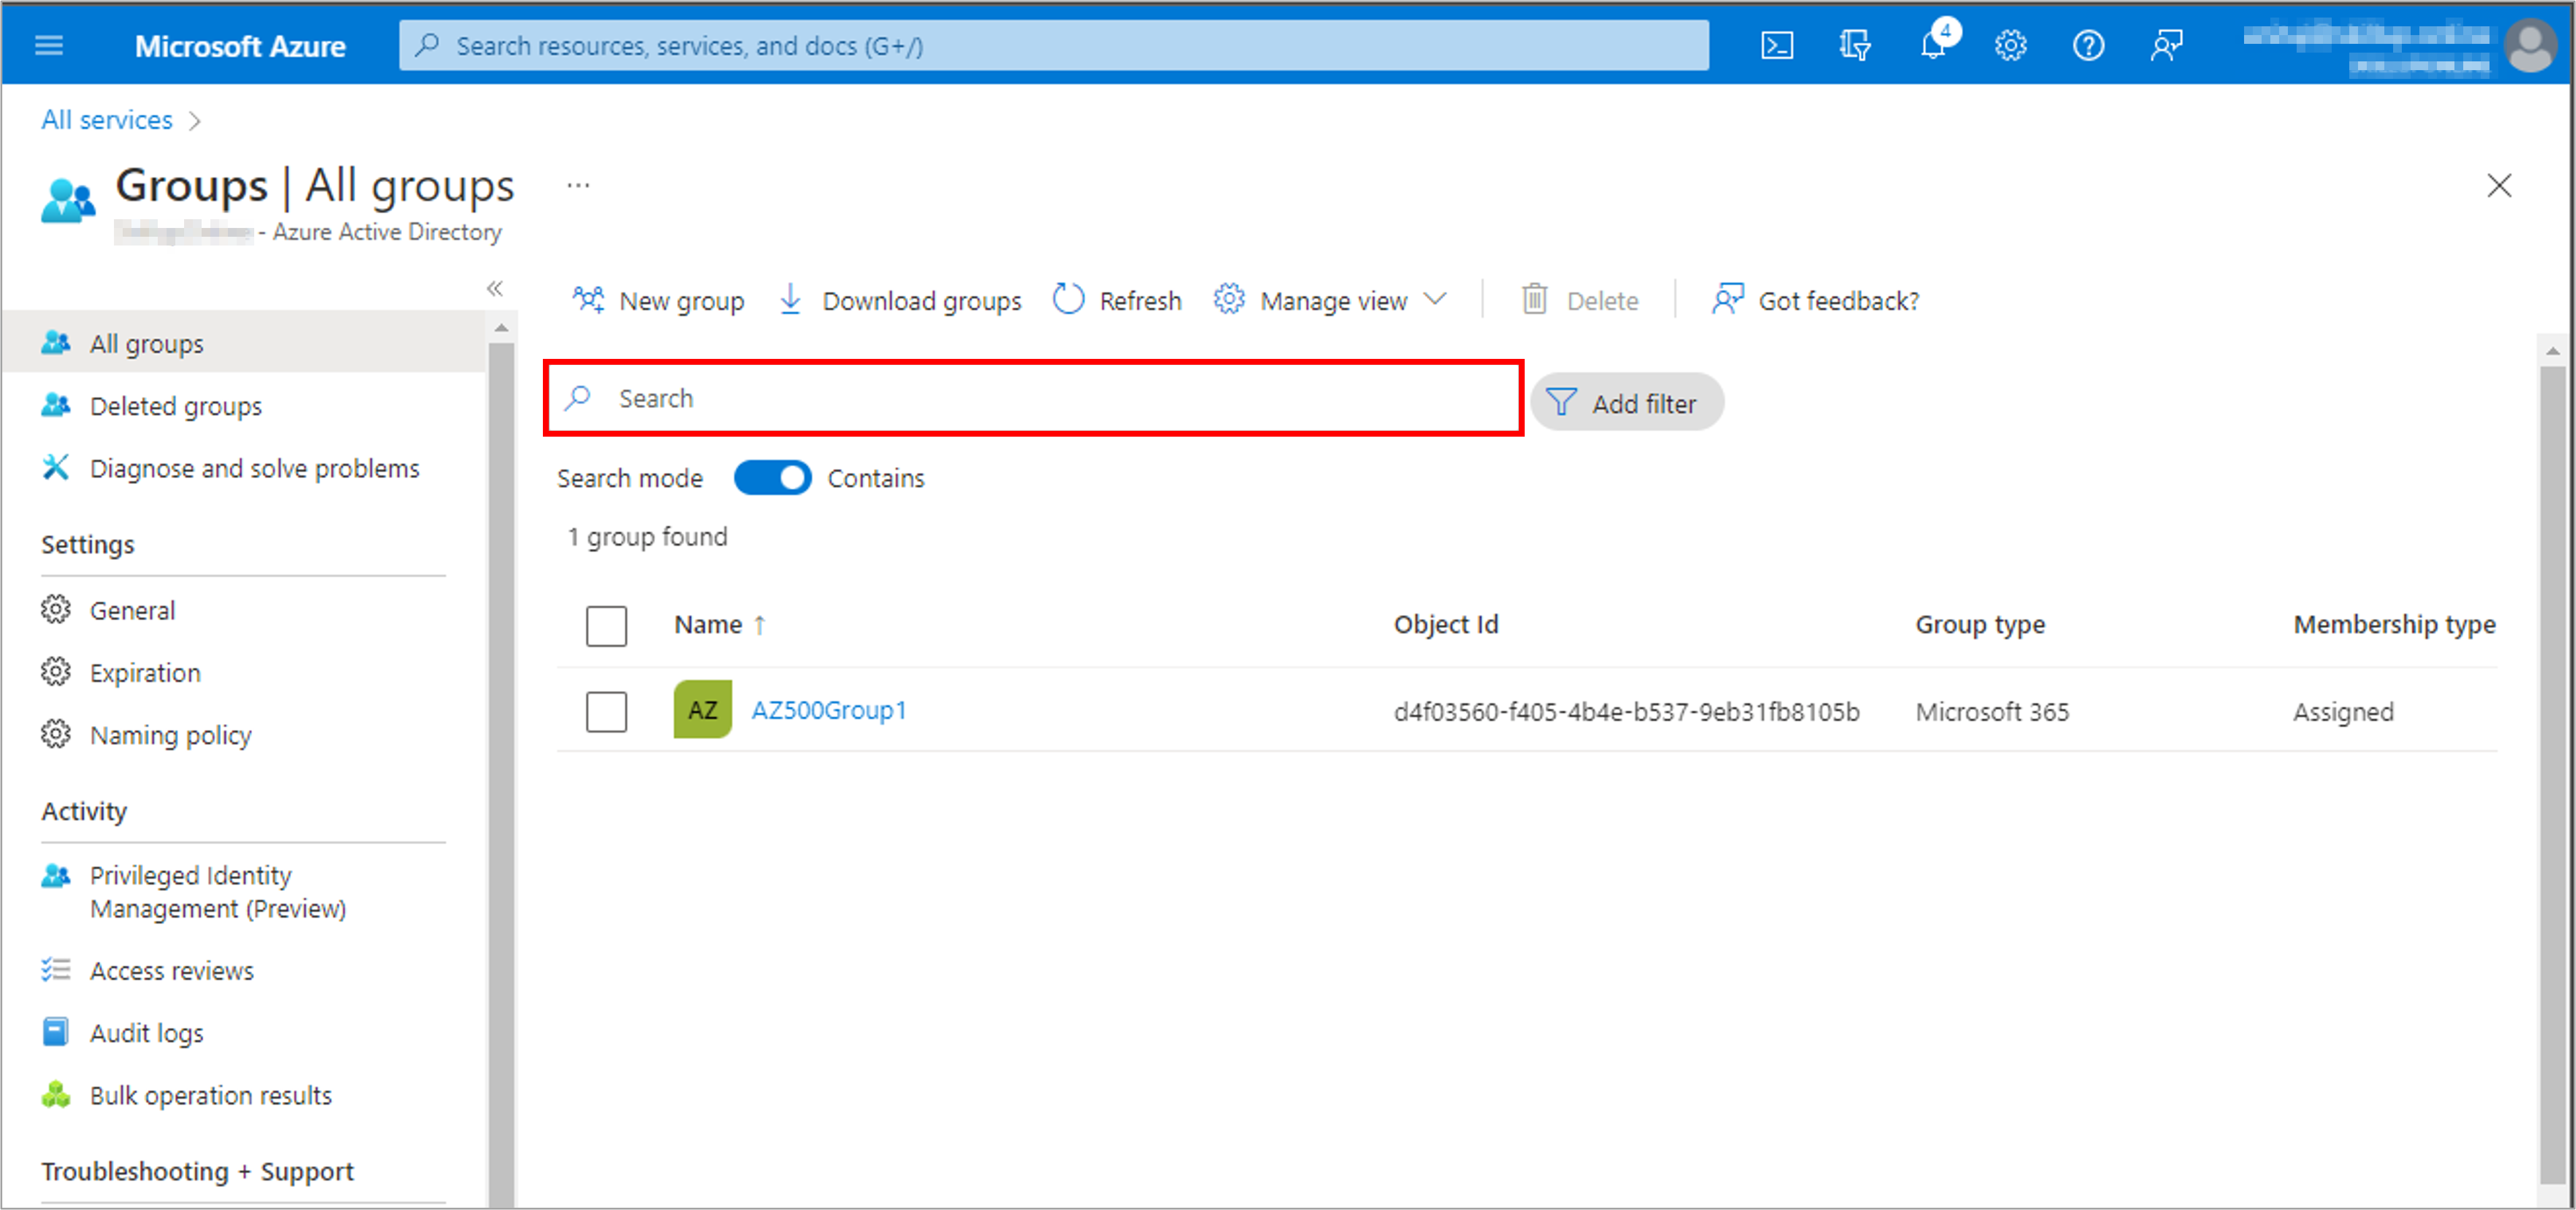
4. If your group is not visible, choose No groups selected.
5. Browse for, and select your Azure AD group, like AZ500Group1, and then choose Select.

6. To enable SSPR, select the group and then, select Save.
Task 4: Set up authentication methods and registration options
1. Go to the Password reset option, from the menu on the left side, select the Authentication methods option and then set the Number of methods required to reset to 2 on the Authentication methods page.
To improve security, you can increase the number of Authentication methods required for SSPR.
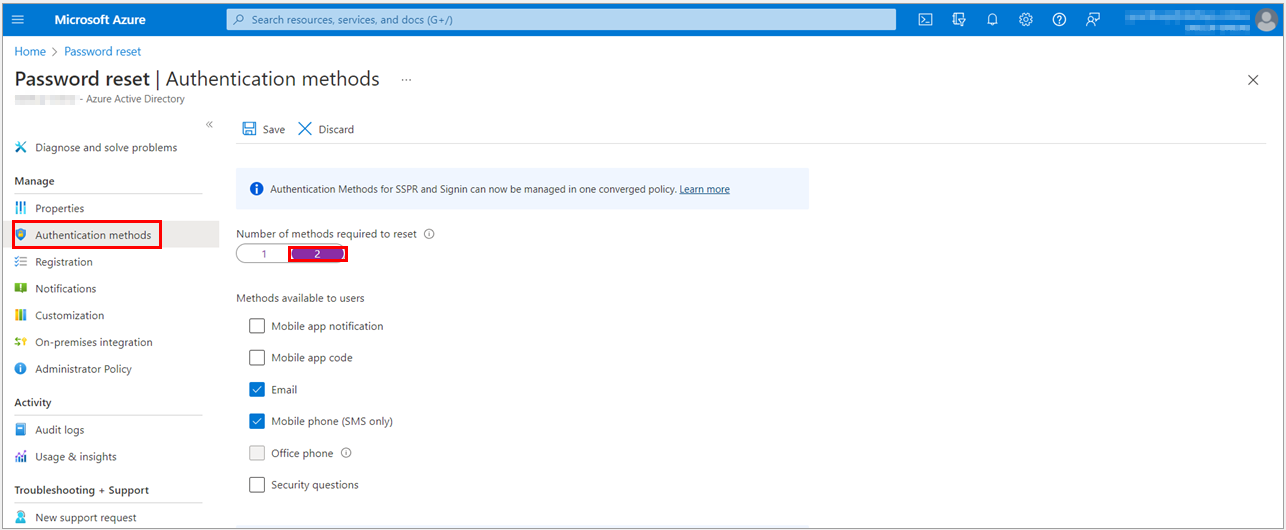
2. Choose the Methods available to users that your organization wants to allow. For this task, check the boxes to enable the following methods:
a. Mobile app notification
b. Mobile app code
c. Email
d. Mobile phone (SMS only)
If you do not see all these methods available you must go to “Auth Methods” and enable them for your tenant.
You can enable other Authentication methods, like Office phone or Security questions, as needed to fit your business requirements.
3. To apply the Authentication methods, select Save.
Note: Before users can unlock their accounts or reset a password, they must register their contact information. Azure AD uses this contact information for the different Authentication methods set up in the previous steps.

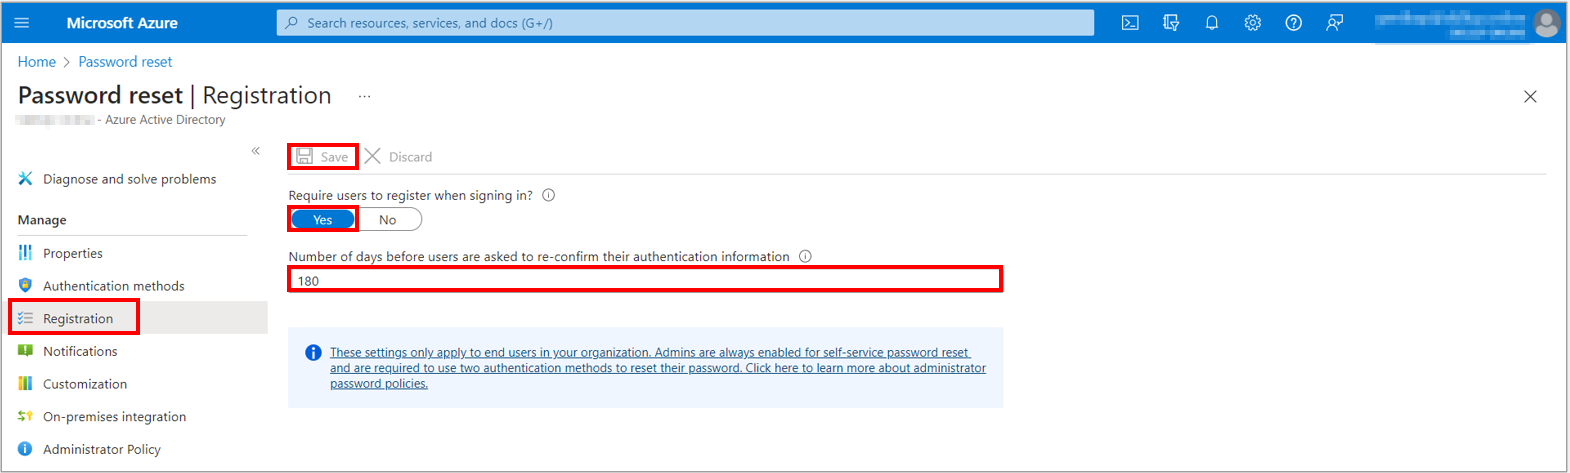
4. Go to Password reset option, from the menu on the left side, select the Registration option, and then select Yes for Require users to register when signing in? on the Registration page.
5. Set the Number of days before users are asked to re-confirm their authentication information to 180.
6. It is important to keep the contact information up to date. If outdated contact information exists when an SSPR event starts, the user may not be able to unlock their account or reset their password.
7. To apply the registration settings, select Save.
Task 5: Set up notifications and customizations
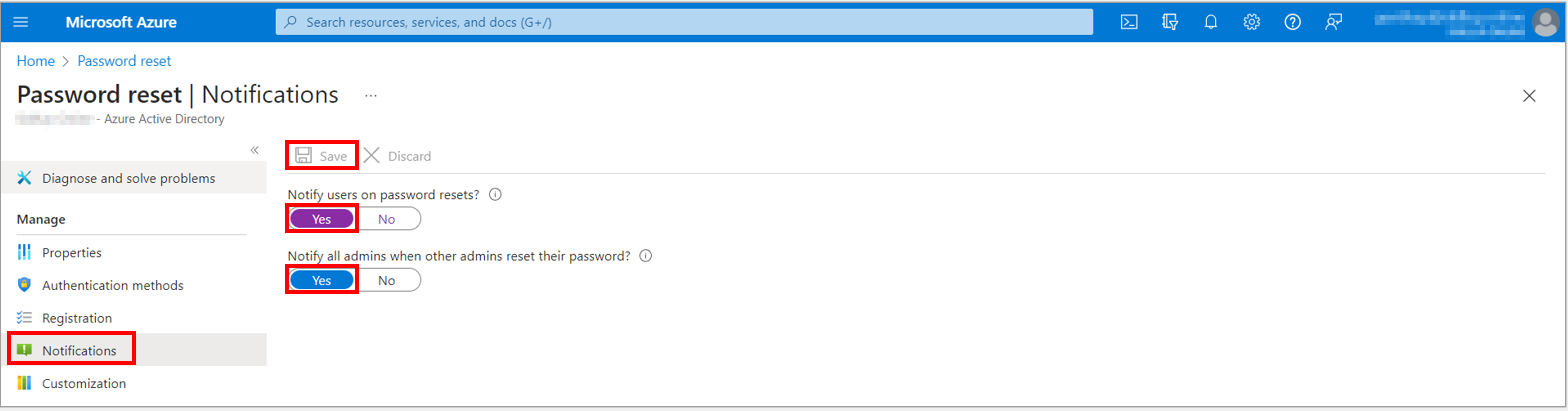
1. Go to the Password reset option, from the menu on the left side, select the Notifications option and then set up the following options on the Notifications page:
a. Set Notify users on password resets? option to Yes.
b. Set Notify all admins when other admins reset their password? to Yes.
2. To apply the Notifications preferences, select Save.
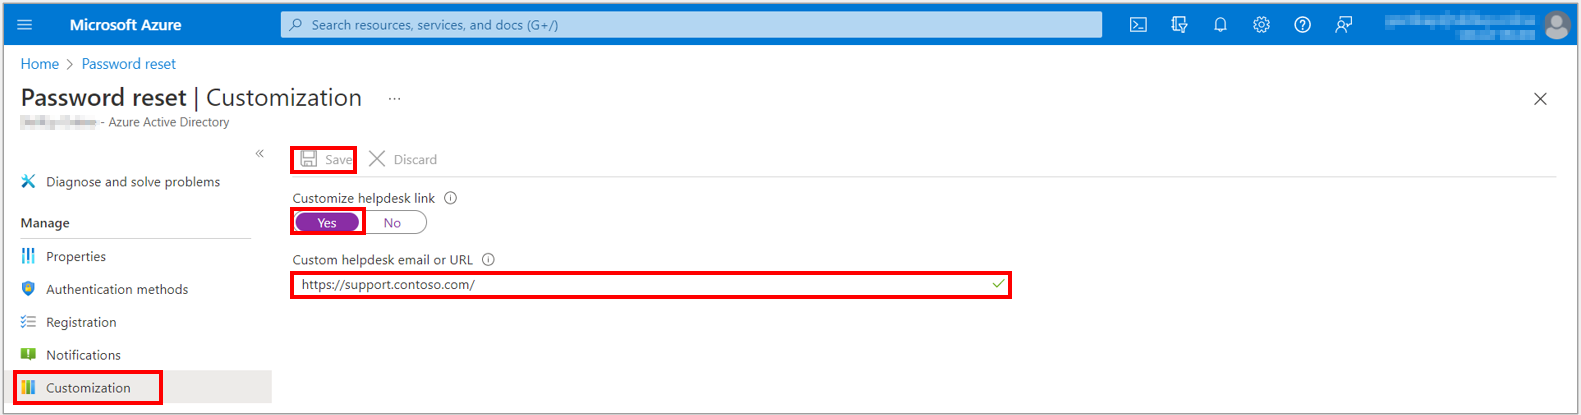
3. From the menu on the left side, select the Customization option and then set Customize helpdesk link to Yes on the Customization page.
4. In the Custom helpdesk email or URL field, provide an email address or web page URL where your users can get more help from your organization. For example, https://support.contoso.com/
5. To apply the custom link, select Save.
Task 6: Test SSPR process
1. To see the manual registration process, open a new browser window in InPrivate or incognito mode, and browse to https://aka.ms/ssprsetup

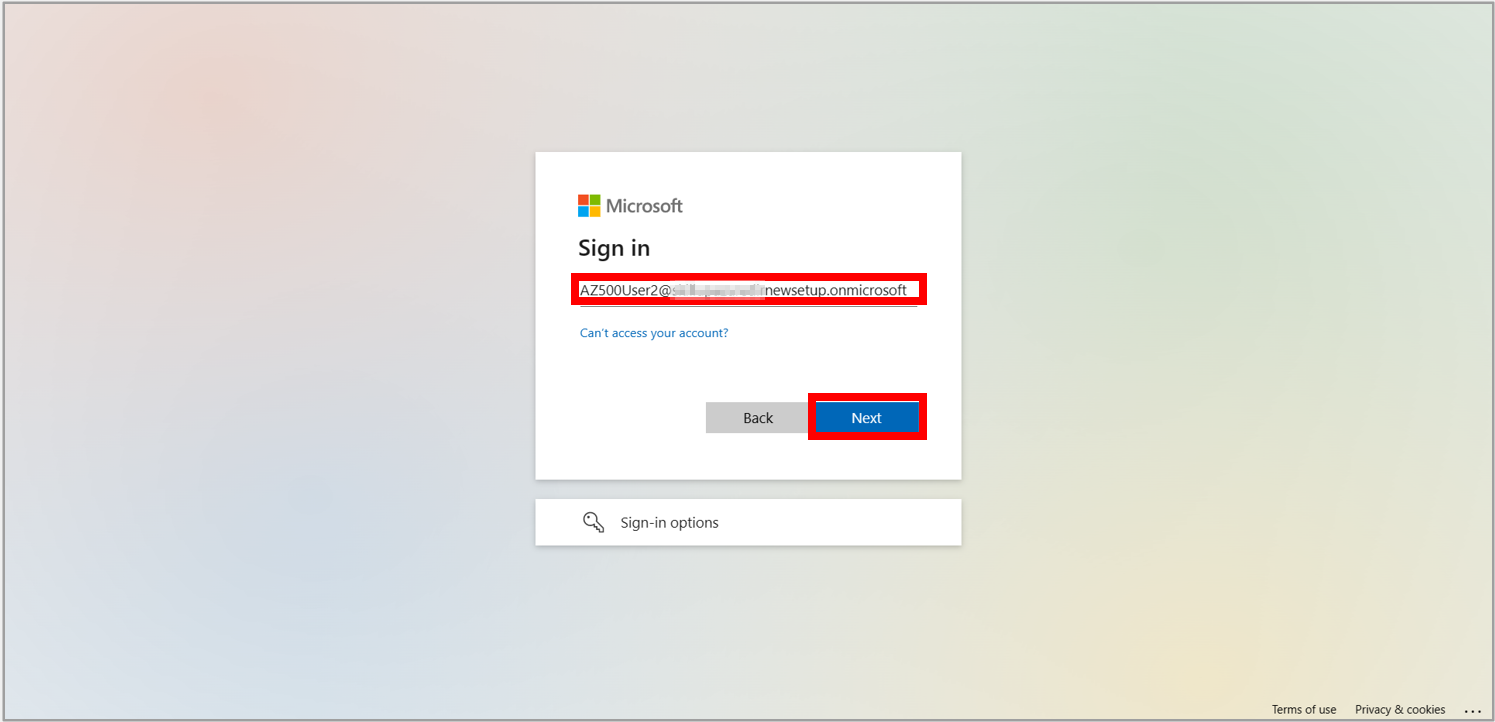
2. Sign in with the username and password of a non-administrator test user, like AZ500User2 along with the password.
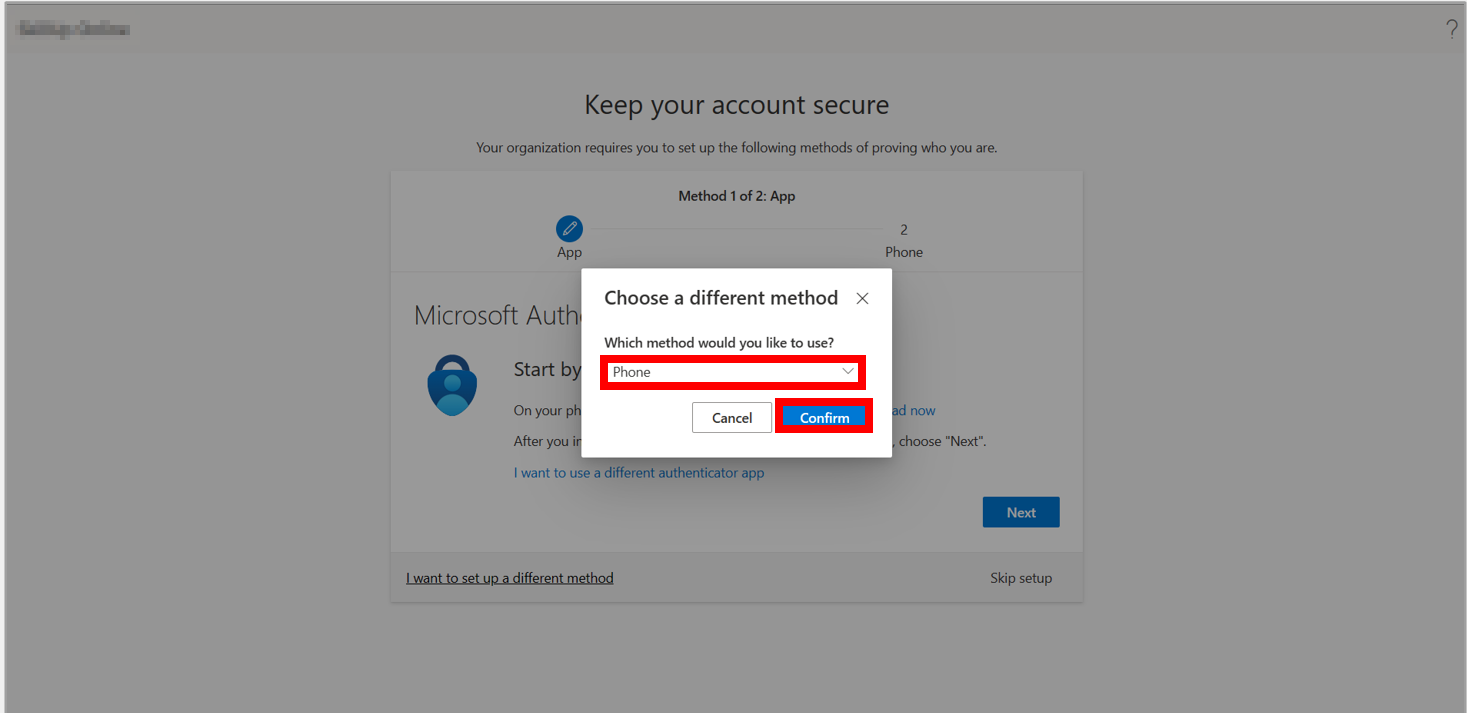
3. After updating your password, you will see a screen to follow a 2-step process to keep your account secure, i.e., via App and Phone. Select Next.

4. Choose Phone as a method you would like to use and select Confirm.
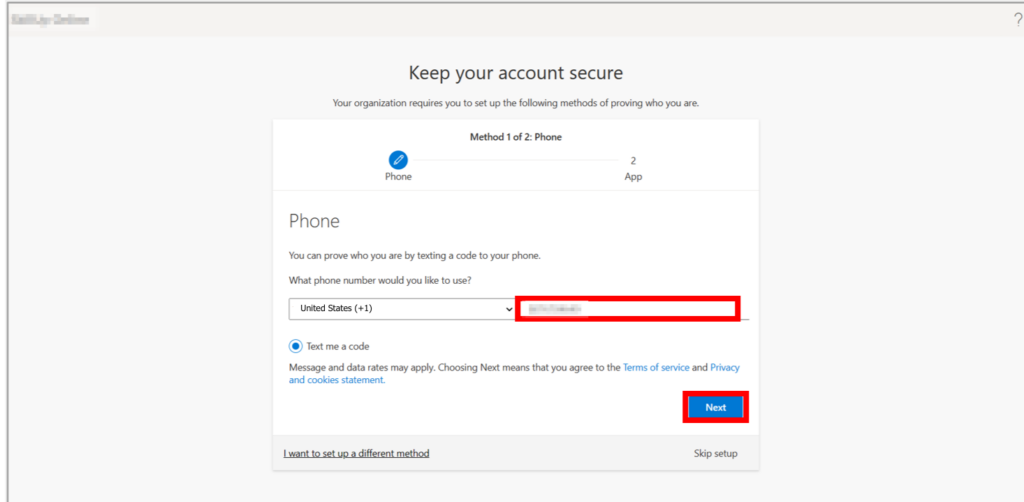
5. Enter your phone number and select Text me a code option and then select Next.
6. Select Next.
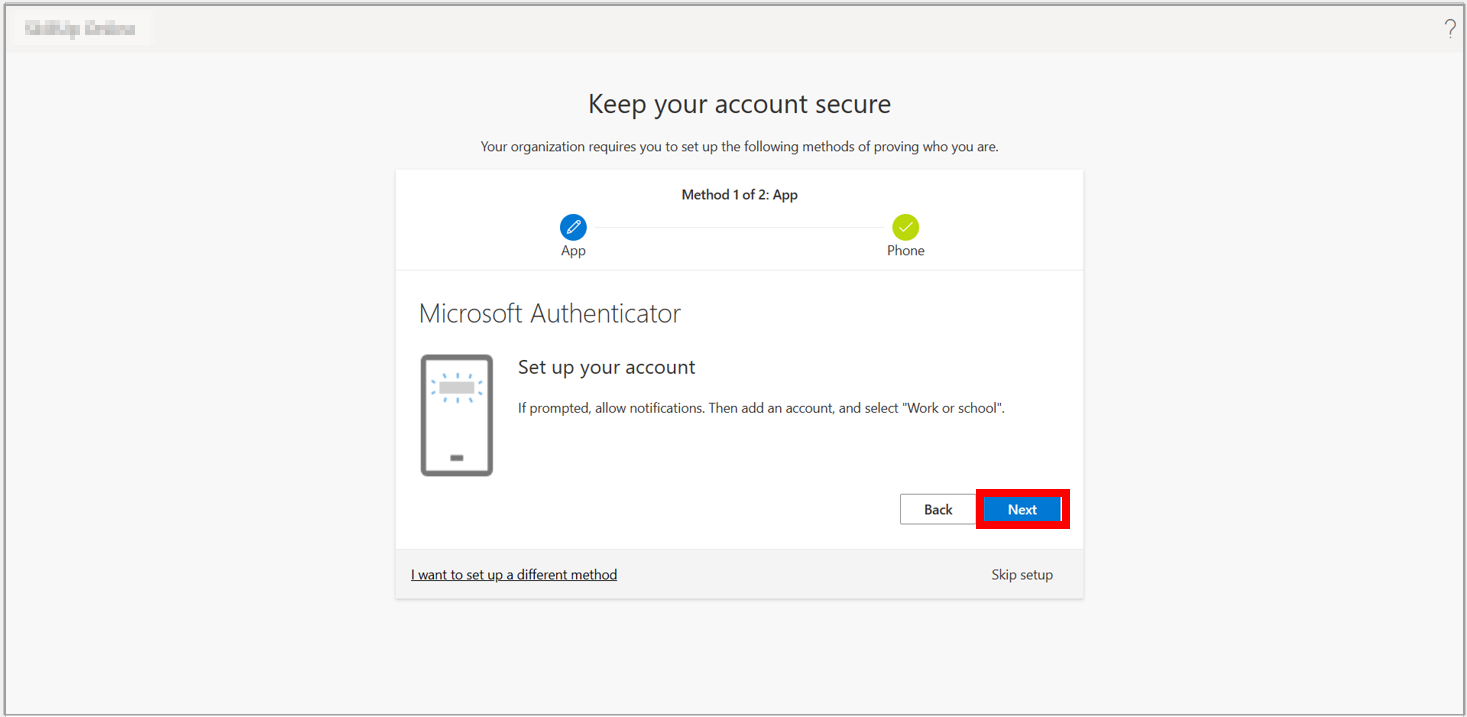
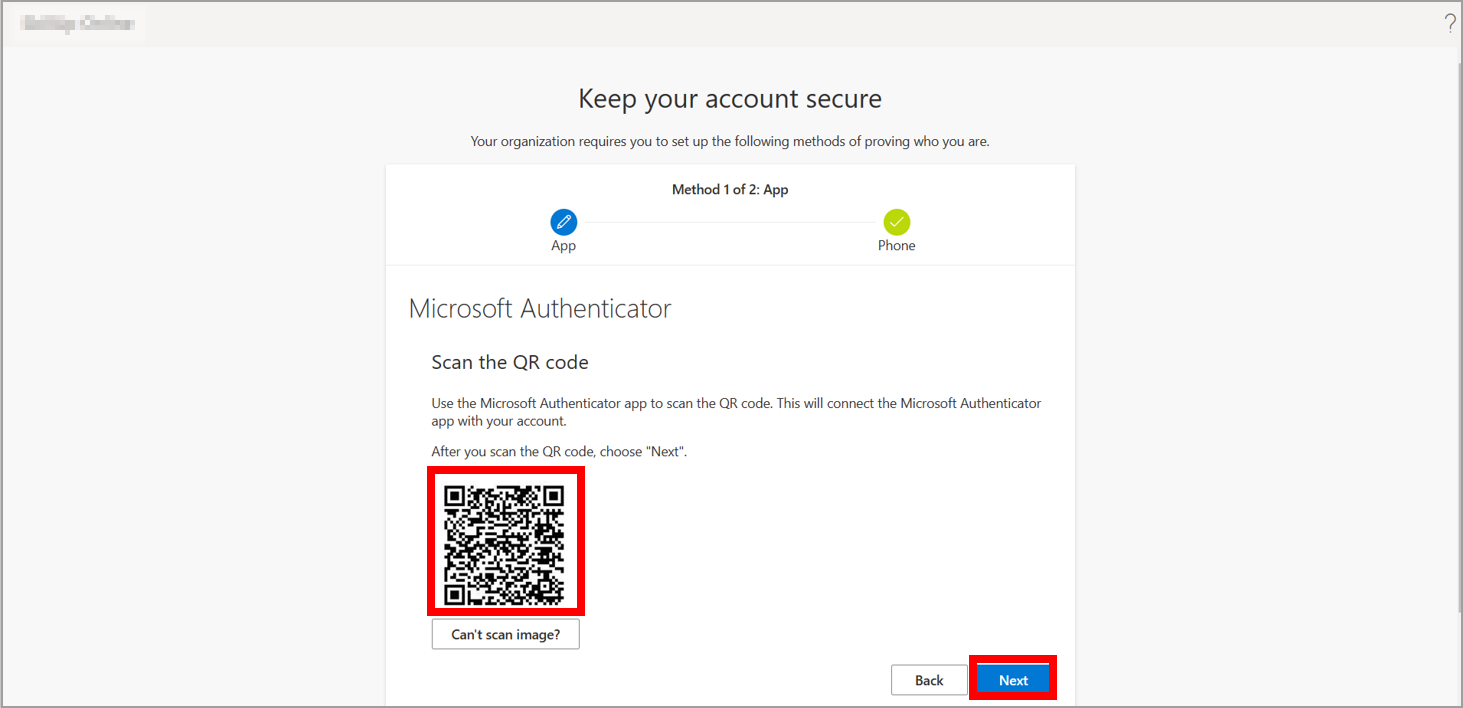
7. Scan the QR code by opening the Microsoft Authenticator app on your phone and then select Next.
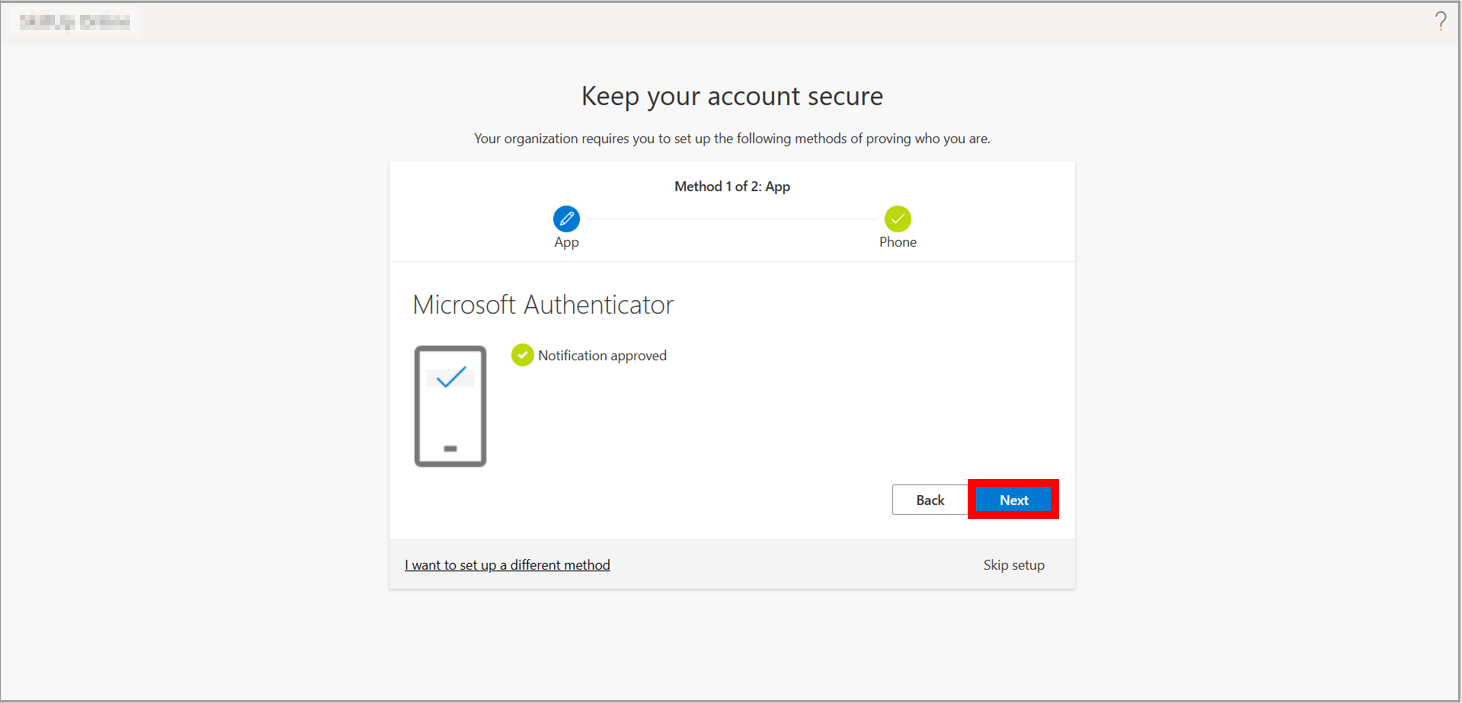
8. After it is approved, select Next.
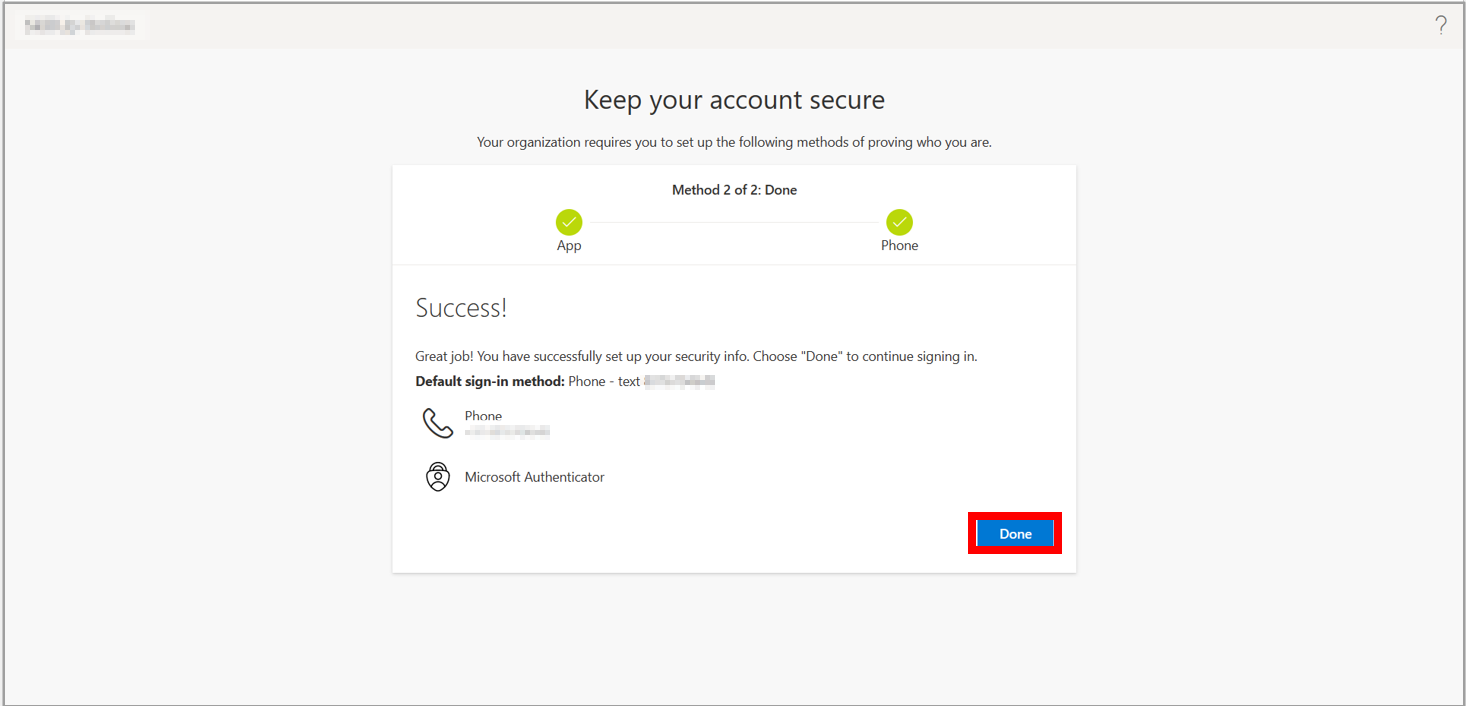
9. Your security information is set up, so select Done.
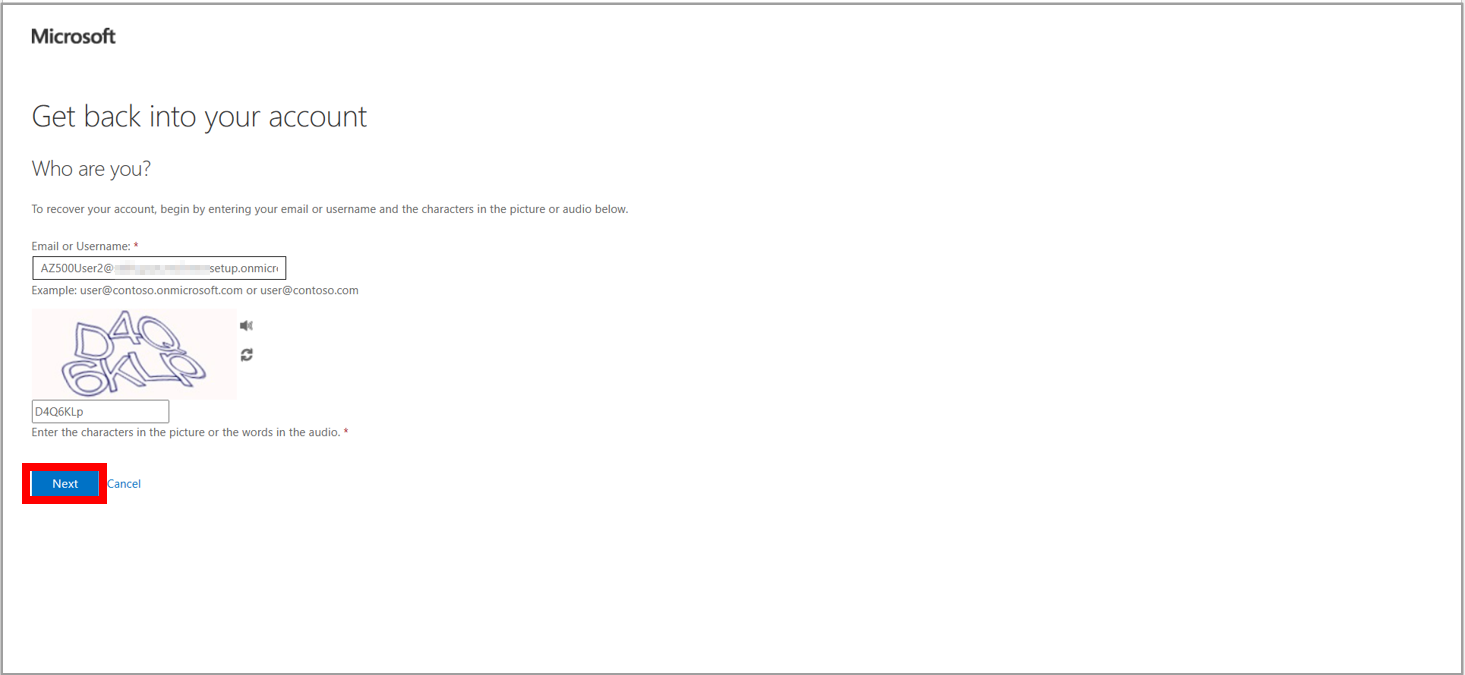
10. Open a new browser window in InPrivate or incognito mode and browse to https://aka.ms/sspr
11. Enter your non-administrator test users’ account information, i.e., AZ500User2, which we already mentioned in step 2 and fill in the characters from the CAPTCHA, and then select Next.
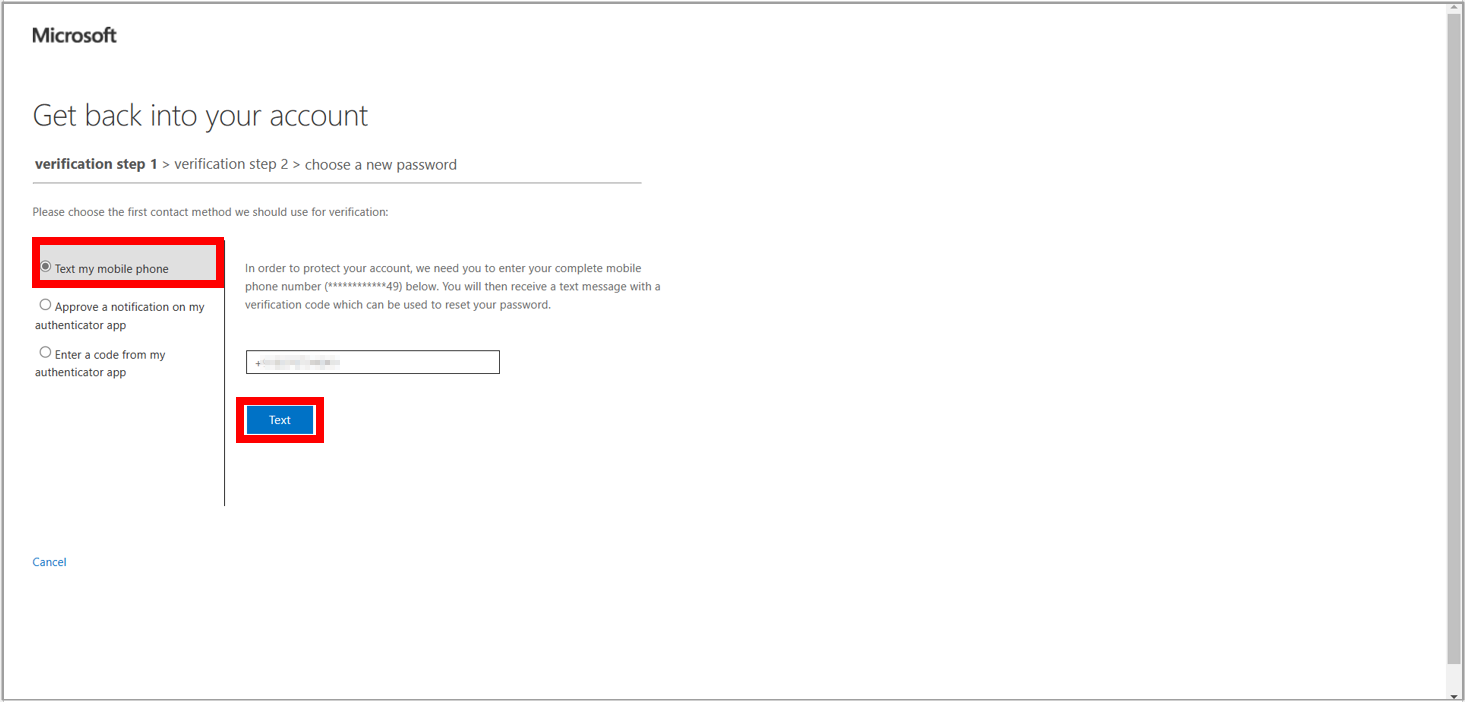
12. Select Text my mobile phone option from the three options on the left side. Enter your mobile number to get a text code and select Next Text.
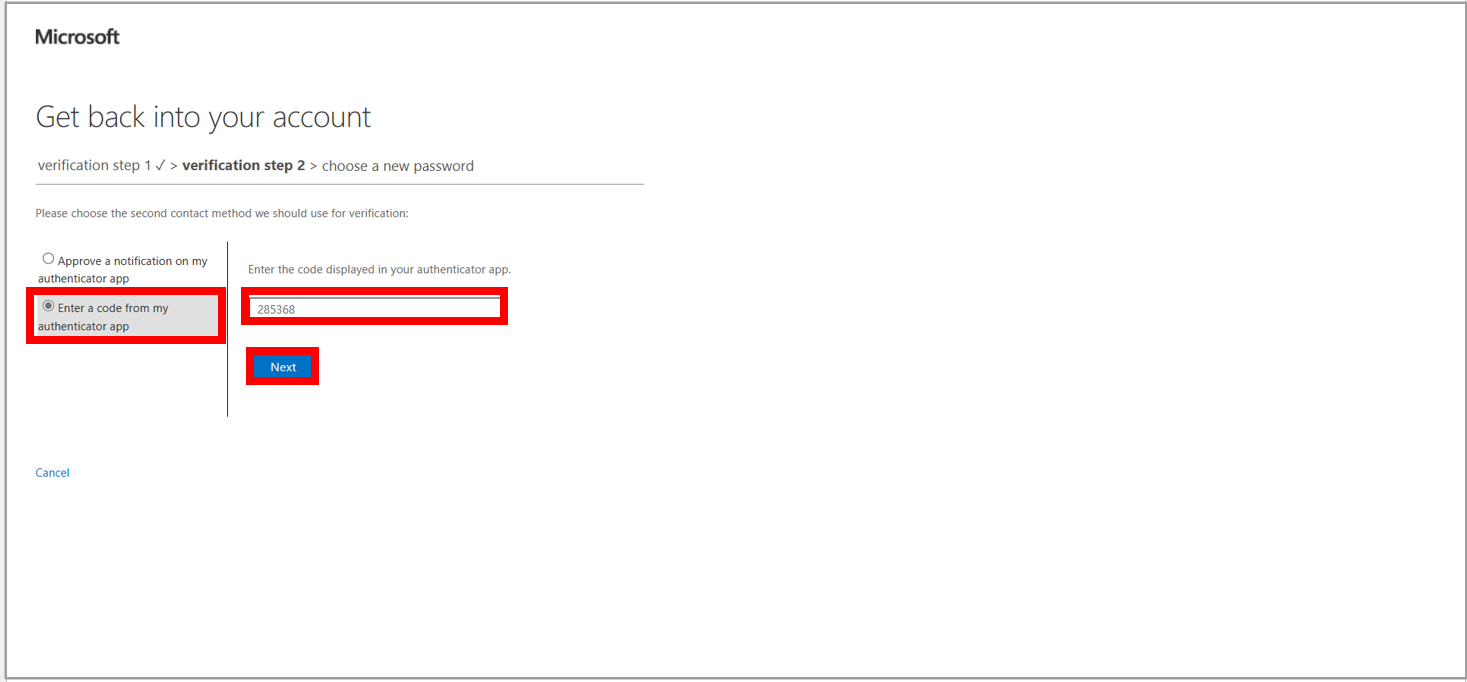
13. Fill in the code sent to your mobile number and select Next.

14. Now, enter the code which has been sent to your Microsoft Authenticator app on your phone and select Next.
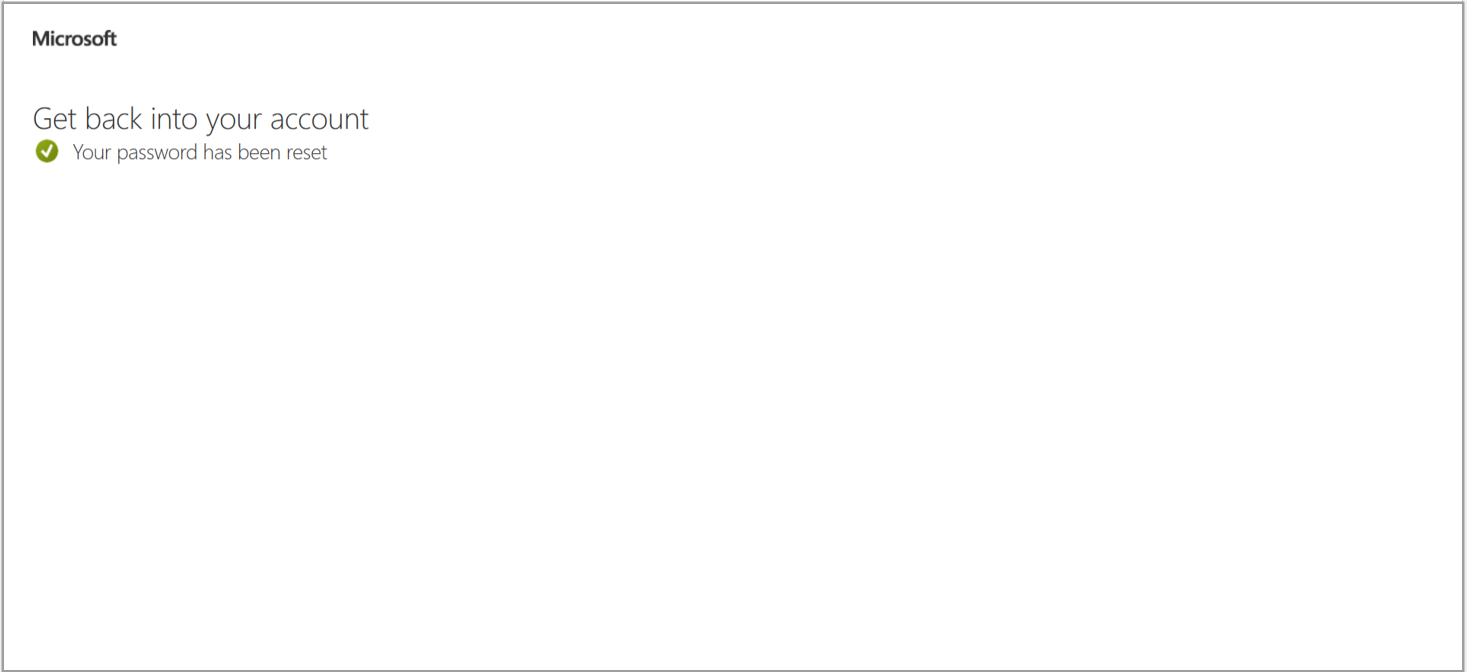
15. Enter your new password, confirm it by entering the same password, and then select Finish.
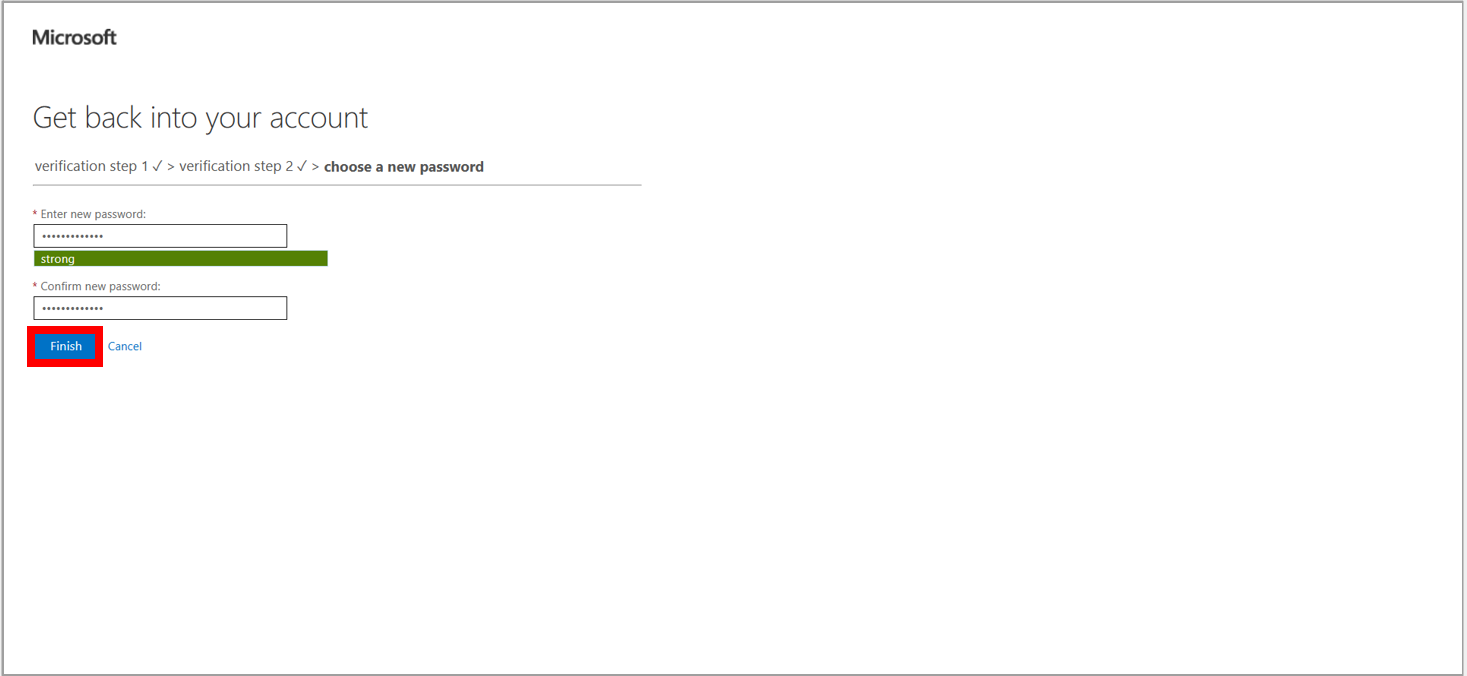
16. Your password has been reset.
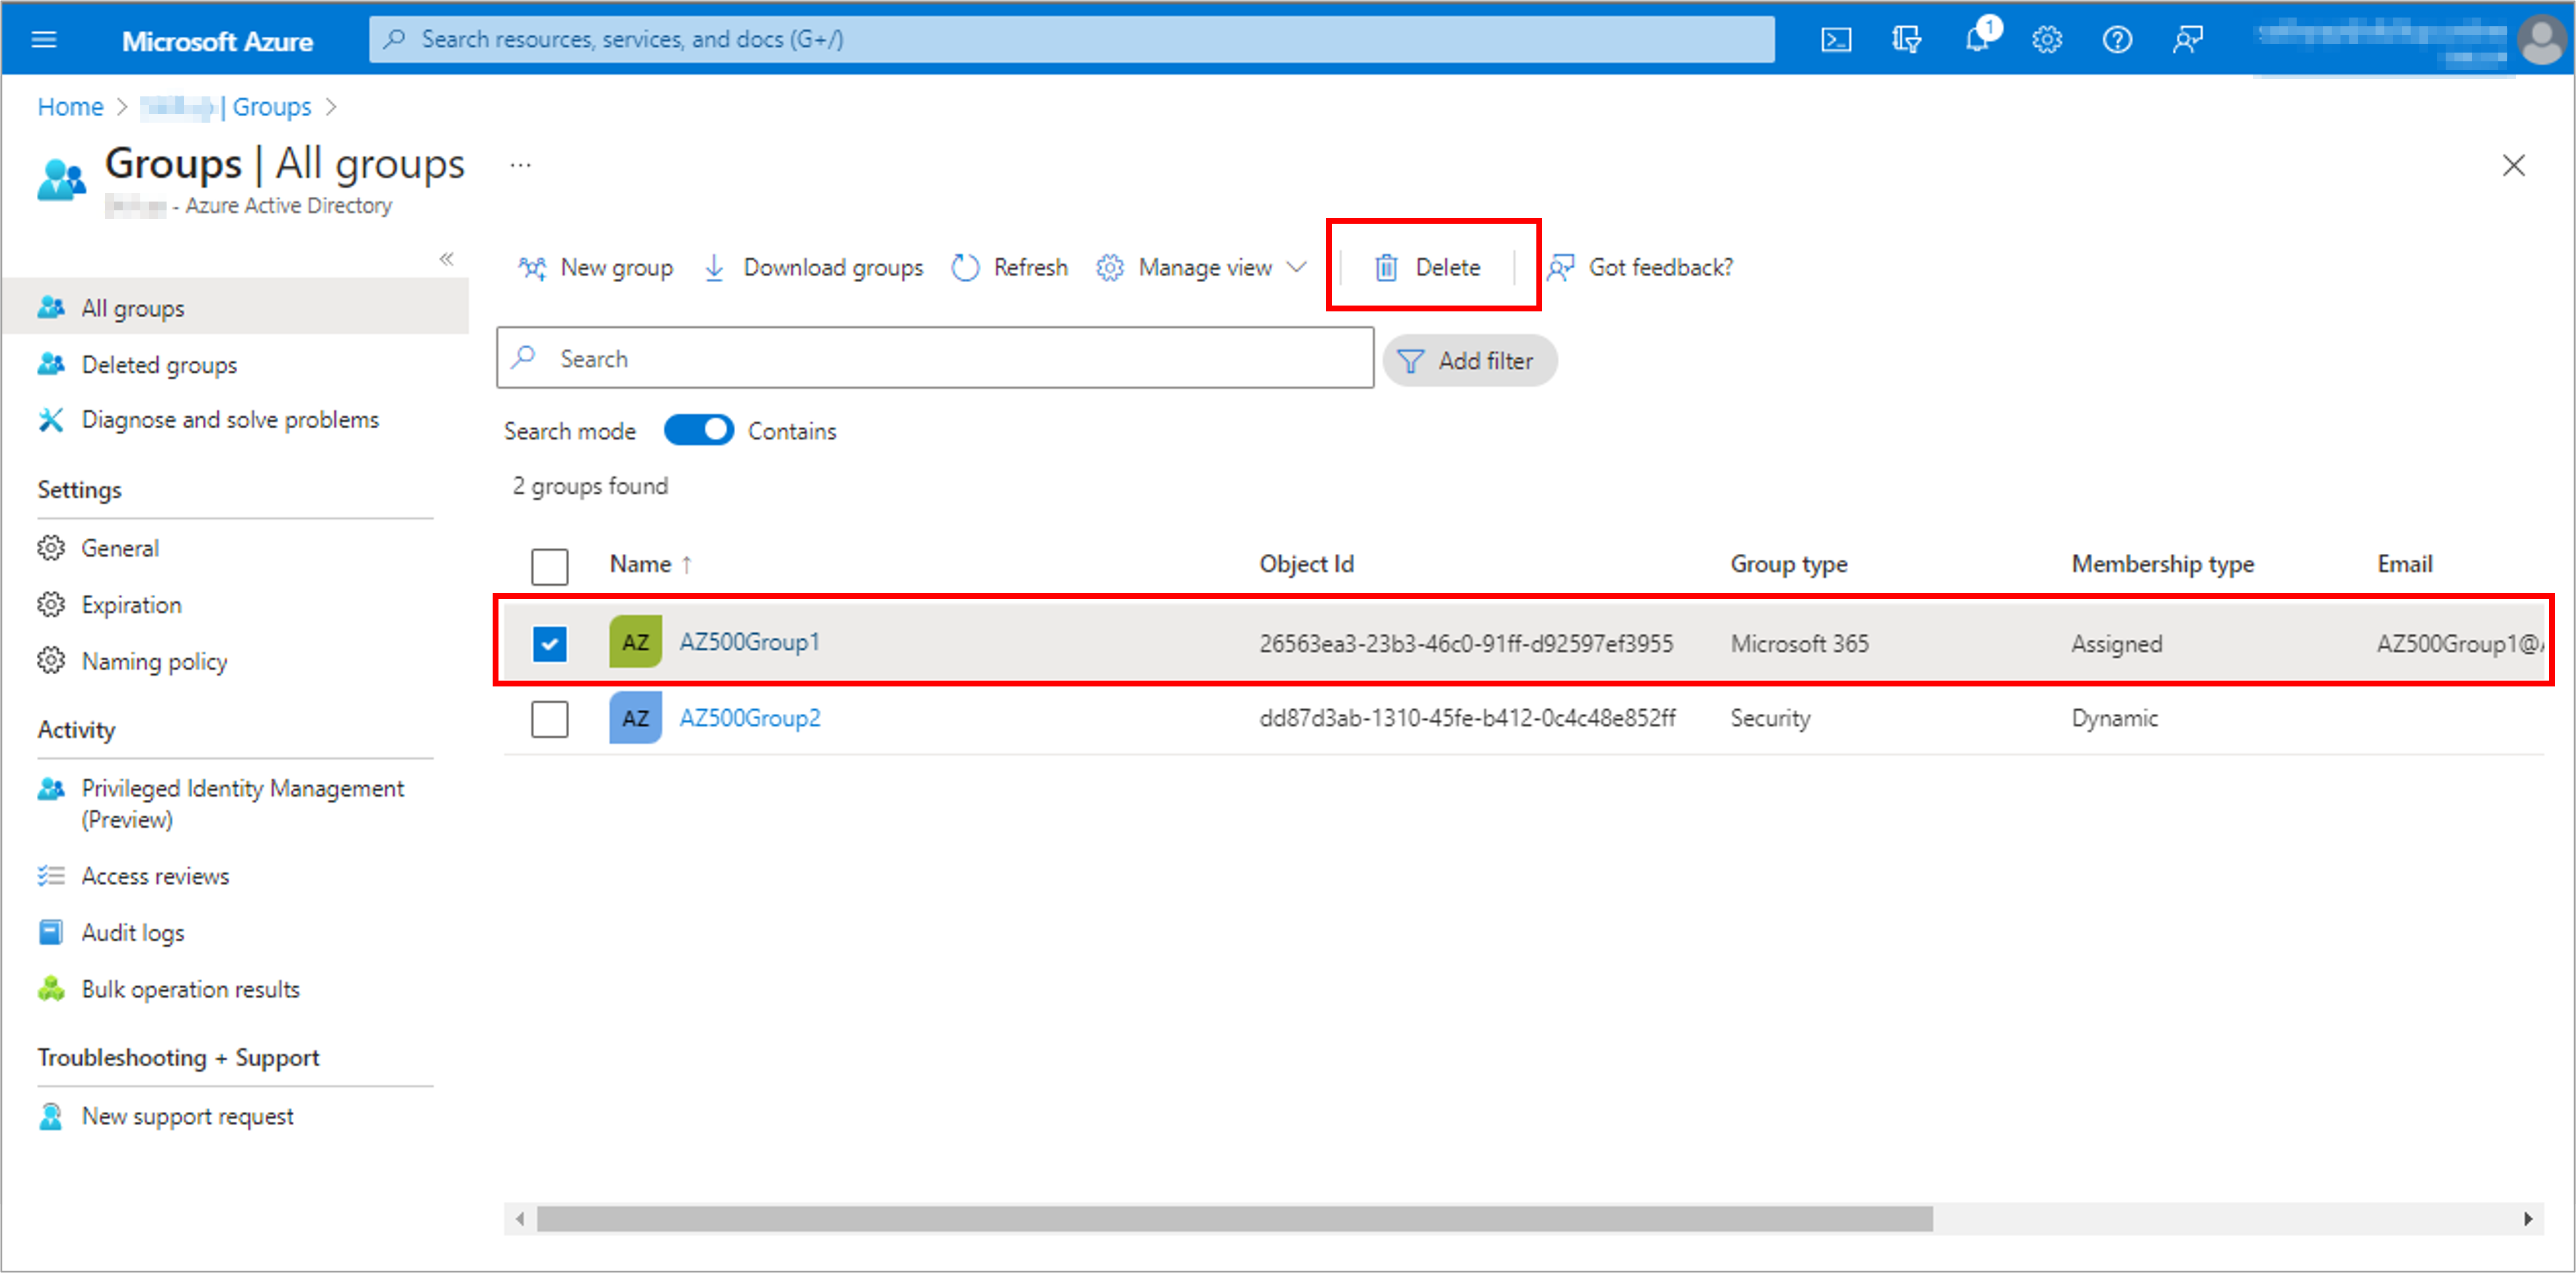
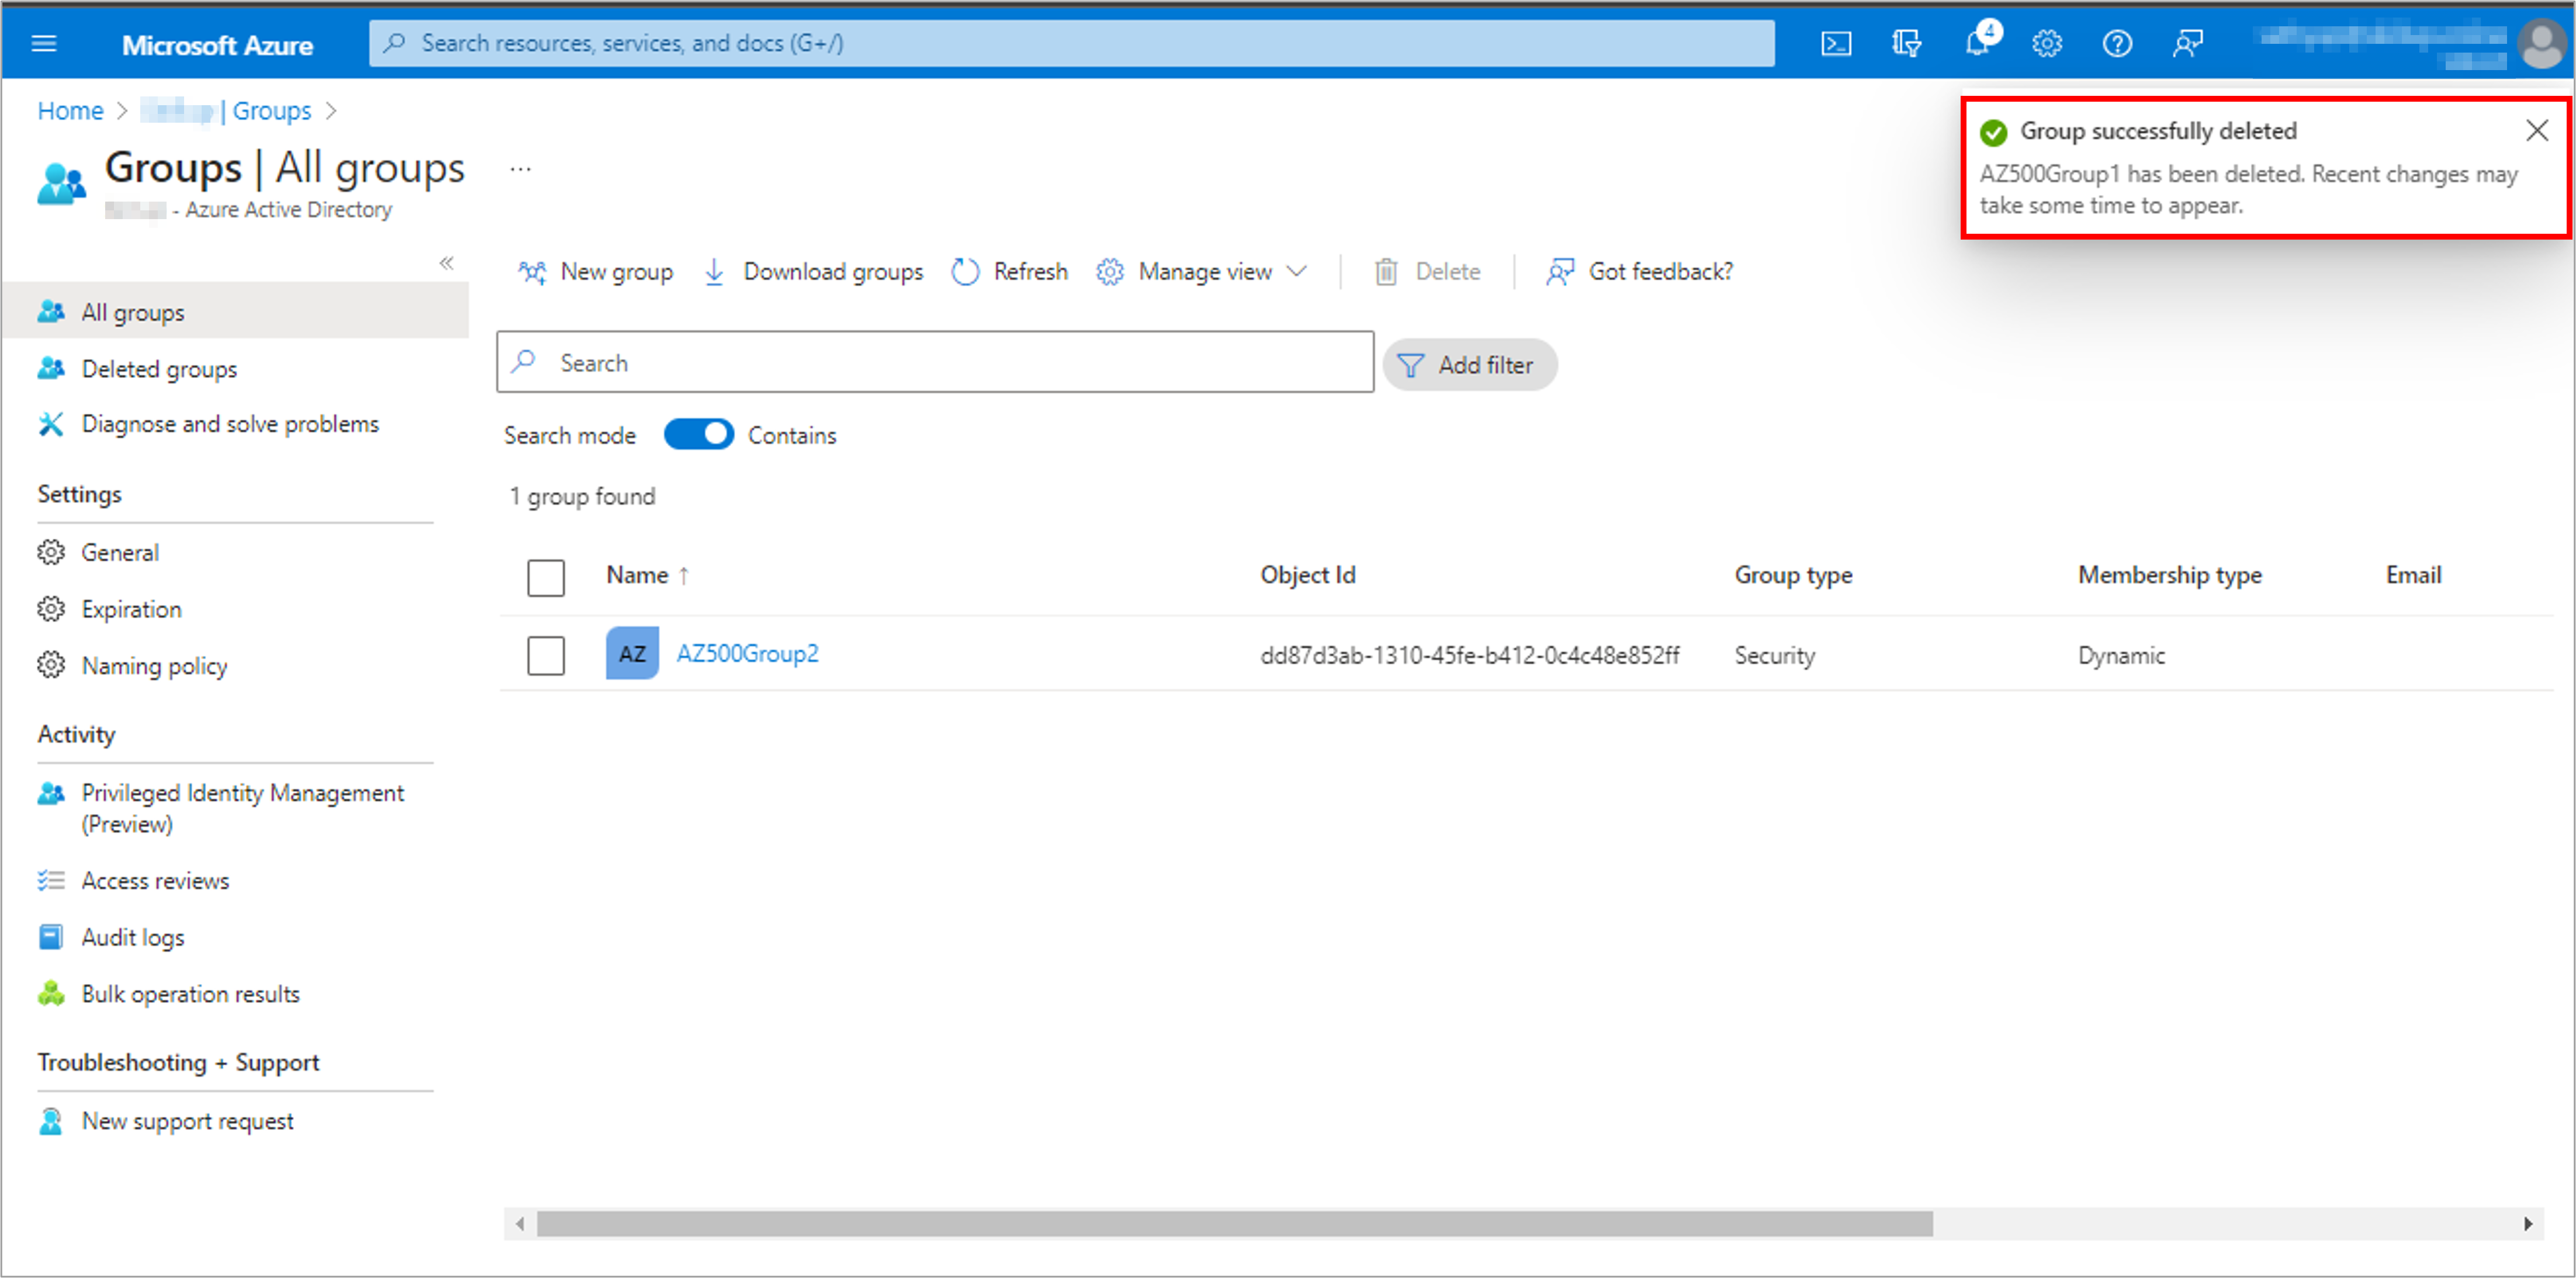
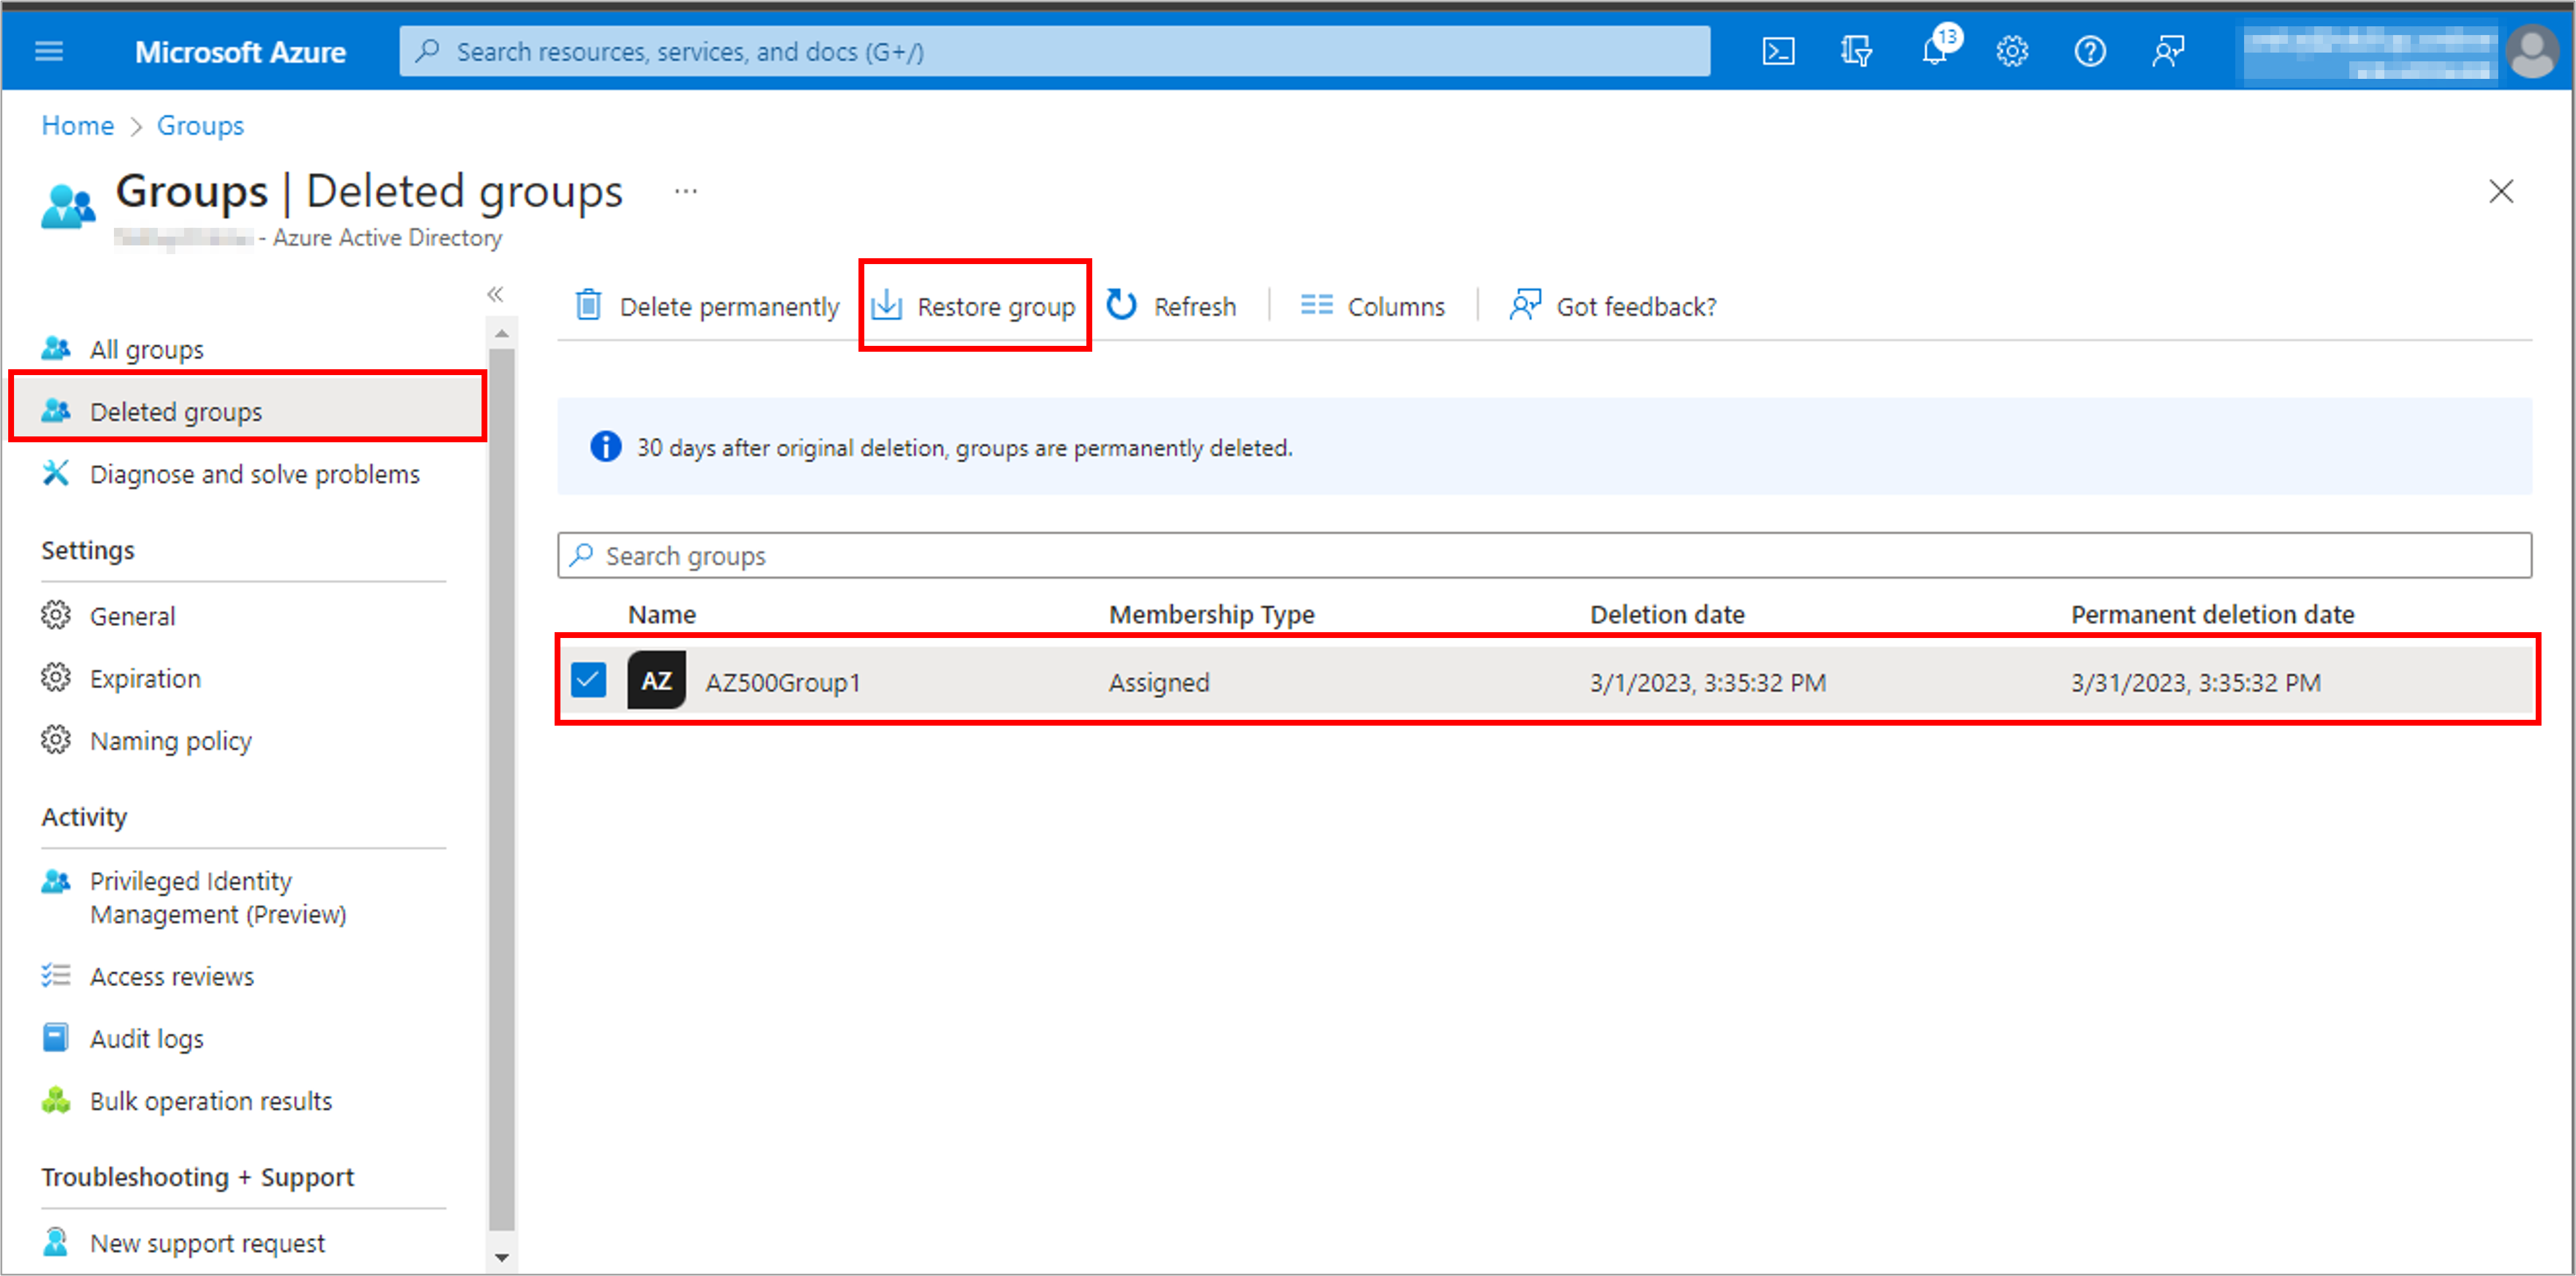
Task 7: Cleaning up the resources
When working on your subscription, assessing whether you still require the resources you created at the end of a project is a good idea. Running resources can cost you money. You can delete resources individually or the entire resource group containing the resources.
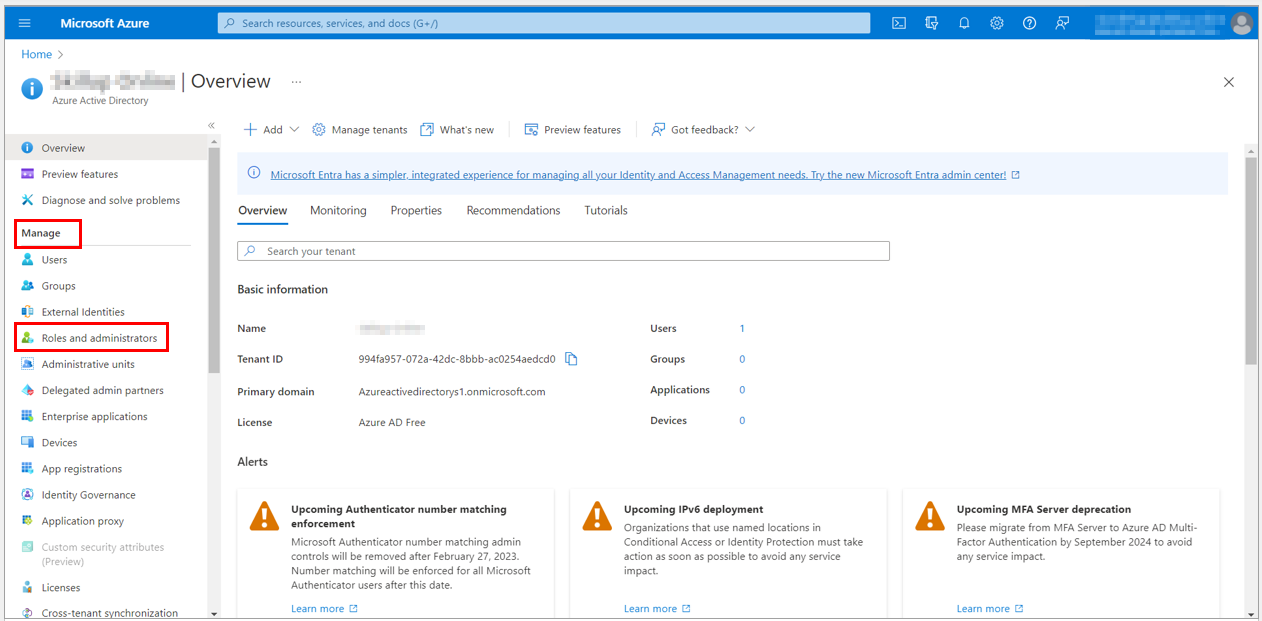
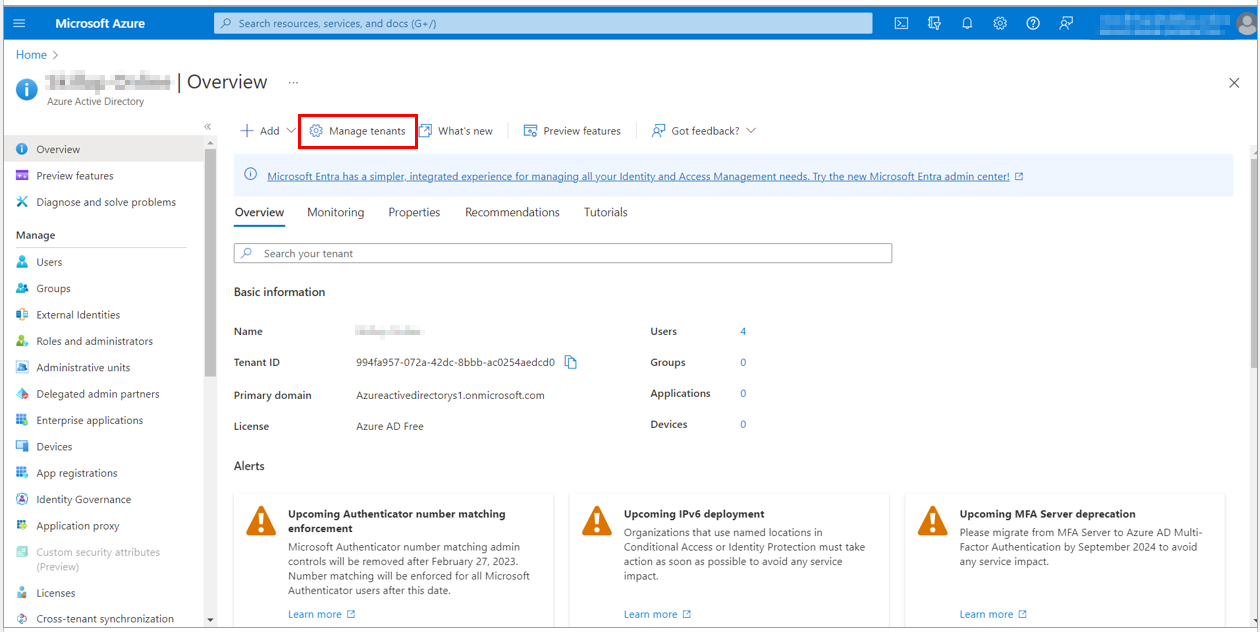
1. In the Azure Portal, search for and select Azure Active Directory
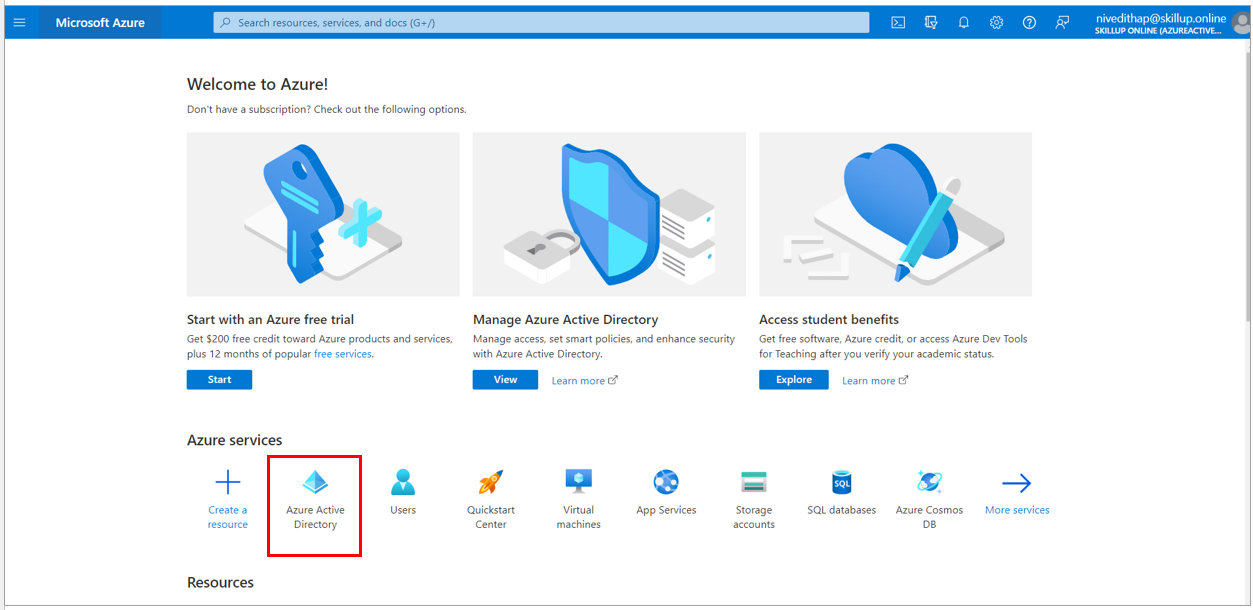
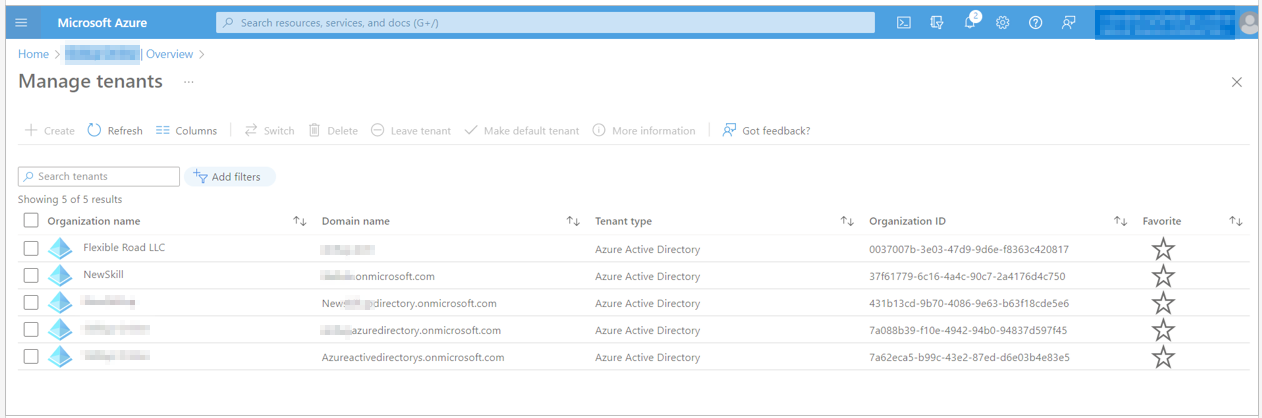
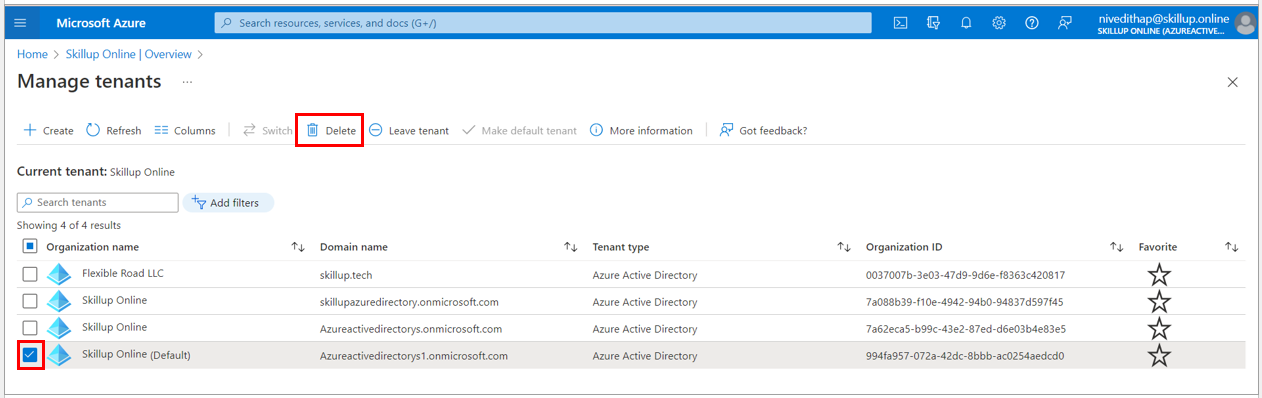
2. Select Manage tenants option.

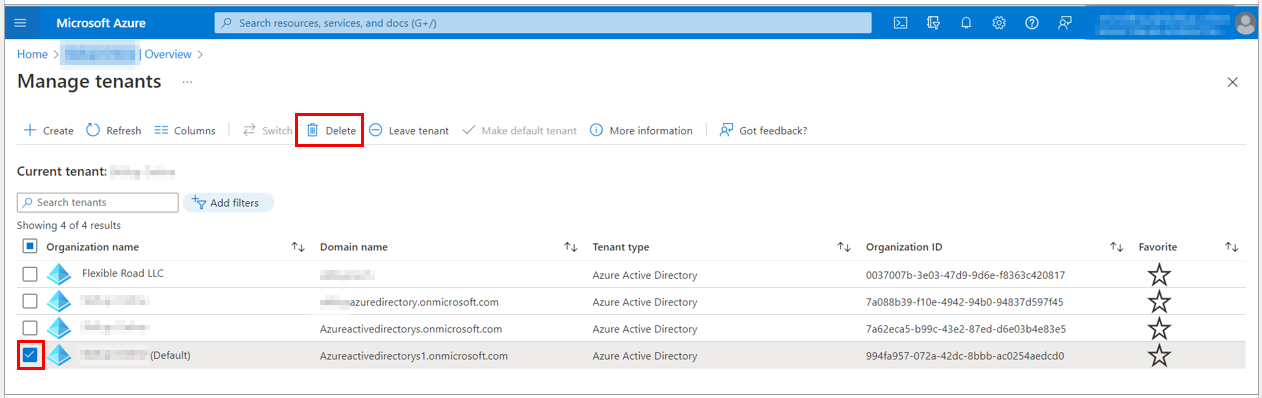
3. Select the Azure Active Directory which you want to delete and select Delete option.
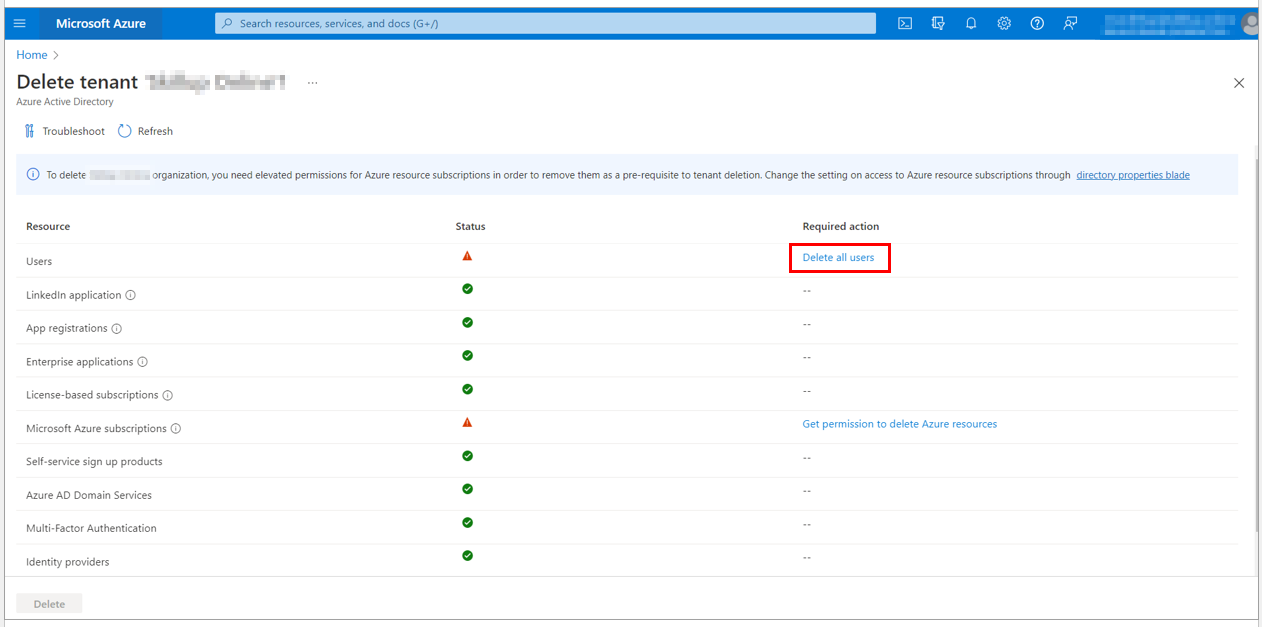
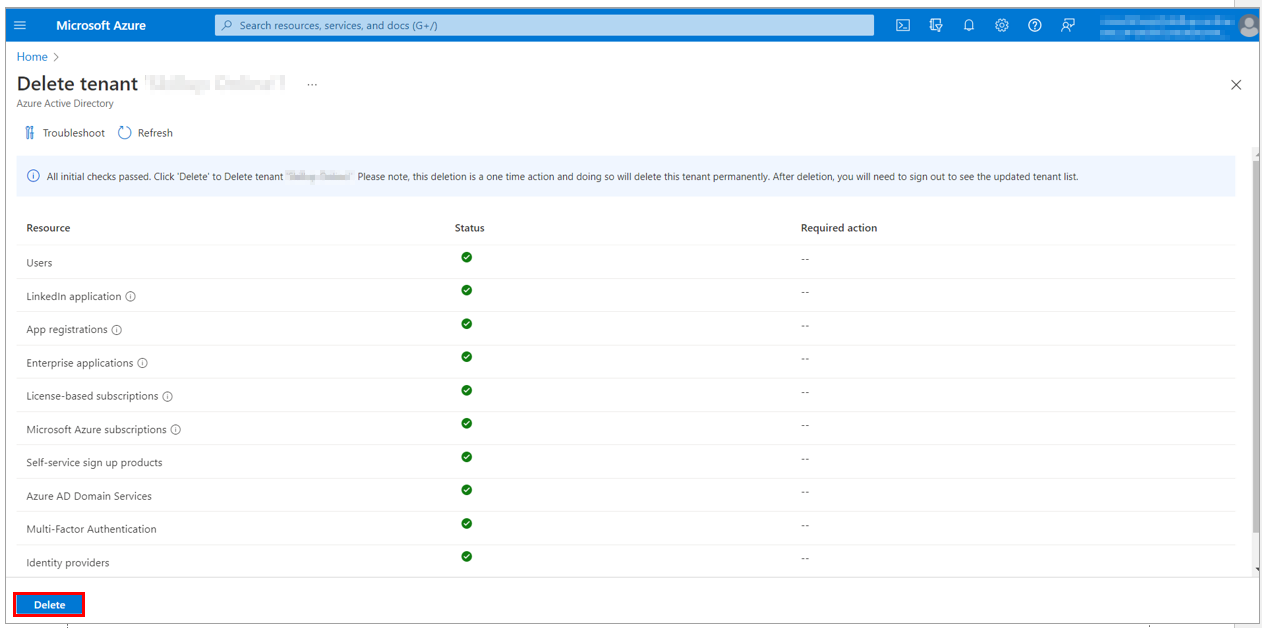
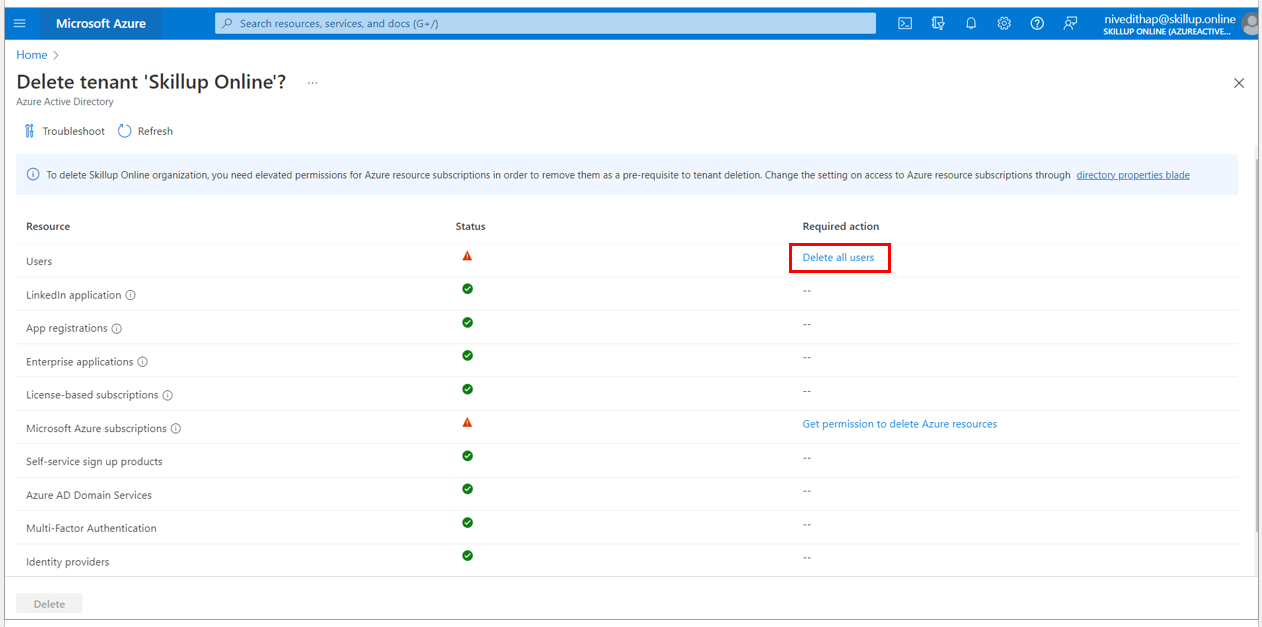
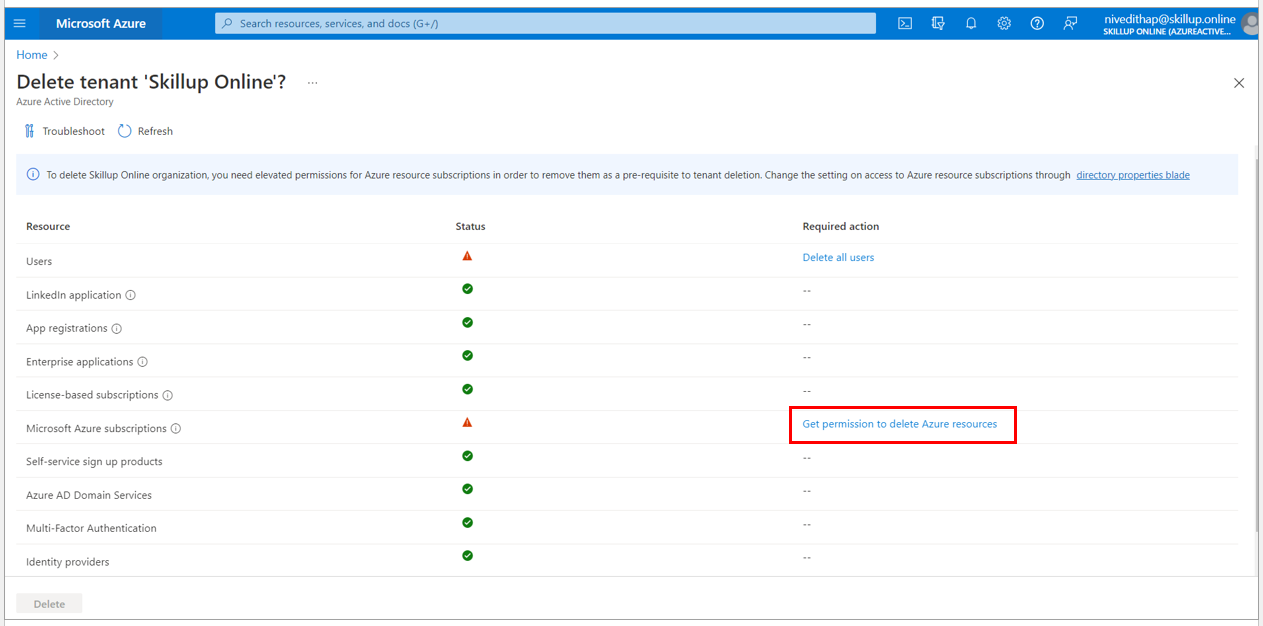
4. The Delete tenant screen loads up. If any other resources, such as Users or Applications, are present, you will need to delete them before deleting the Azure Active directory.
For instance, if you have created users under your active directory, select Delete all users’ link.
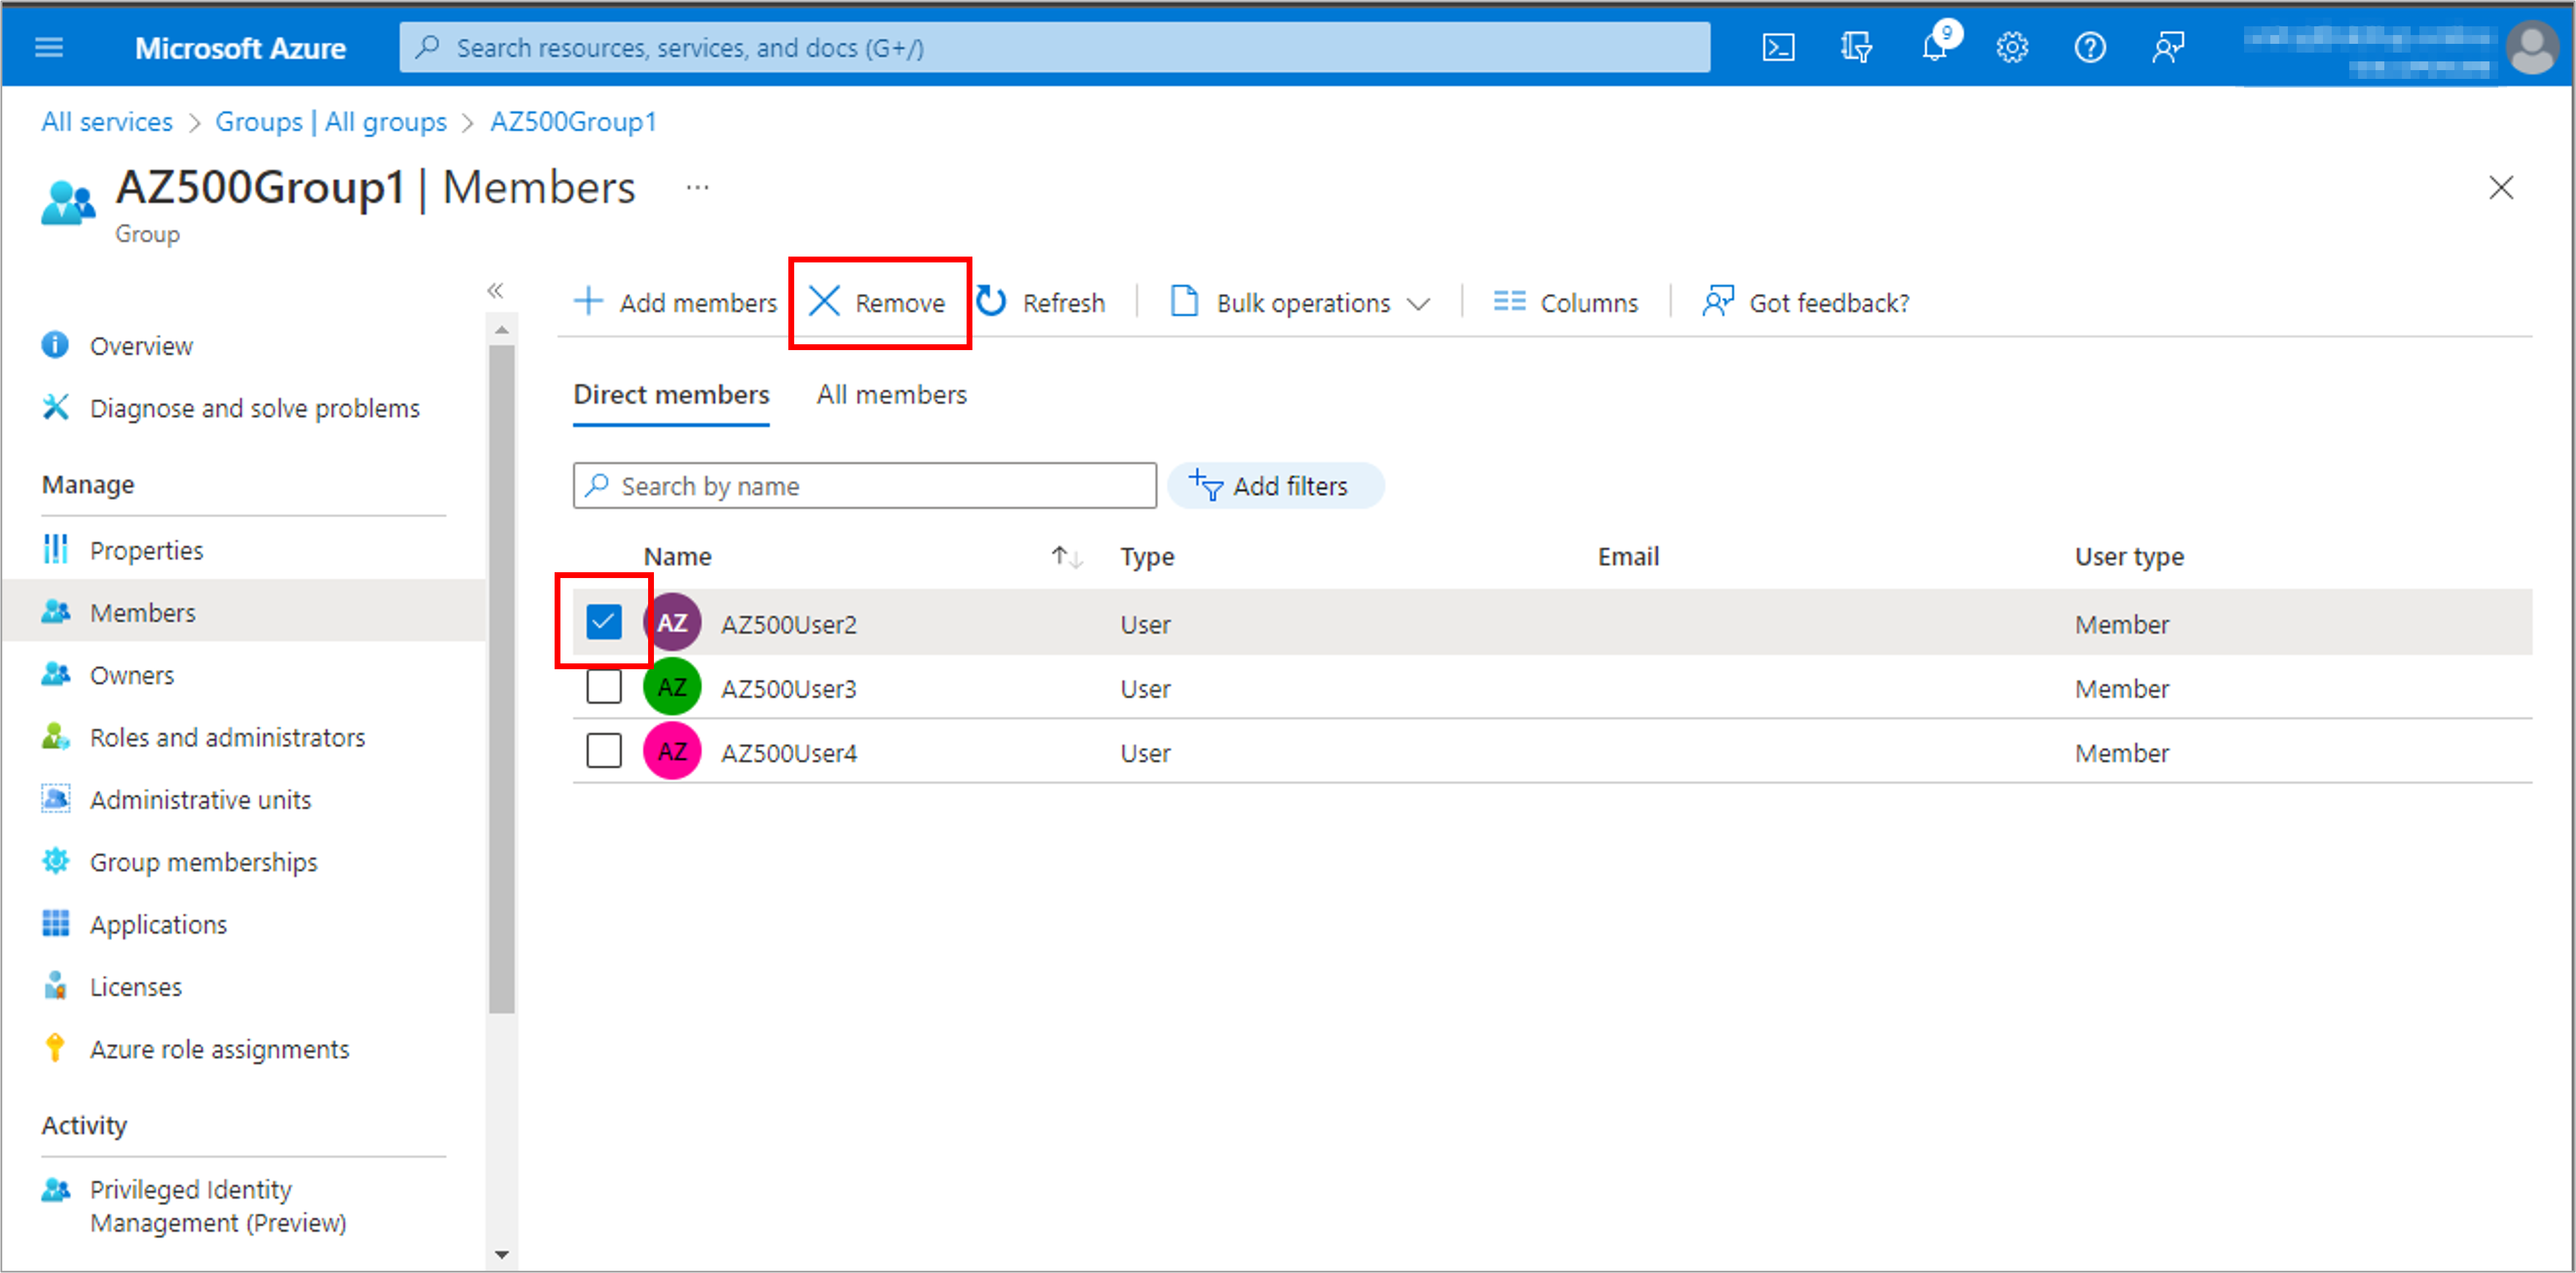
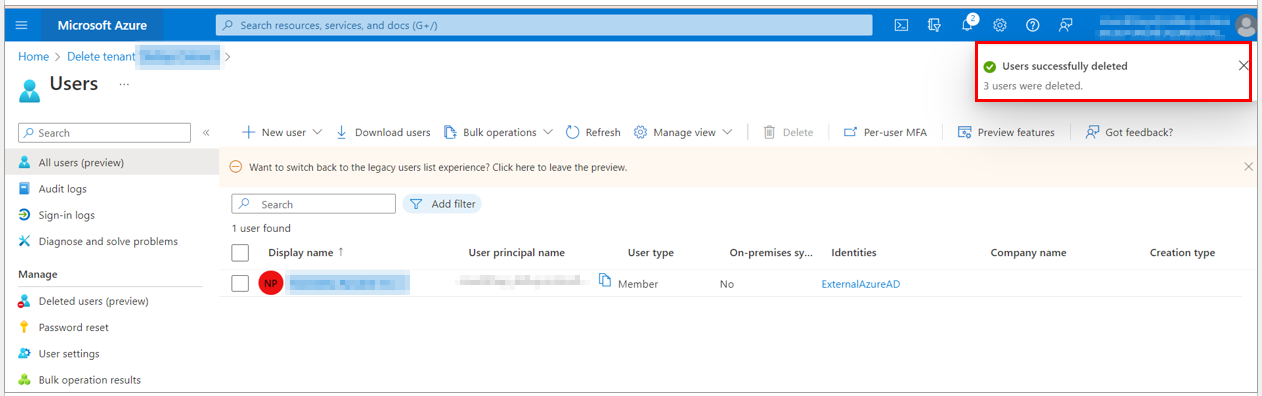
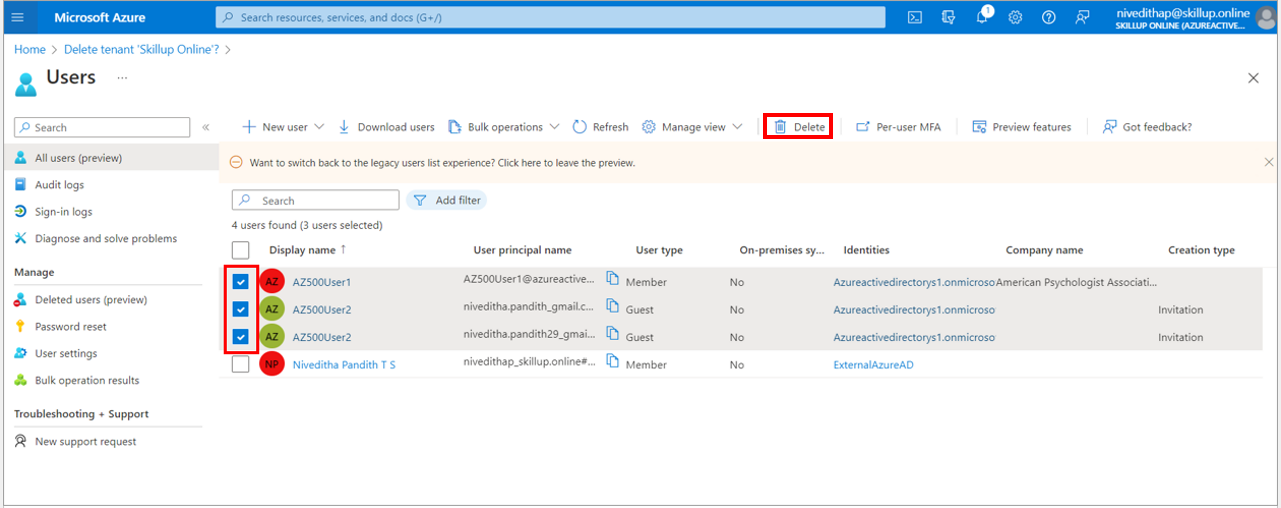
5. The Users blade page loads up. Here you can select the list of users you want to delete and select the Delete option.
Note: You should not select the user who has created the Azure Active Directory.
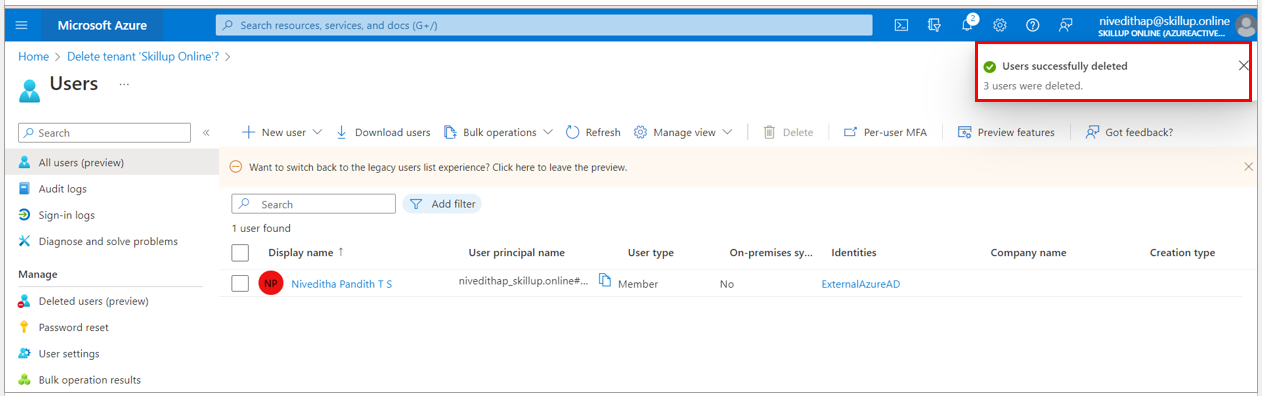
6. The selected users are successfully deleted, and the one who is the owner of the Azure Active Directory is displayed
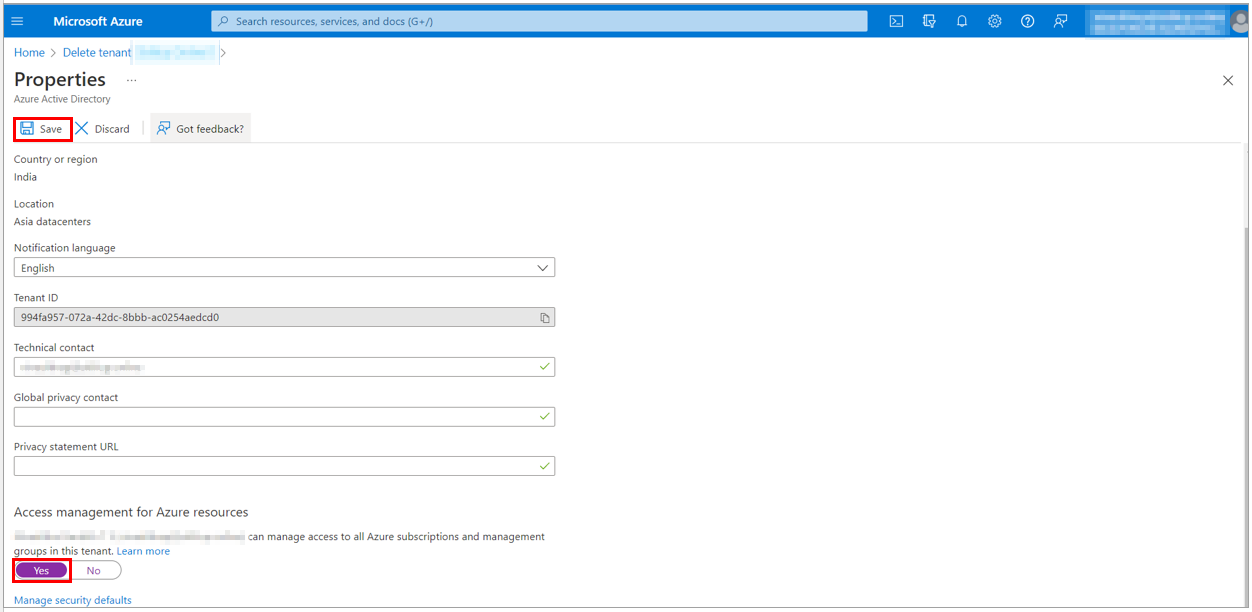
7. Under Microsoft Azure Subscriptions, select Get Permission to delete Azure resources
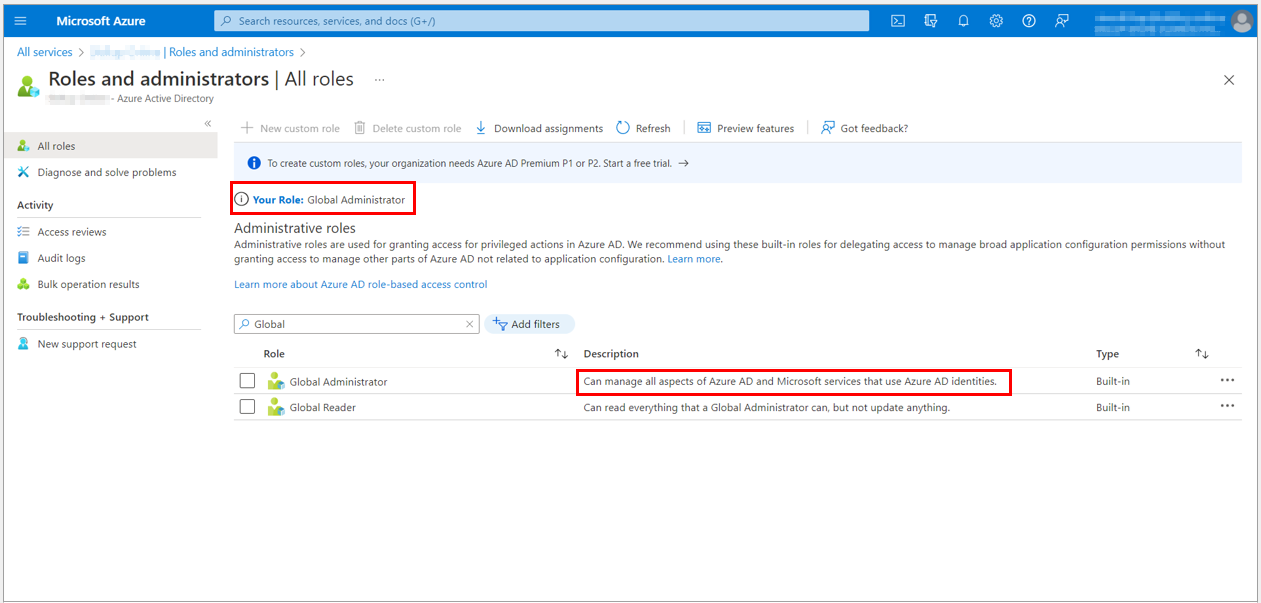
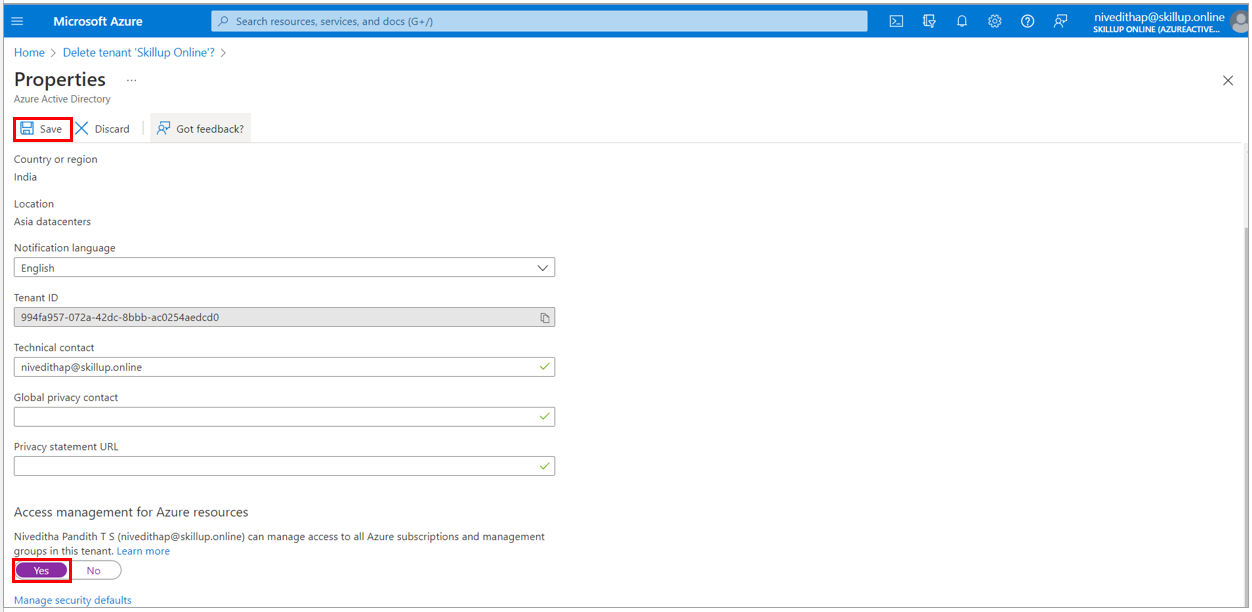
8. You will be directed to the Azure Active Directory Properties page.
9. You need to be a Global Administrator to delete an Azure Active Directory. Check the properties under the Azure Active Directory to check the Access Management for Azure resources. The toggle here should be set to Yes.
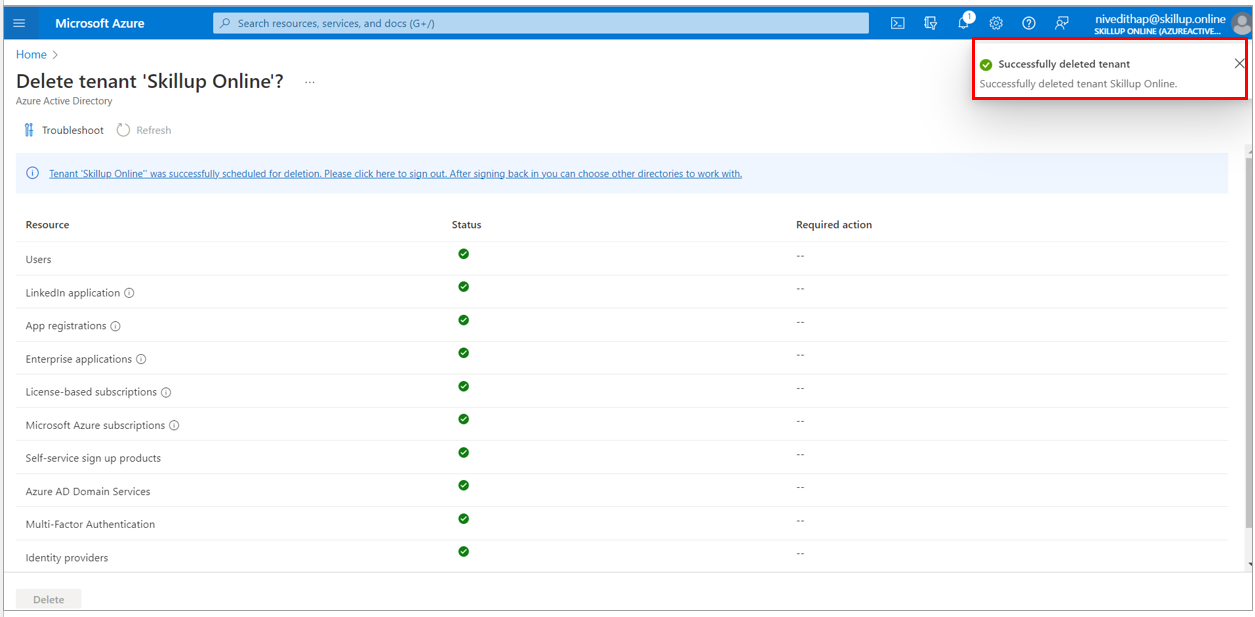
10. Once all the checks are passed in the Delete tenant page, delete the Azure Active directory and its resources by selecting the Delete button.
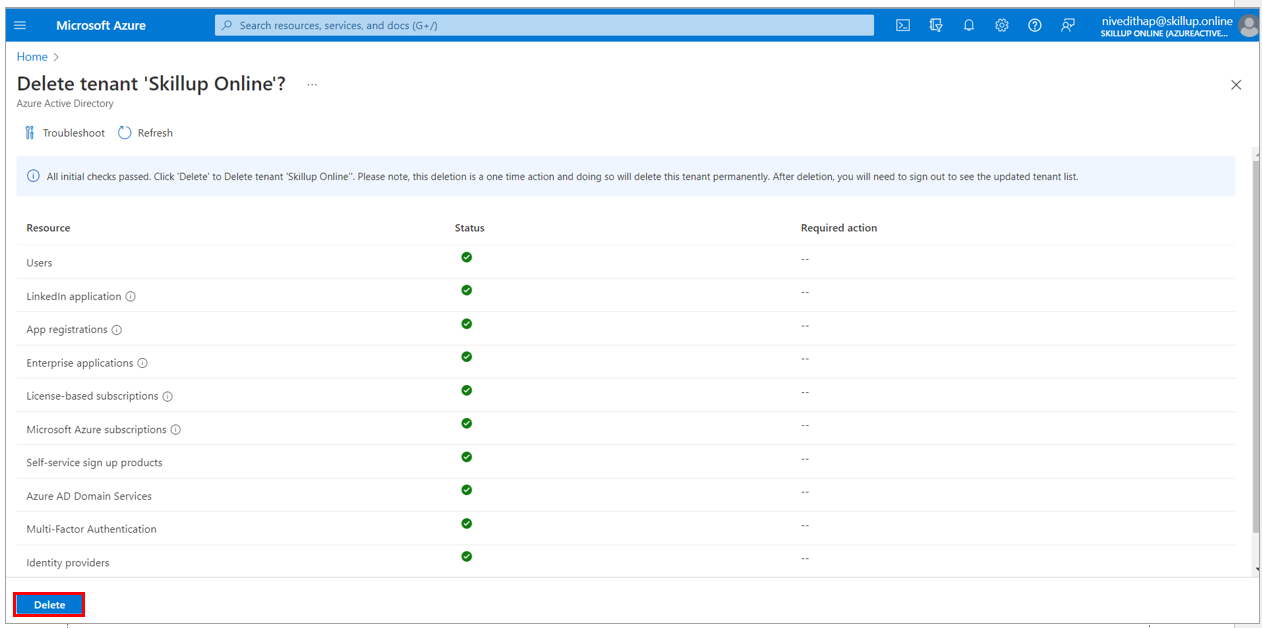
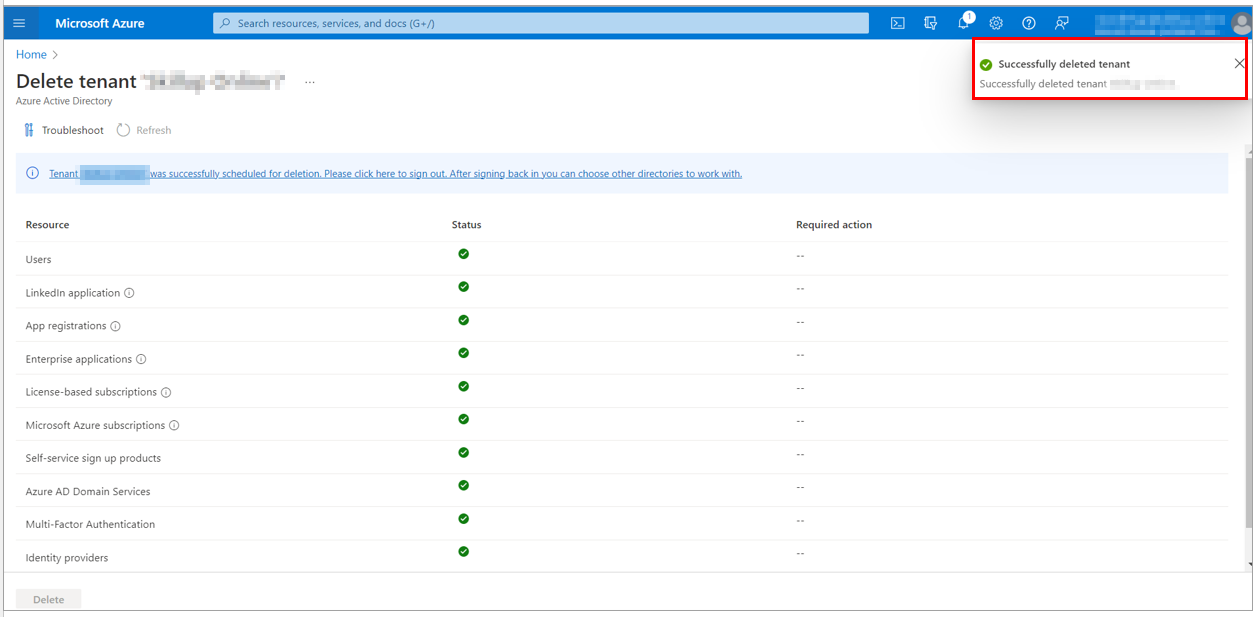
11. The tenant gets successfully deleted.